
CAM Toolpaths
2D Profile Toolpath
Complete parameter guide for 2D Profile cutting: Start/Cut Depth, Outside/Inside/On offsets, allowances, pass depth control, climb vs conventional, ramps, leads, and 2D/3D tabs.
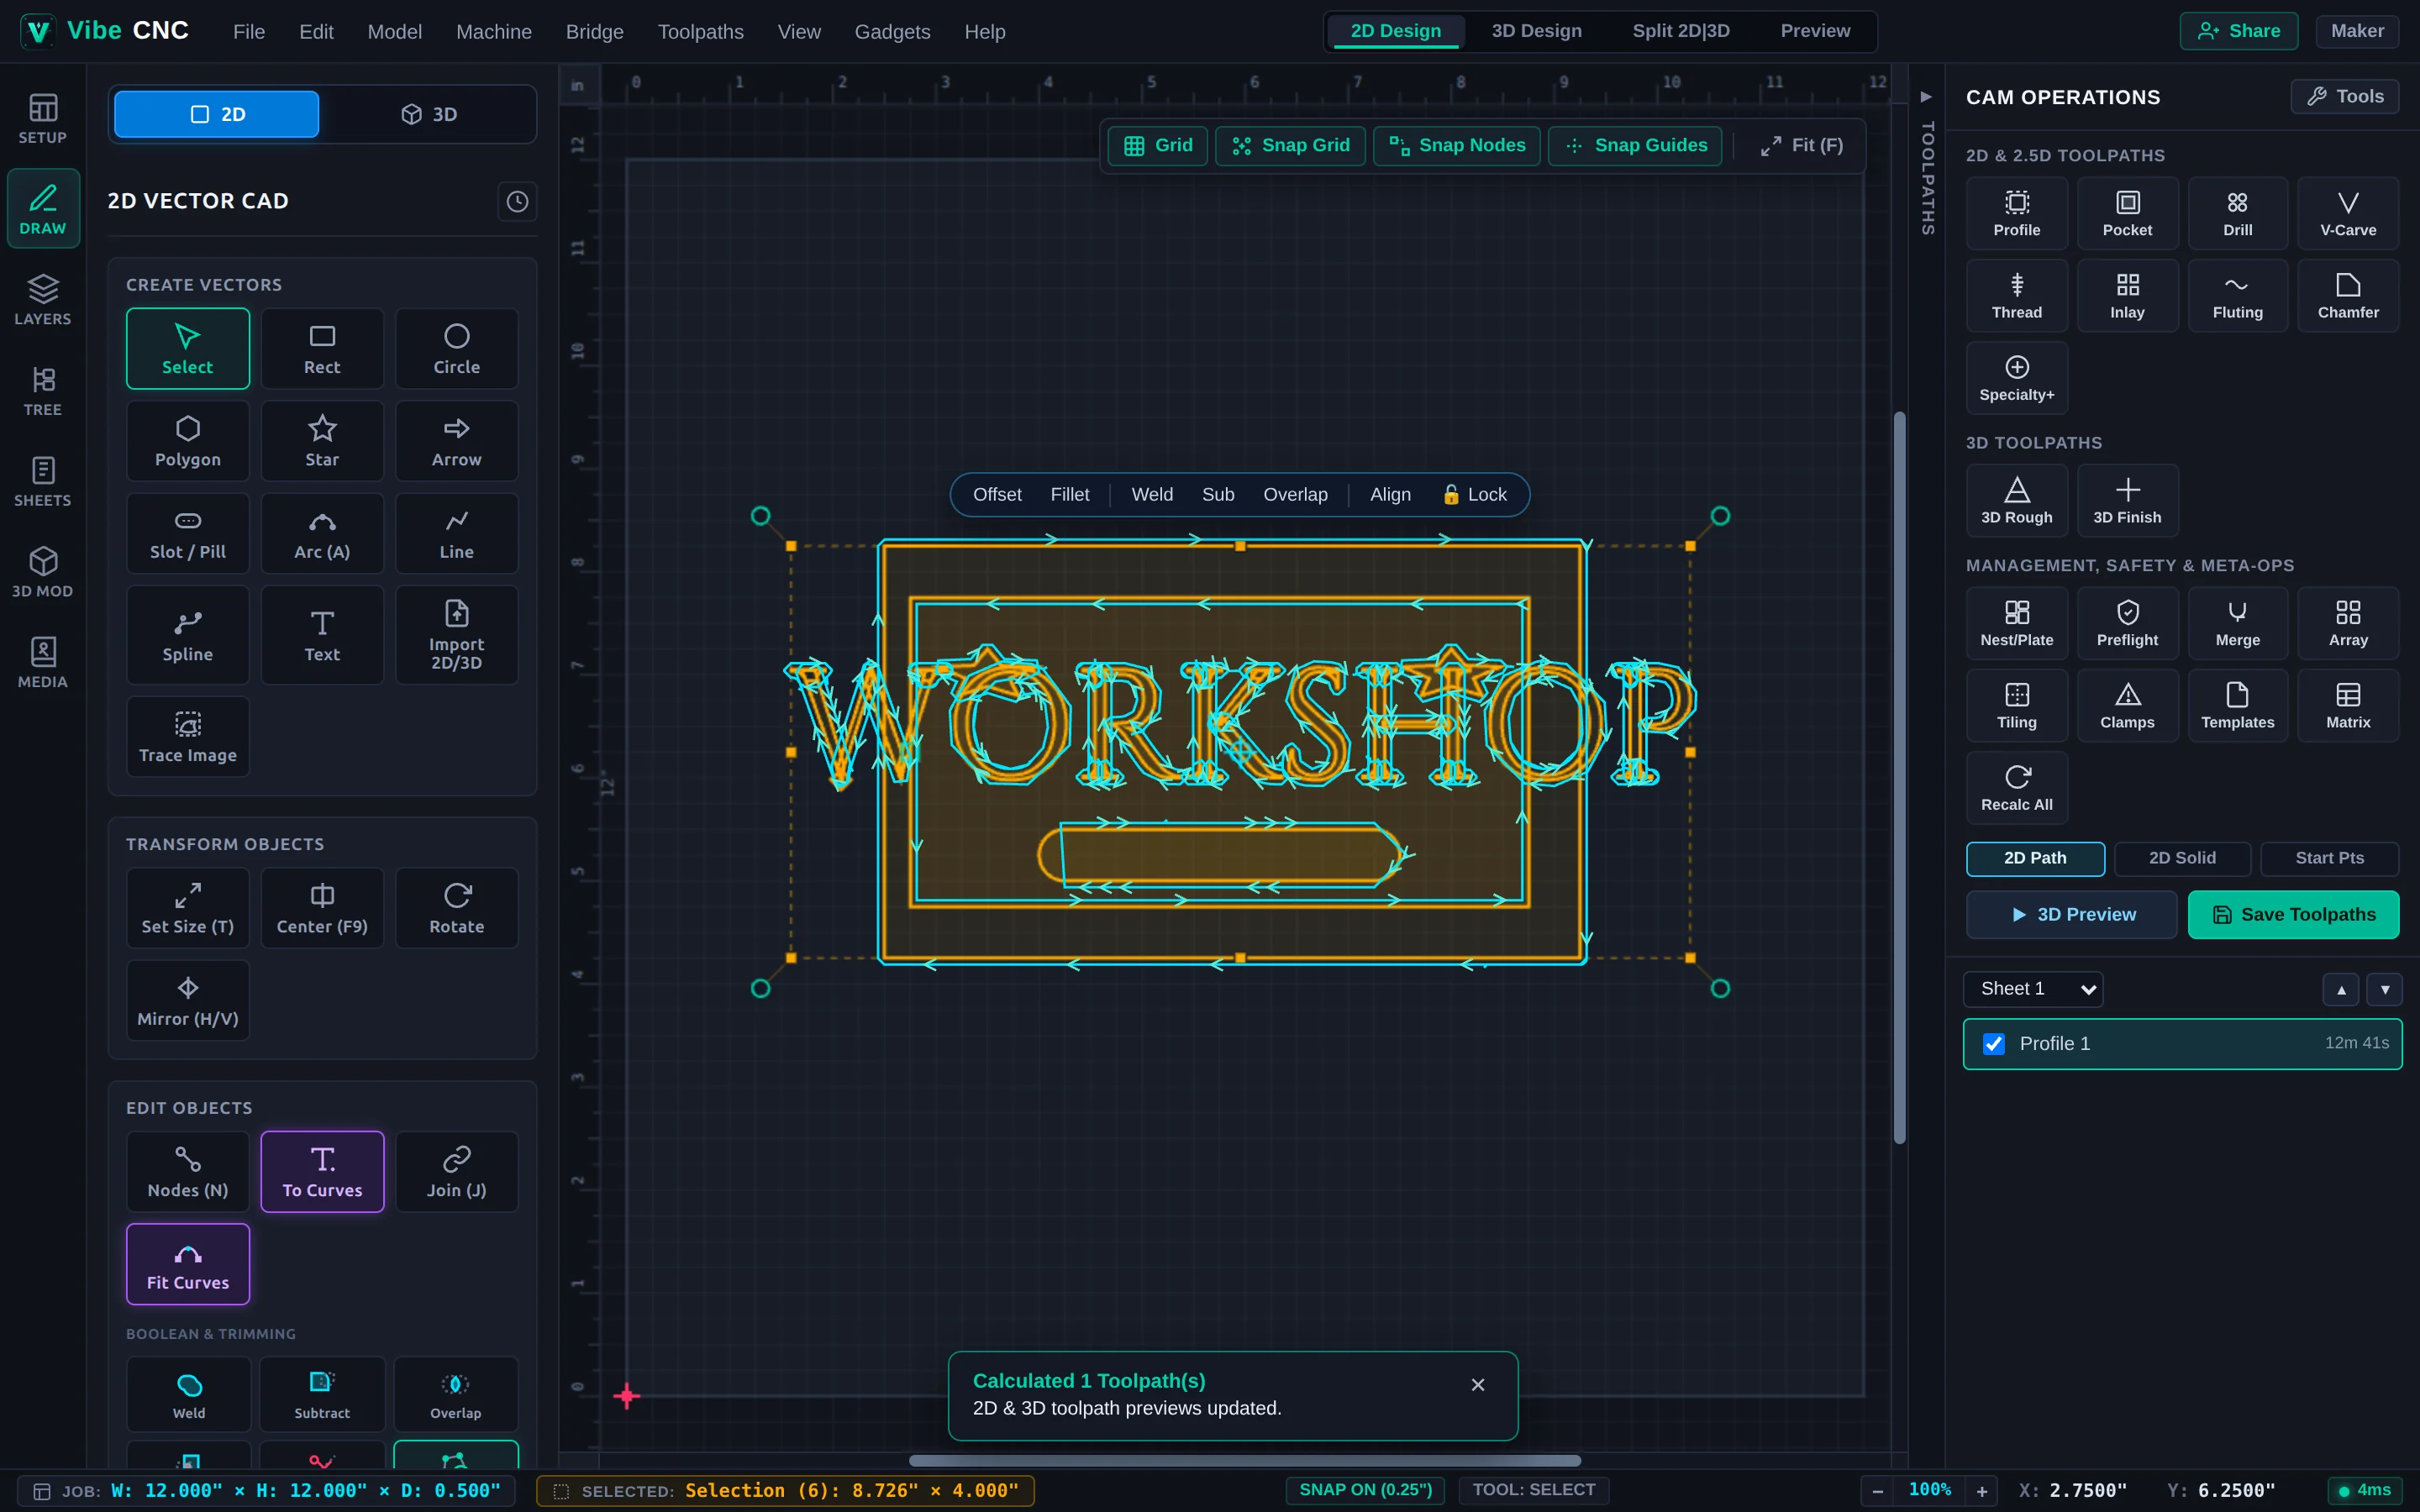
The 2D Profile toolpath cuts around the outside, inside, or directly on top of your selected vectors. It is the workhorse operation for cutting parts free from stock, boring interior windows and slots, and routing decorative grooves.
Parameter Reference
| Parameter | What It Controls | Practical Guidance |
|---|---|---|
| Start Depth (D) | Z depth where cutting starts below the top surface. | Keep at 0 on flat stock; set to pocket depth when cutting inside an already-cleared recess. |
| Cut Depth (C) | Total depth cut below Start Depth. | Type T (or T+0.015) for through-cuts. Uses live math expressions and Document Variables. |
| Pass Depth / Edit Passes | Maximum Z step-down per pass. | VibeCNC auto-balances passes within +/-15% to avoid wasteful tiny cleanup passes. |
| Last Pass Thickness | Optional thin final floor pass (onion skin). | Set 0.015" to 0.025" with a slight separate allowance for glass-smooth walls on hardwood cutouts. |
| Allowance Offset | Shifts the toolpath outward (+) or inward (-). | Use +0.015" for a rough pass followed by 0 finish pass, or -0.005" to ease a tight mortise. |
| Ramp Plunge Moves | Smooth, Zig-Zag, or Spiral angled entry. | Keep Smart Ramp enabled for all flat end mills to prevent heat marks and bit wear. |
Machine Vectors: Outside, Inside, or On
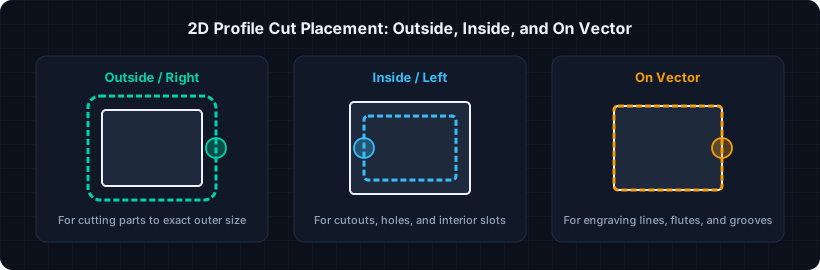
- Outside / Right: Offsets outward by half the bit diameter so the finished cutout matches your drawn dimensions exactly.
- Inside / Left: Offsets inward for holes, slots, and interior cutouts.
- On: Centers the bit directly on the vector line. Best for open-line grooves, kerf cuts, and single-line engraving.
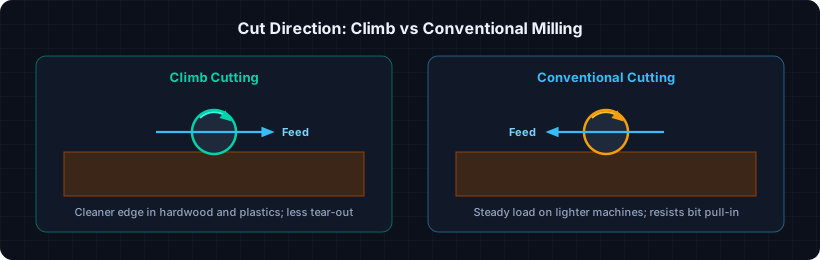
Climb vs Conventional Cutting
Holding Tabs (2D & 3D Triangular)
When cutting all the way through a board, enable Add Tabs so uncut bridges anchor the part to the waste frame until the spindle stops.
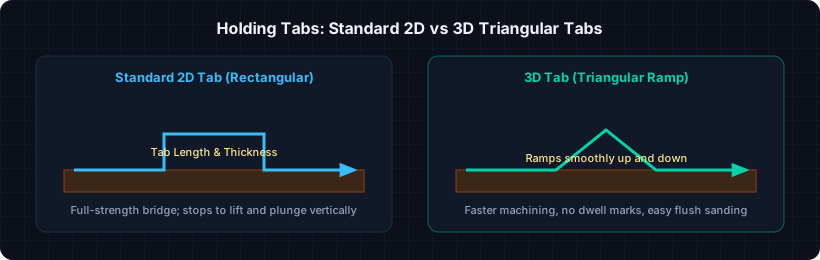
- Recommended Sizes: In hardwood or plywood, start with Length
0.35" to 0.50"and Thickness0.10" to 0.14". In softwood or MDF, go slightly thicker (0.15"). - Interactive Editing: Click Edit Tabs to add, slide, or delete tabs directly on the 2D canvas. Place tabs on straight edges rather than tight curved corners so flush-trimming and sanding take seconds.