
3D Modeling
3D Relief Modeling & Component Tree
Build dimensional carvings directly from 2D vectors using Create Shape, Two-Rail Sweep, Extrude and Weave, Sculpting, Draft, Slicing, and Combine Modes.
VibeCNC includes a full 3D relief modeling workspace alongside its 2D CAD tools. Switch to the 3D Mod tab on the left rail and open Split 2D|3D mode so you can select 2D drive vectors on the left while watching the sculpted heightfield update in real time on the right.
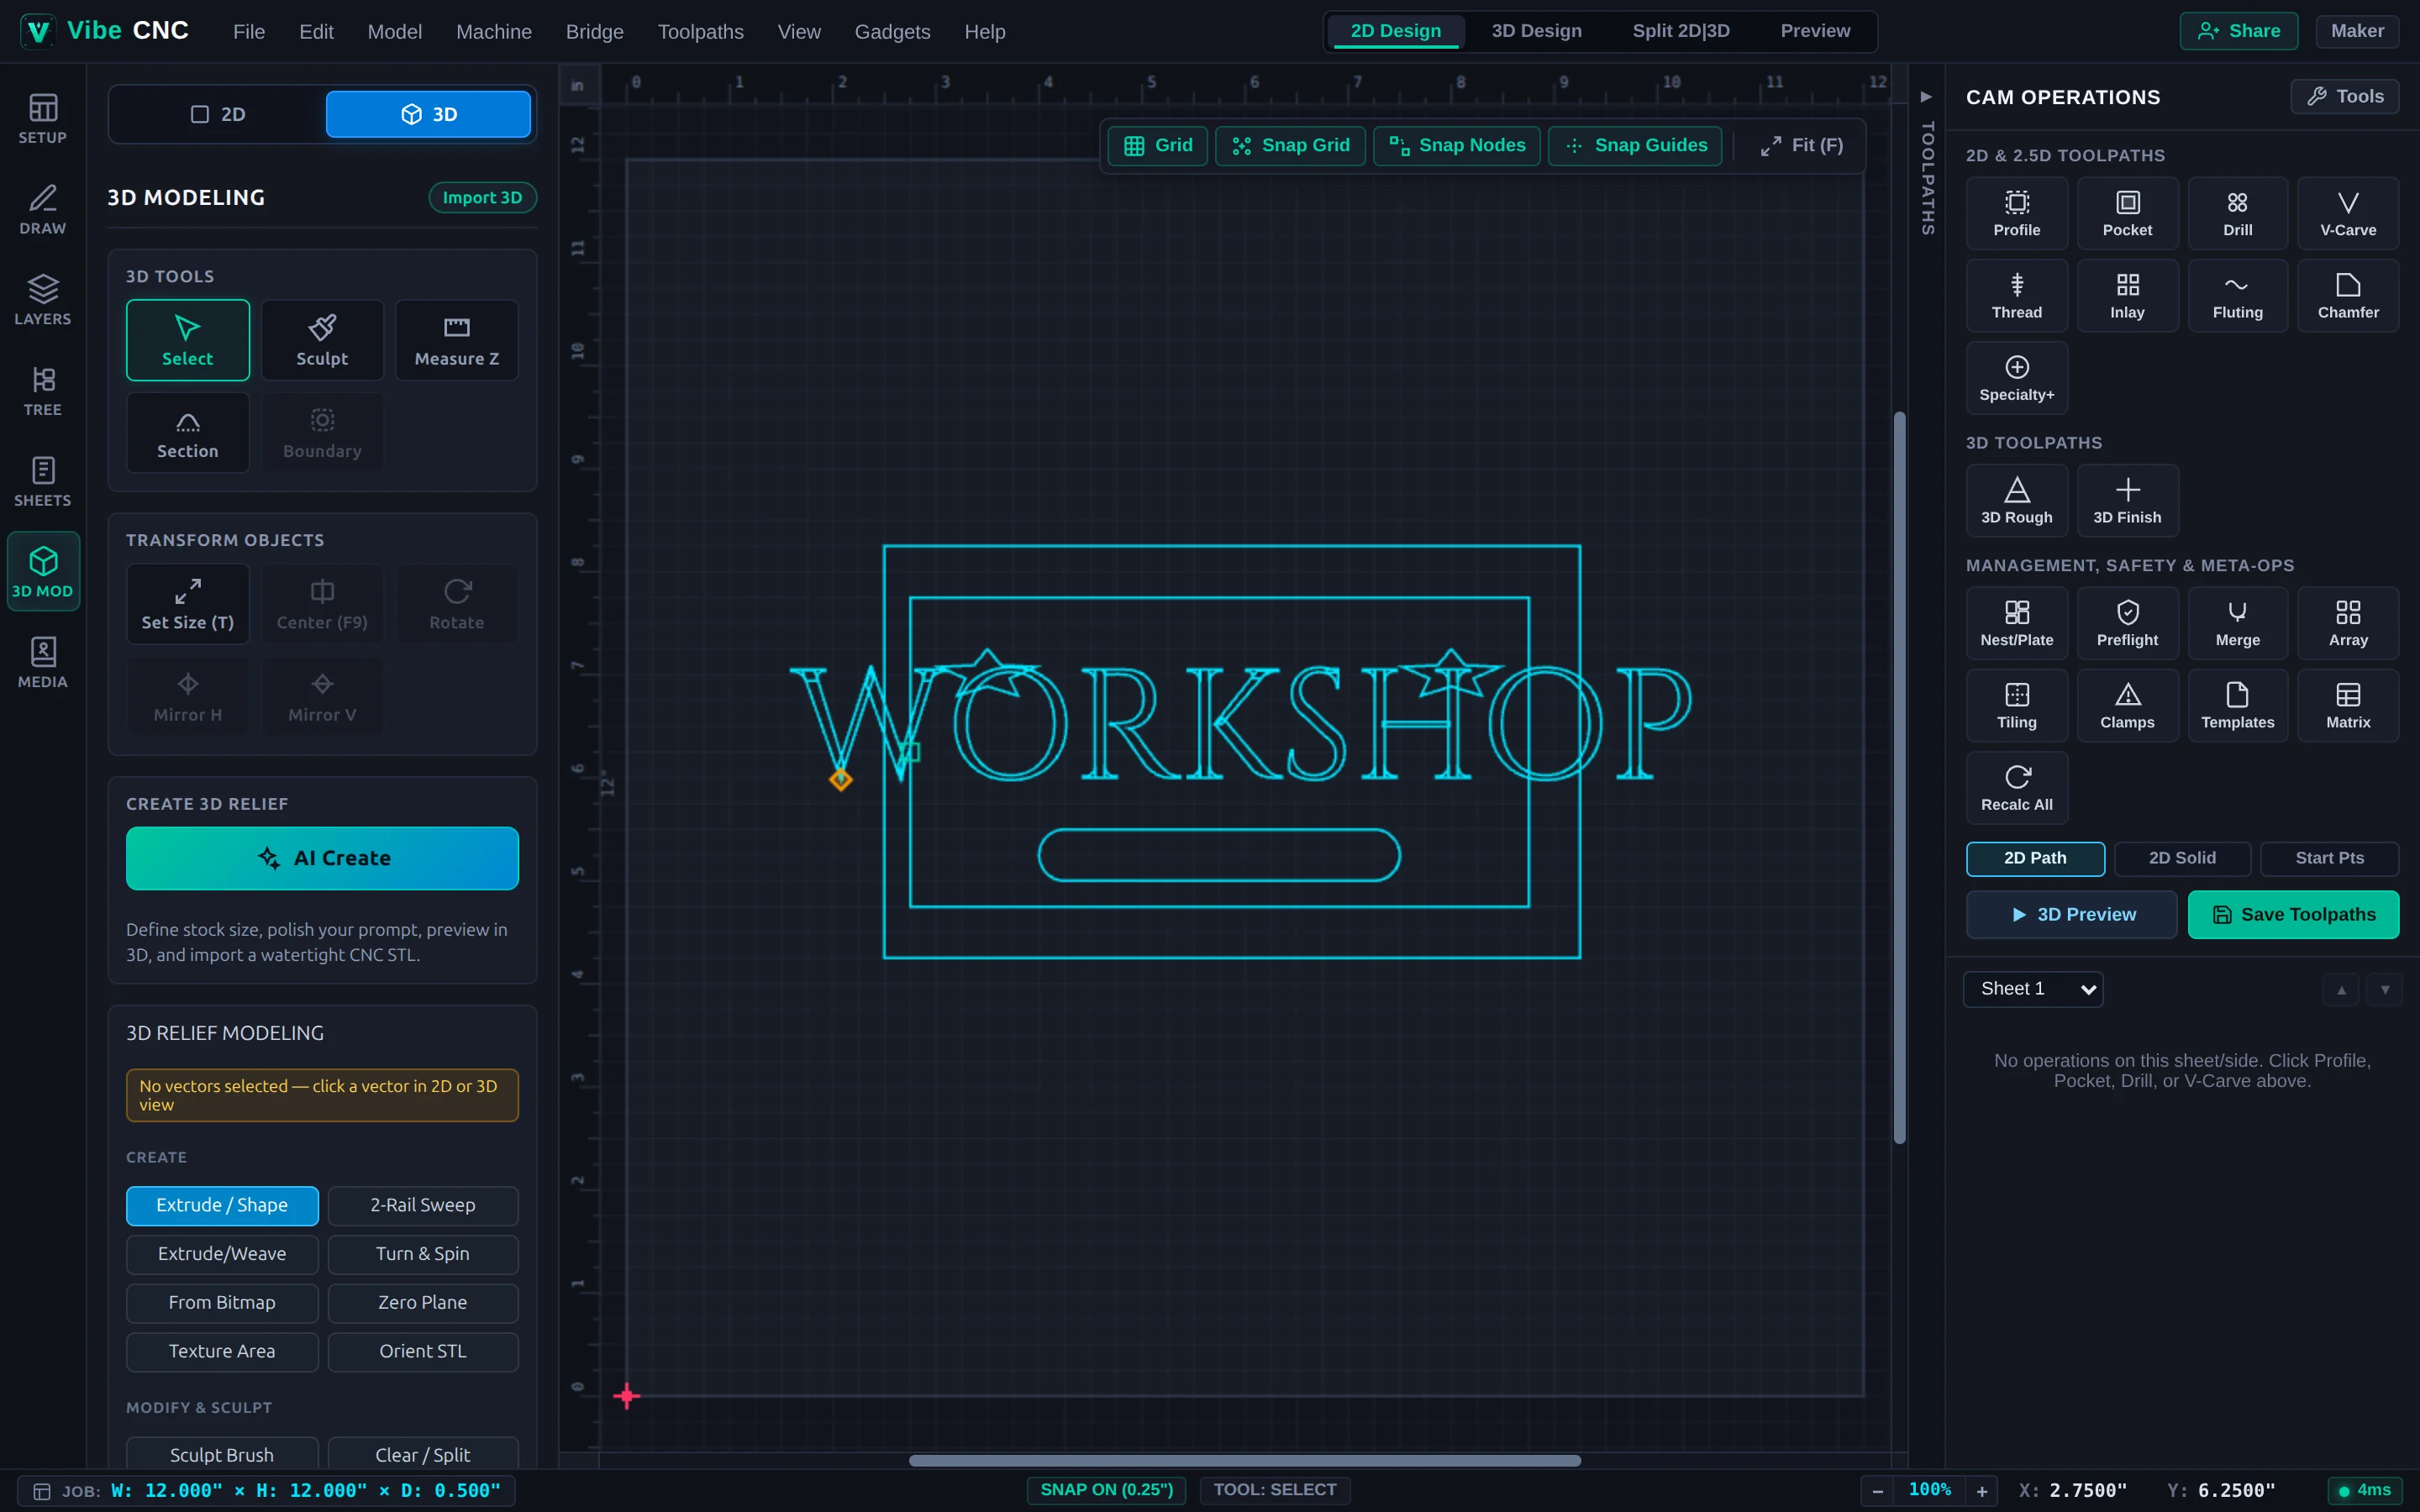
Creating Reliefs from 2D Vectors
| Tool | Input Vectors | Best Used For |
|---|---|---|
| Create Shape | One or more closed vectors | Domed plaques, beveled pyramids, recessed dishes, smooth S-curve medallions, and flat base planes. |
| Two-Rail Sweep | Two drive rails + one or more open cross-sections | Curved ribbons, banners, picture frames, ornate architectural moldings, and flowing banners. |
| Extrude & Weave | One or more drive paths + cross-section | Celtic knots, rope borders, and braided frames where overlapping strands weave automatically over and under. |
| Turn & Spin | One open profile vector | 360-degree rosettes, circular bowls, dish profiles, and symmetrical medallions. |
| Bitmap to Relief | Grayscale heightmap or photo | Converting depth maps and textured artwork directly into machinable 3D reliefs. |
Sculpting, Smoothing, Draft, Slicing & Zero Plane
- Interactive Sculpting: Smooth harsh ridges, smudge transitions, raise organic details, or erase edges using adjustable brush diameter and strength.
- Global Smoothing: Softens stair-stepping on bitmap-derived heightmaps without flattening overall carving depth.
- Add Draft Angle: Tapers vertical 3D walls outward by 5 to 12 degrees so tapered ball-nose cutters never rub and resin/foundry molds release cleanly.
- Slice Model: Splits a deep 3D sculpture into stacked Z-thickness layers matching your lumber thickness (such as 1.5" slices) for laminated glue-ups.
- Zero Plane: Inserts a flat height-0 reference plane across the sheet. Always add a Zero Plane when carving a recessed dish or concave plaque so the finishing cutter does not roll over and chip the top rim.
- Create Vector Boundary: Generates a tight 2D silhouette around selected 3D components so 3D Roughing and 3D Finishing only cut where the relief actually sits.
Component Tree & Combine Modes
Components evaluate from bottom to top in the Component Tree. Pick the right Combine Mode for each component:
| Combine Mode | How Heights Combine | Example |
|---|---|---|
| Add | Adds height directly on top of underlying components. | Placing raised lettering or a star on top of a curved banner. |
| Subtract | Carves downward into underlying components. | Sinking a recessed bowl or engraved motif into a domed plaque. |
| Merge (Highest) | Keeps whichever surface is taller at each XY pixel. | Overlapping leaves, scrolls, or wildlife figures without creating tall humps where they cross. |
| Low (Lowest) | Keeps whichever surface sits lower at each XY pixel. | Clipping a protruding relief cleanly inside a recessed dish. |