Project Walkthrough
Your First CNC Project: V-Carved Shop Sign
Go from a blank 12x8 inch walnut board to simulated toolpaths and ready-to-run G-code using borders, Google Fonts lettering, V-Carve, and a tabbed cutout.
If this is your first project in VibeCNC, a classic V-carved wooden sign is the best place to start. In about fifteen minutes you will set up walnut stock, lay out a framed plaque with clean typography, carve the letters with a 60-degree V-bit, cut the sign free with holding tabs, and inspect the finished board in 3D before generating G-code.
Step 1: Set Up Your Walnut Stock
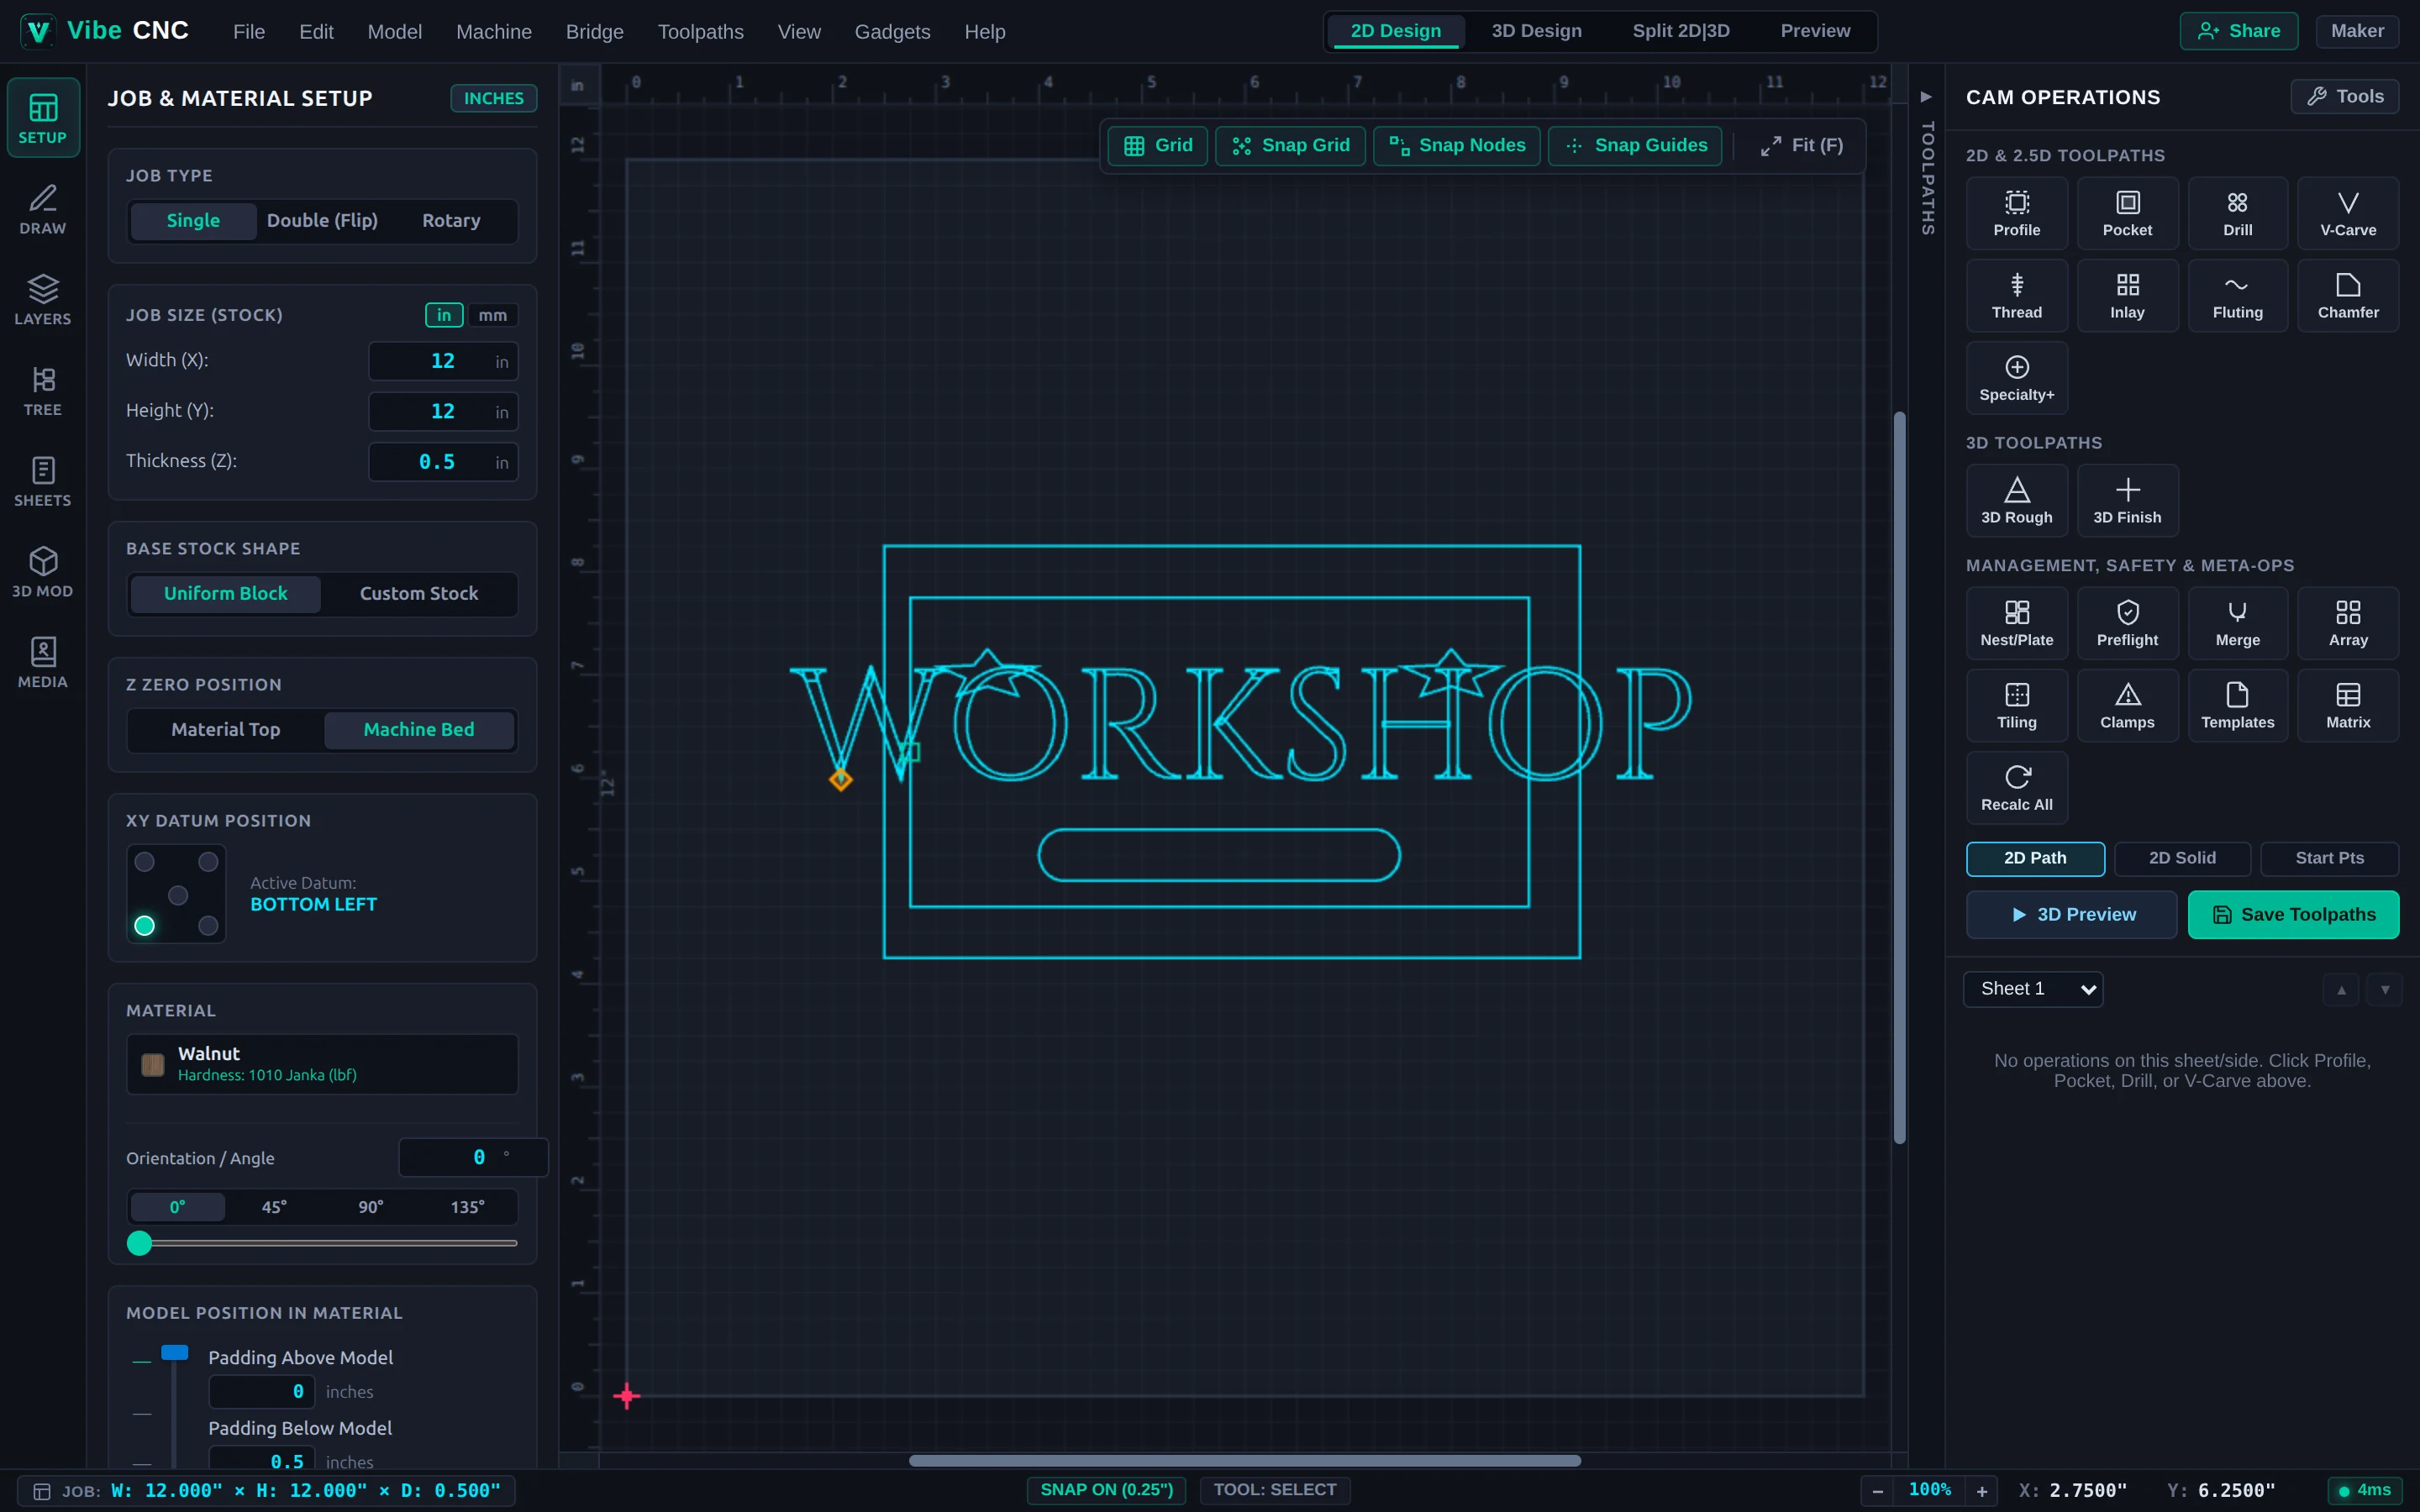
- Open the Setup tab on the far-left rail.
- Select Single-Sided job type and set units to Inches.
- Enter Width (X):
12.0, Height (Y):8.0, and Thickness (Z):0.75. - Set Z-Zero to Material Surface (Top) so the V-bit carves to an exact crisp depth even if your walnut board is 0.74" or 0.76".
- Set XY Datum to Bottom-Left and select Black Walnut from the Material Database so your 3D preview looks like the real board.
Step 2: Draw the Frame and Set Typography
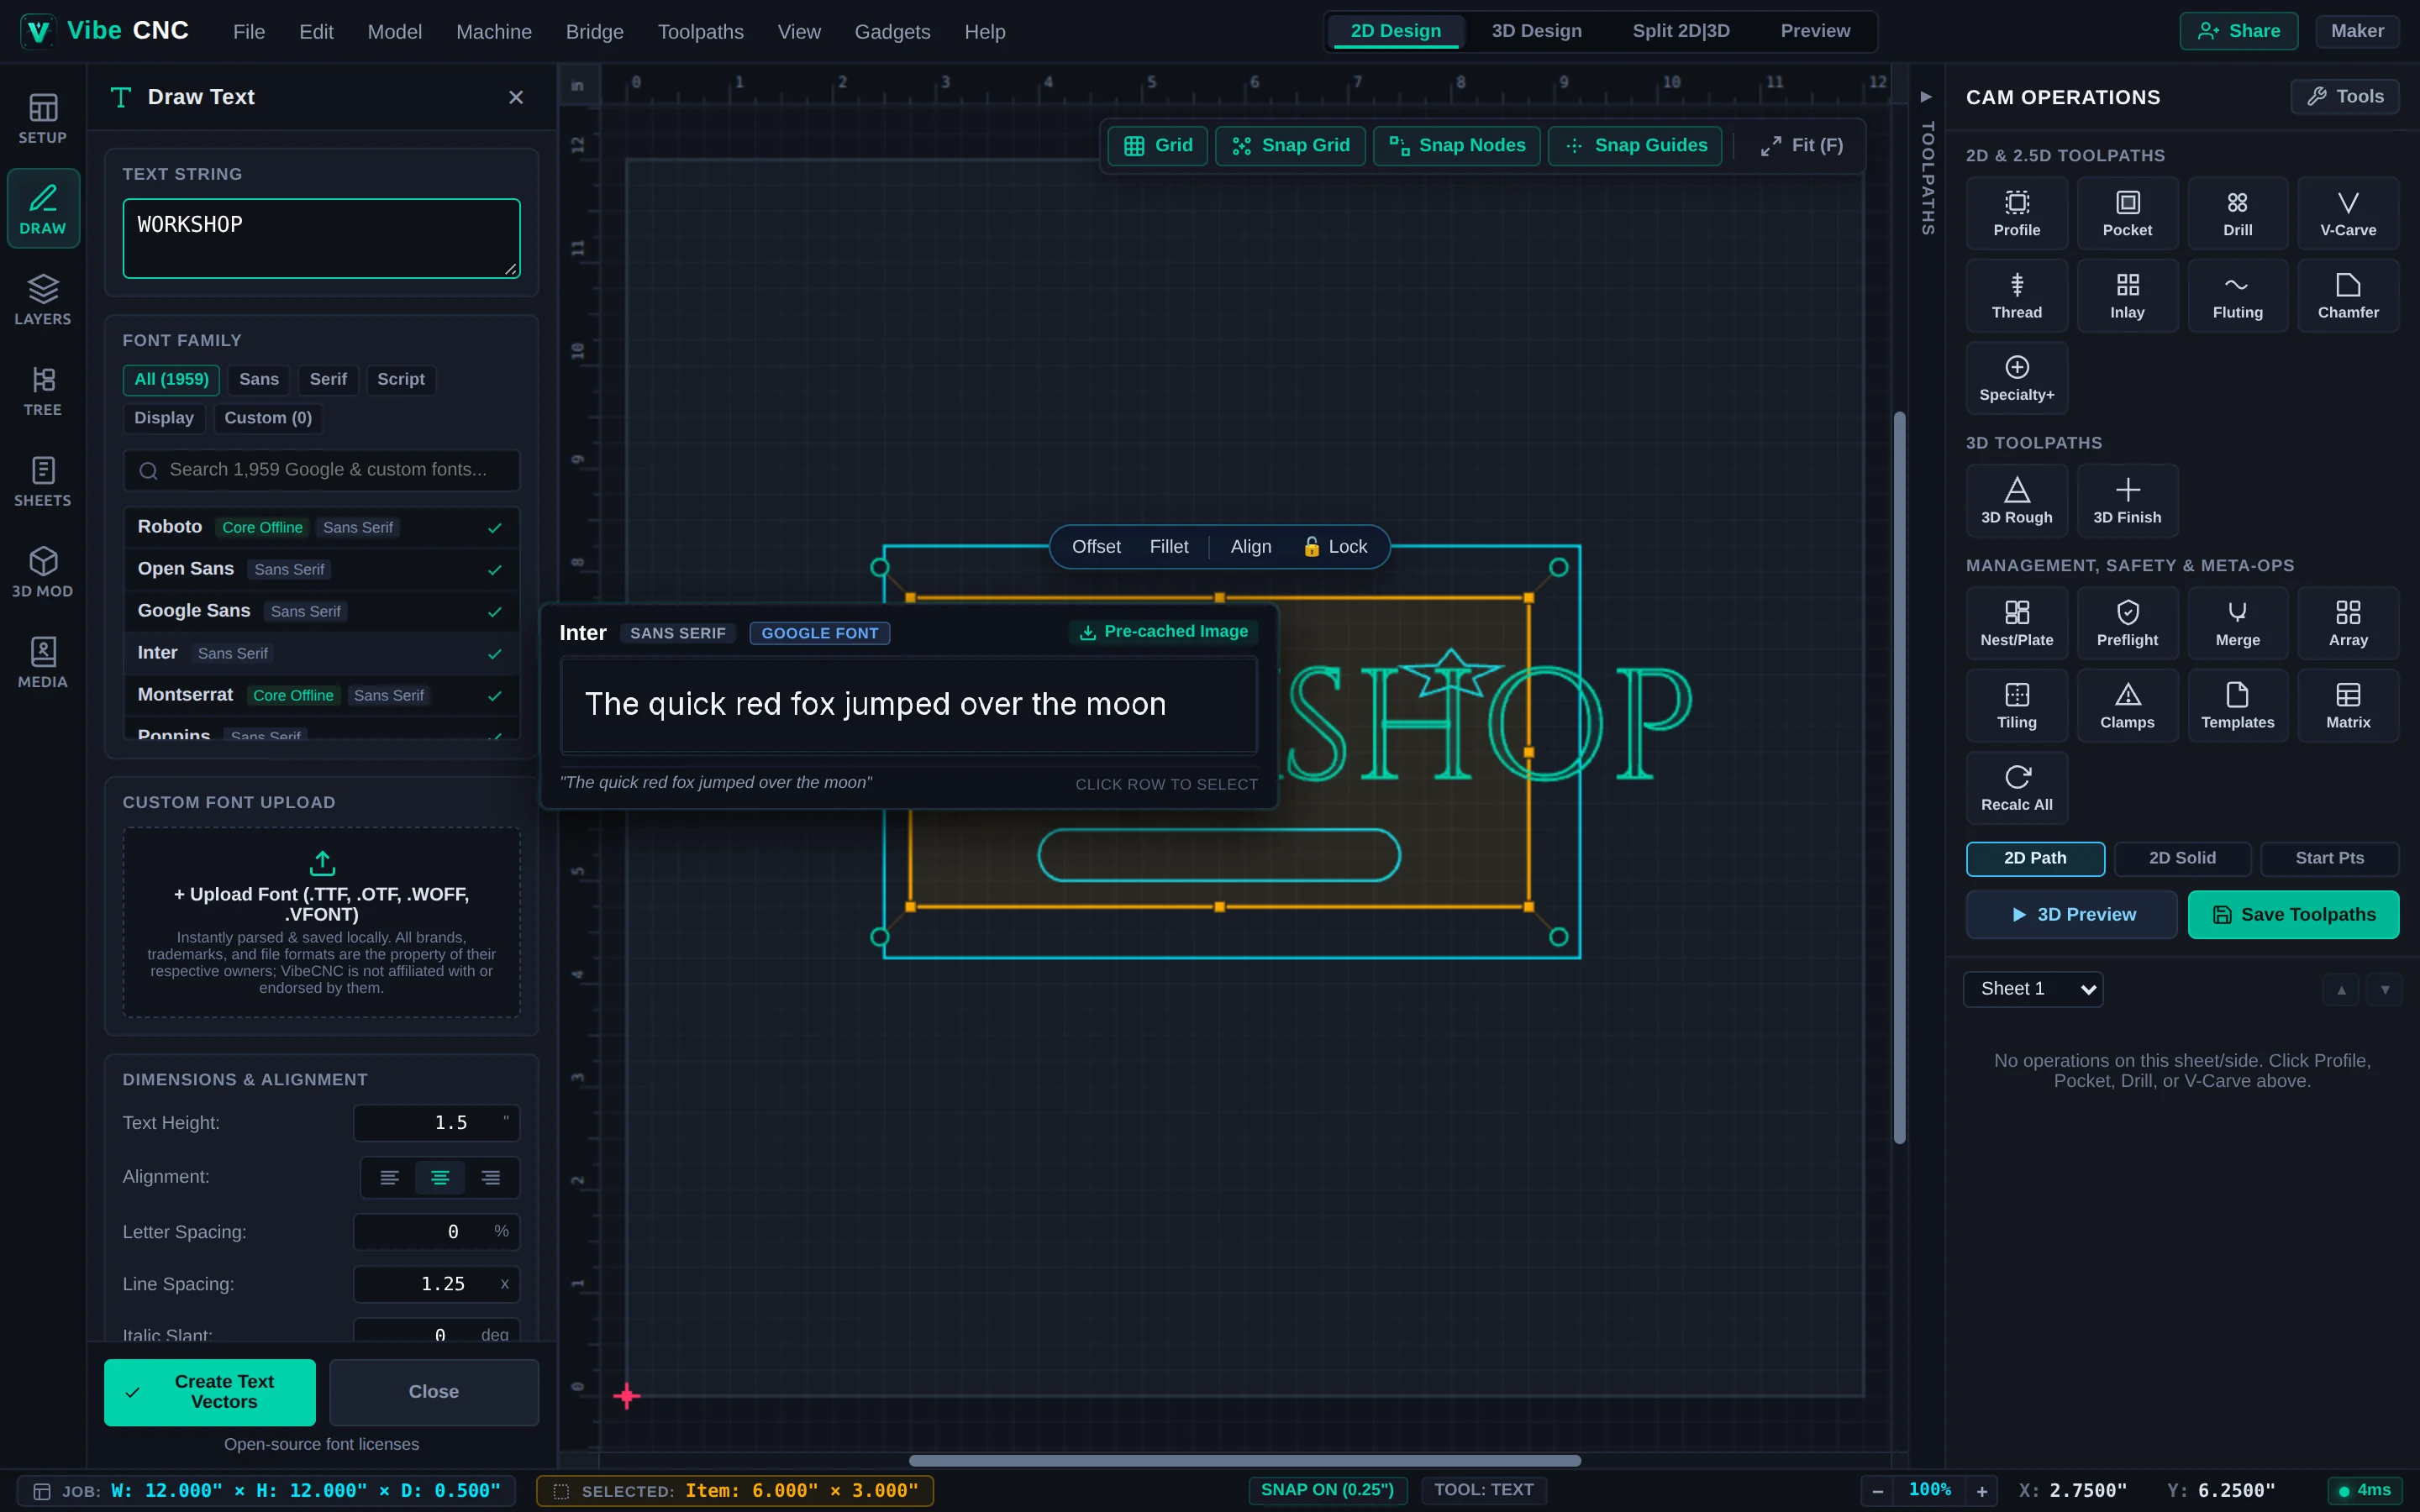
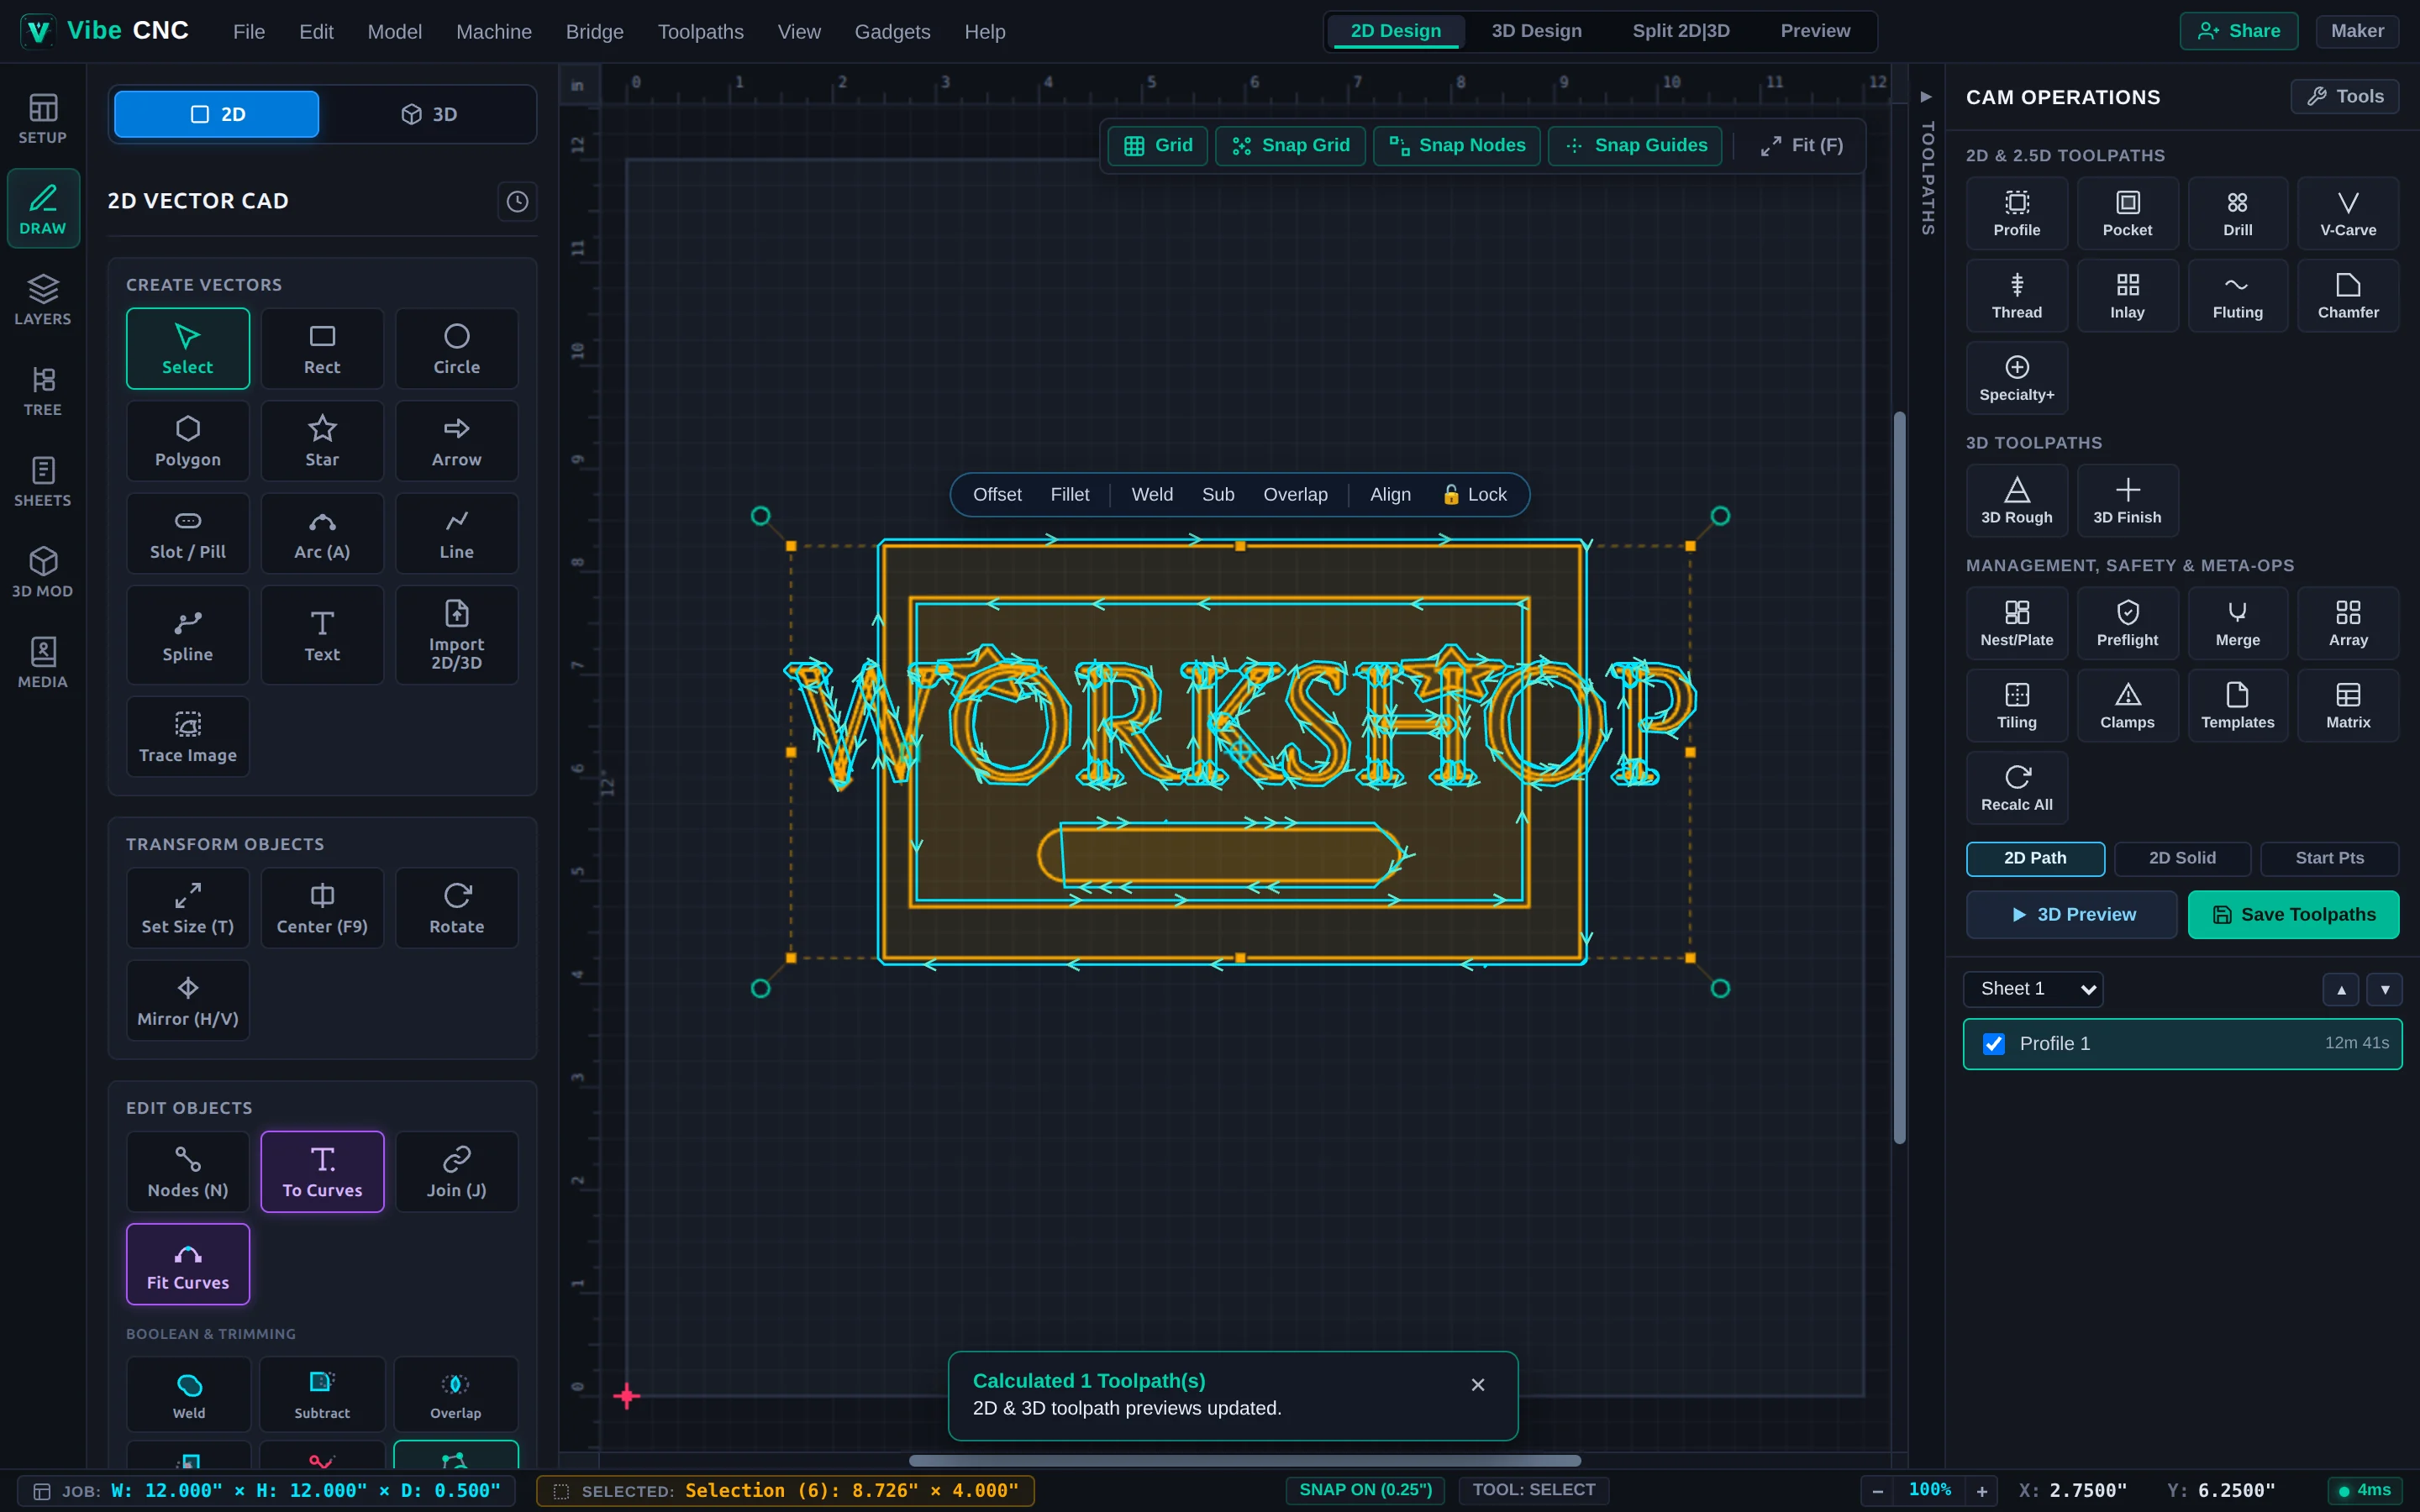
- Switch to the Draw tab and click Rect (R). Draw an outer sign border measuring
10.5" x 6.5"with a0.5"corner radius, then press F9 to center it on the board. - With the border selected, click Offset in the floating Selection Action Pill, choose Inwards, enter
0.35", and apply. This creates a clean decorative pinstripe frame. - Click Text in the Left Drawer, type
WORKSHOP(or your own shop name), pick a bold serif font such as Cinzel or Playfair Display, set Text Height to1.4", and center it inside the border. - Optional: drop two small Star accents on either side of the lettering using the Star tool.
Step 3: Create the V-Carve Toolpath
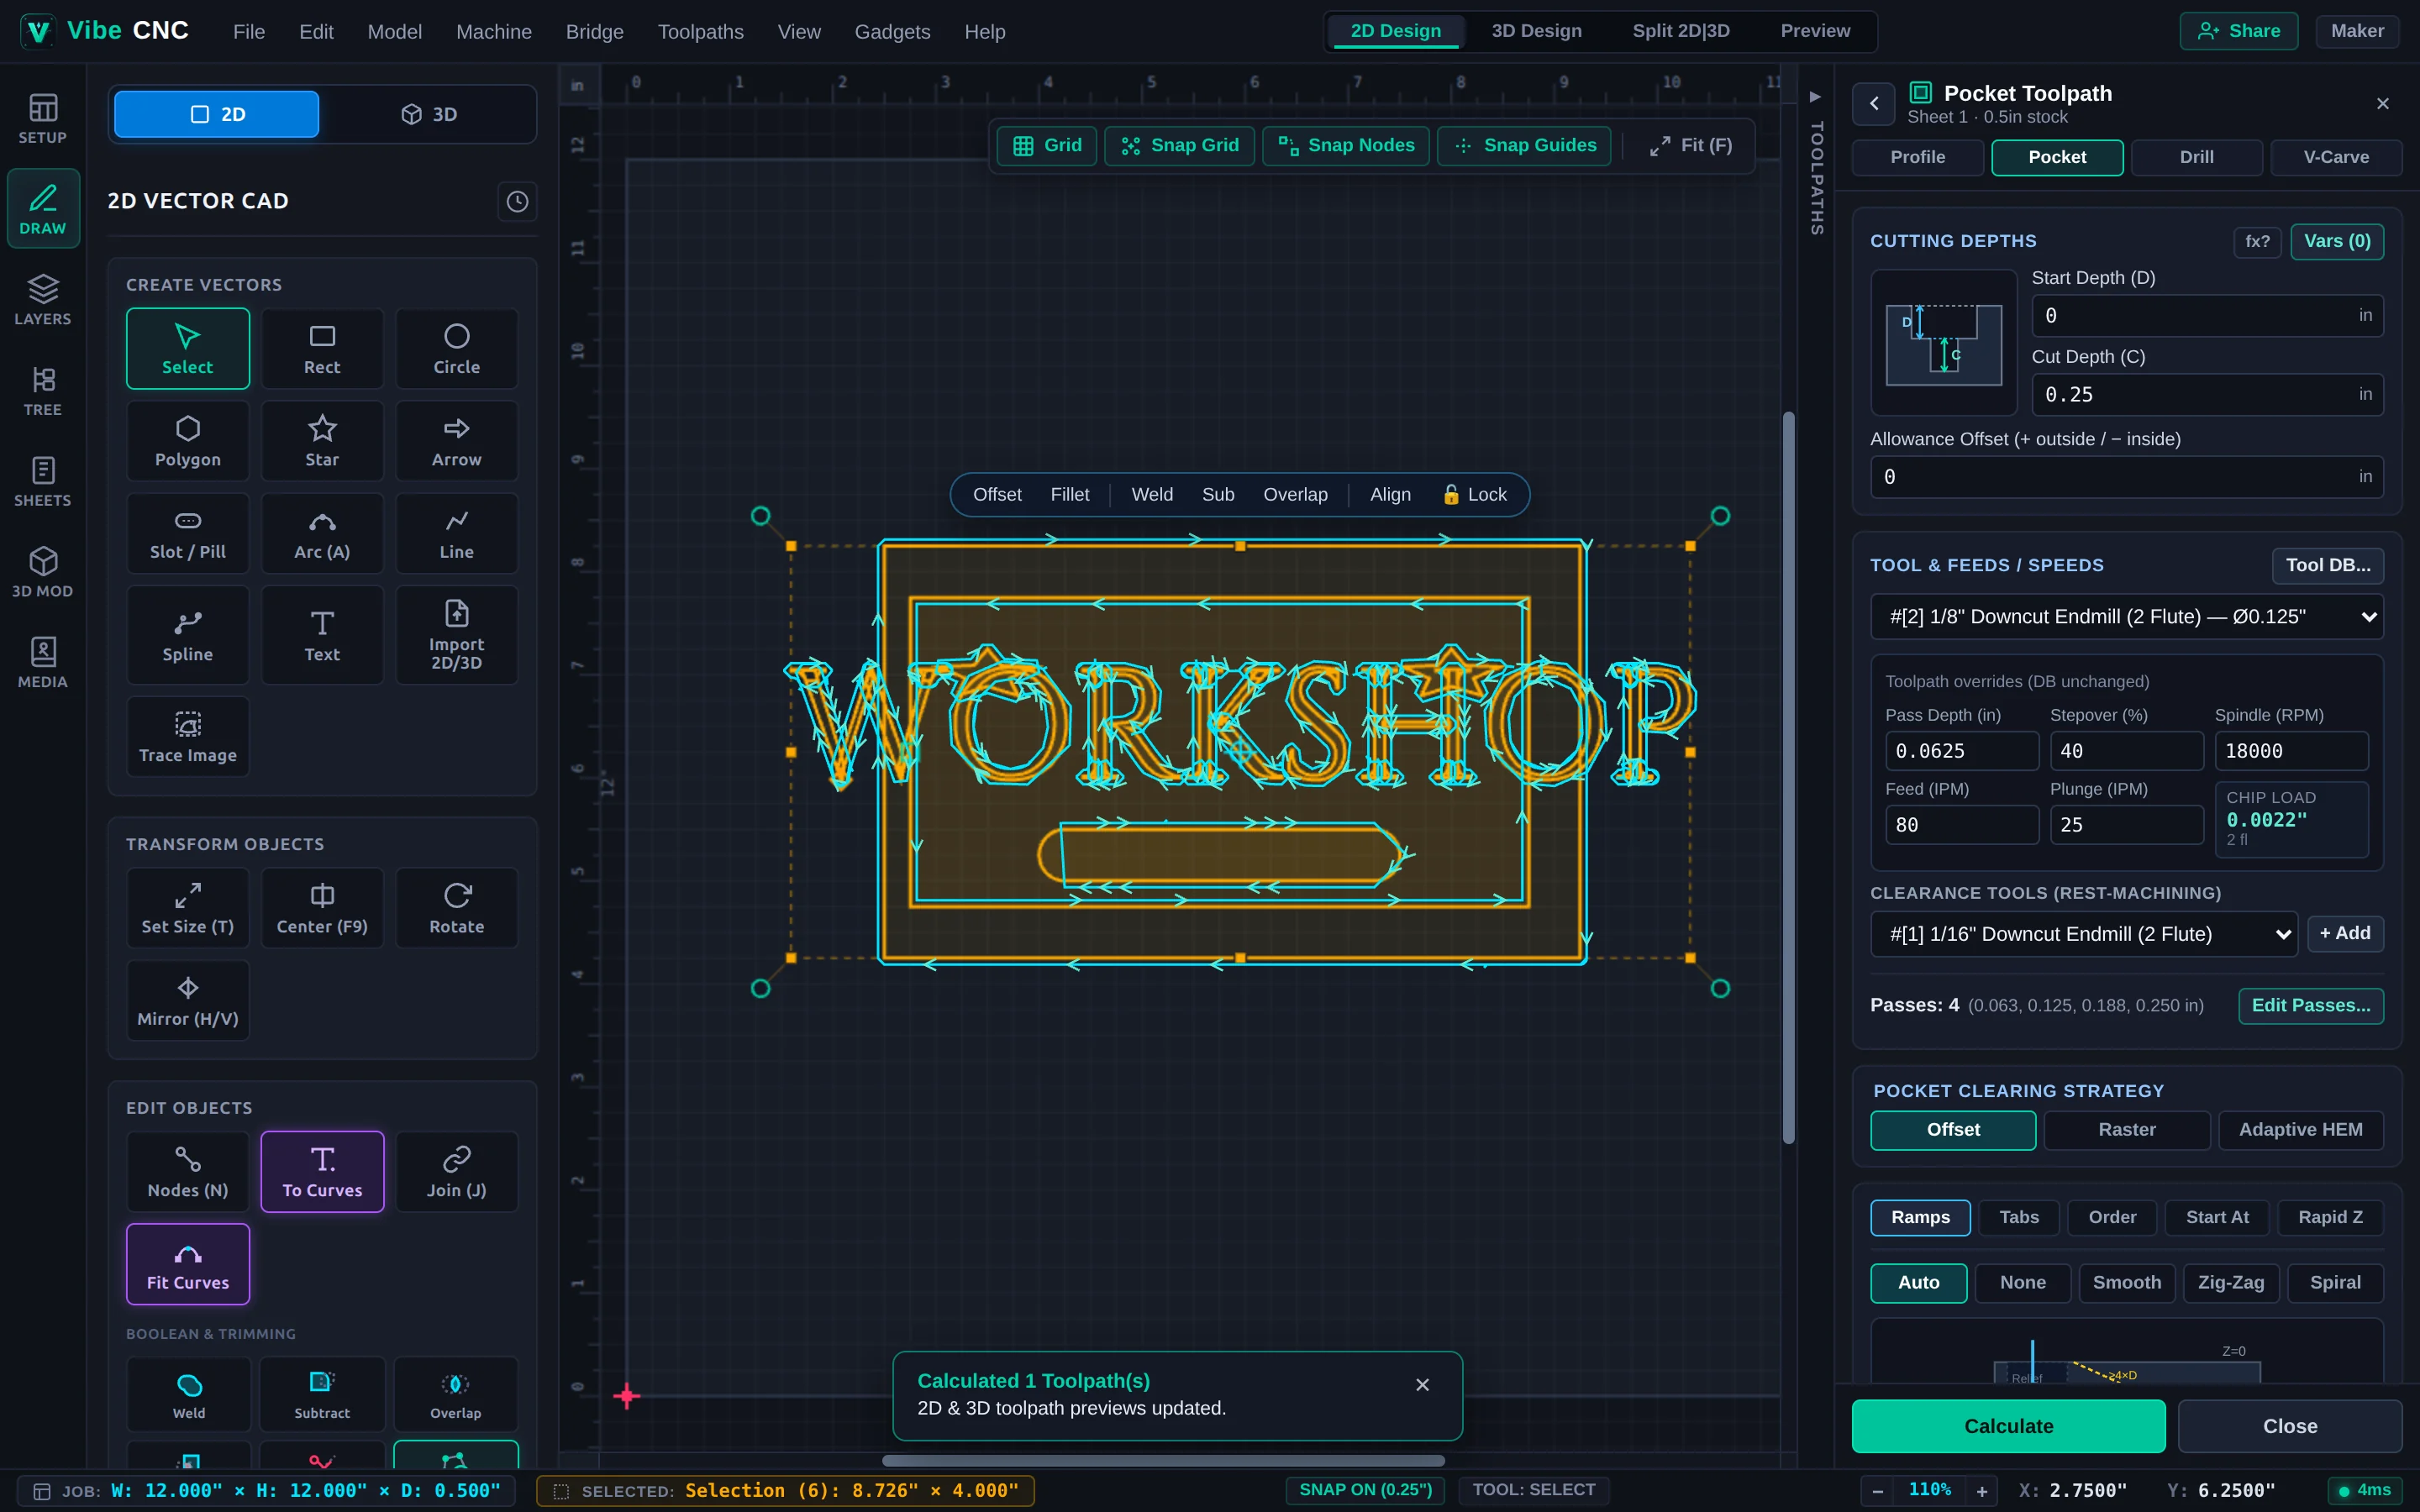
- Select your text, decorative stars, and the inner pinstripe border (leave the outer cutout border unselected).
- In the Right Drawer, click V-Carve.
- Set Start Depth (D) to
0.0. Check Flat Depth and set it to0.16"so wide letters do not plunge too deeply. - Pick your 60-degree V-Bit as the primary cutter. If the letters are wide, add a 1/8" Downcut End Mill as the clearance tool so flat bottoms clear quickly.
- Name the toolpath
VCarve Text & Frameand click Calculate.
Step 4: Cut the Sign Free with Holding Tabs
- Select only the outermost
10.5" x 6.5"rectangle. - Click Profile in the Right Drawer.
- Set Start Depth to
0.0and typeT+0.01in Cut Depth so the bit cleanly breaks through the bottom without scarring your spoilboard. - Select your 1/4" Downcut End Mill and choose Outside / Right so the finished plaque stays full size.
- Enable Add Tabs, set Length
0.4"and Thickness0.12", and check 3D Tabs so the bit ramps smoothly over four tabs placed on the straight sides. - Verify Smart Ramp Entry is active (it is on by default) and click Calculate.
Step 5: Simulate in 3D & Save G-Code
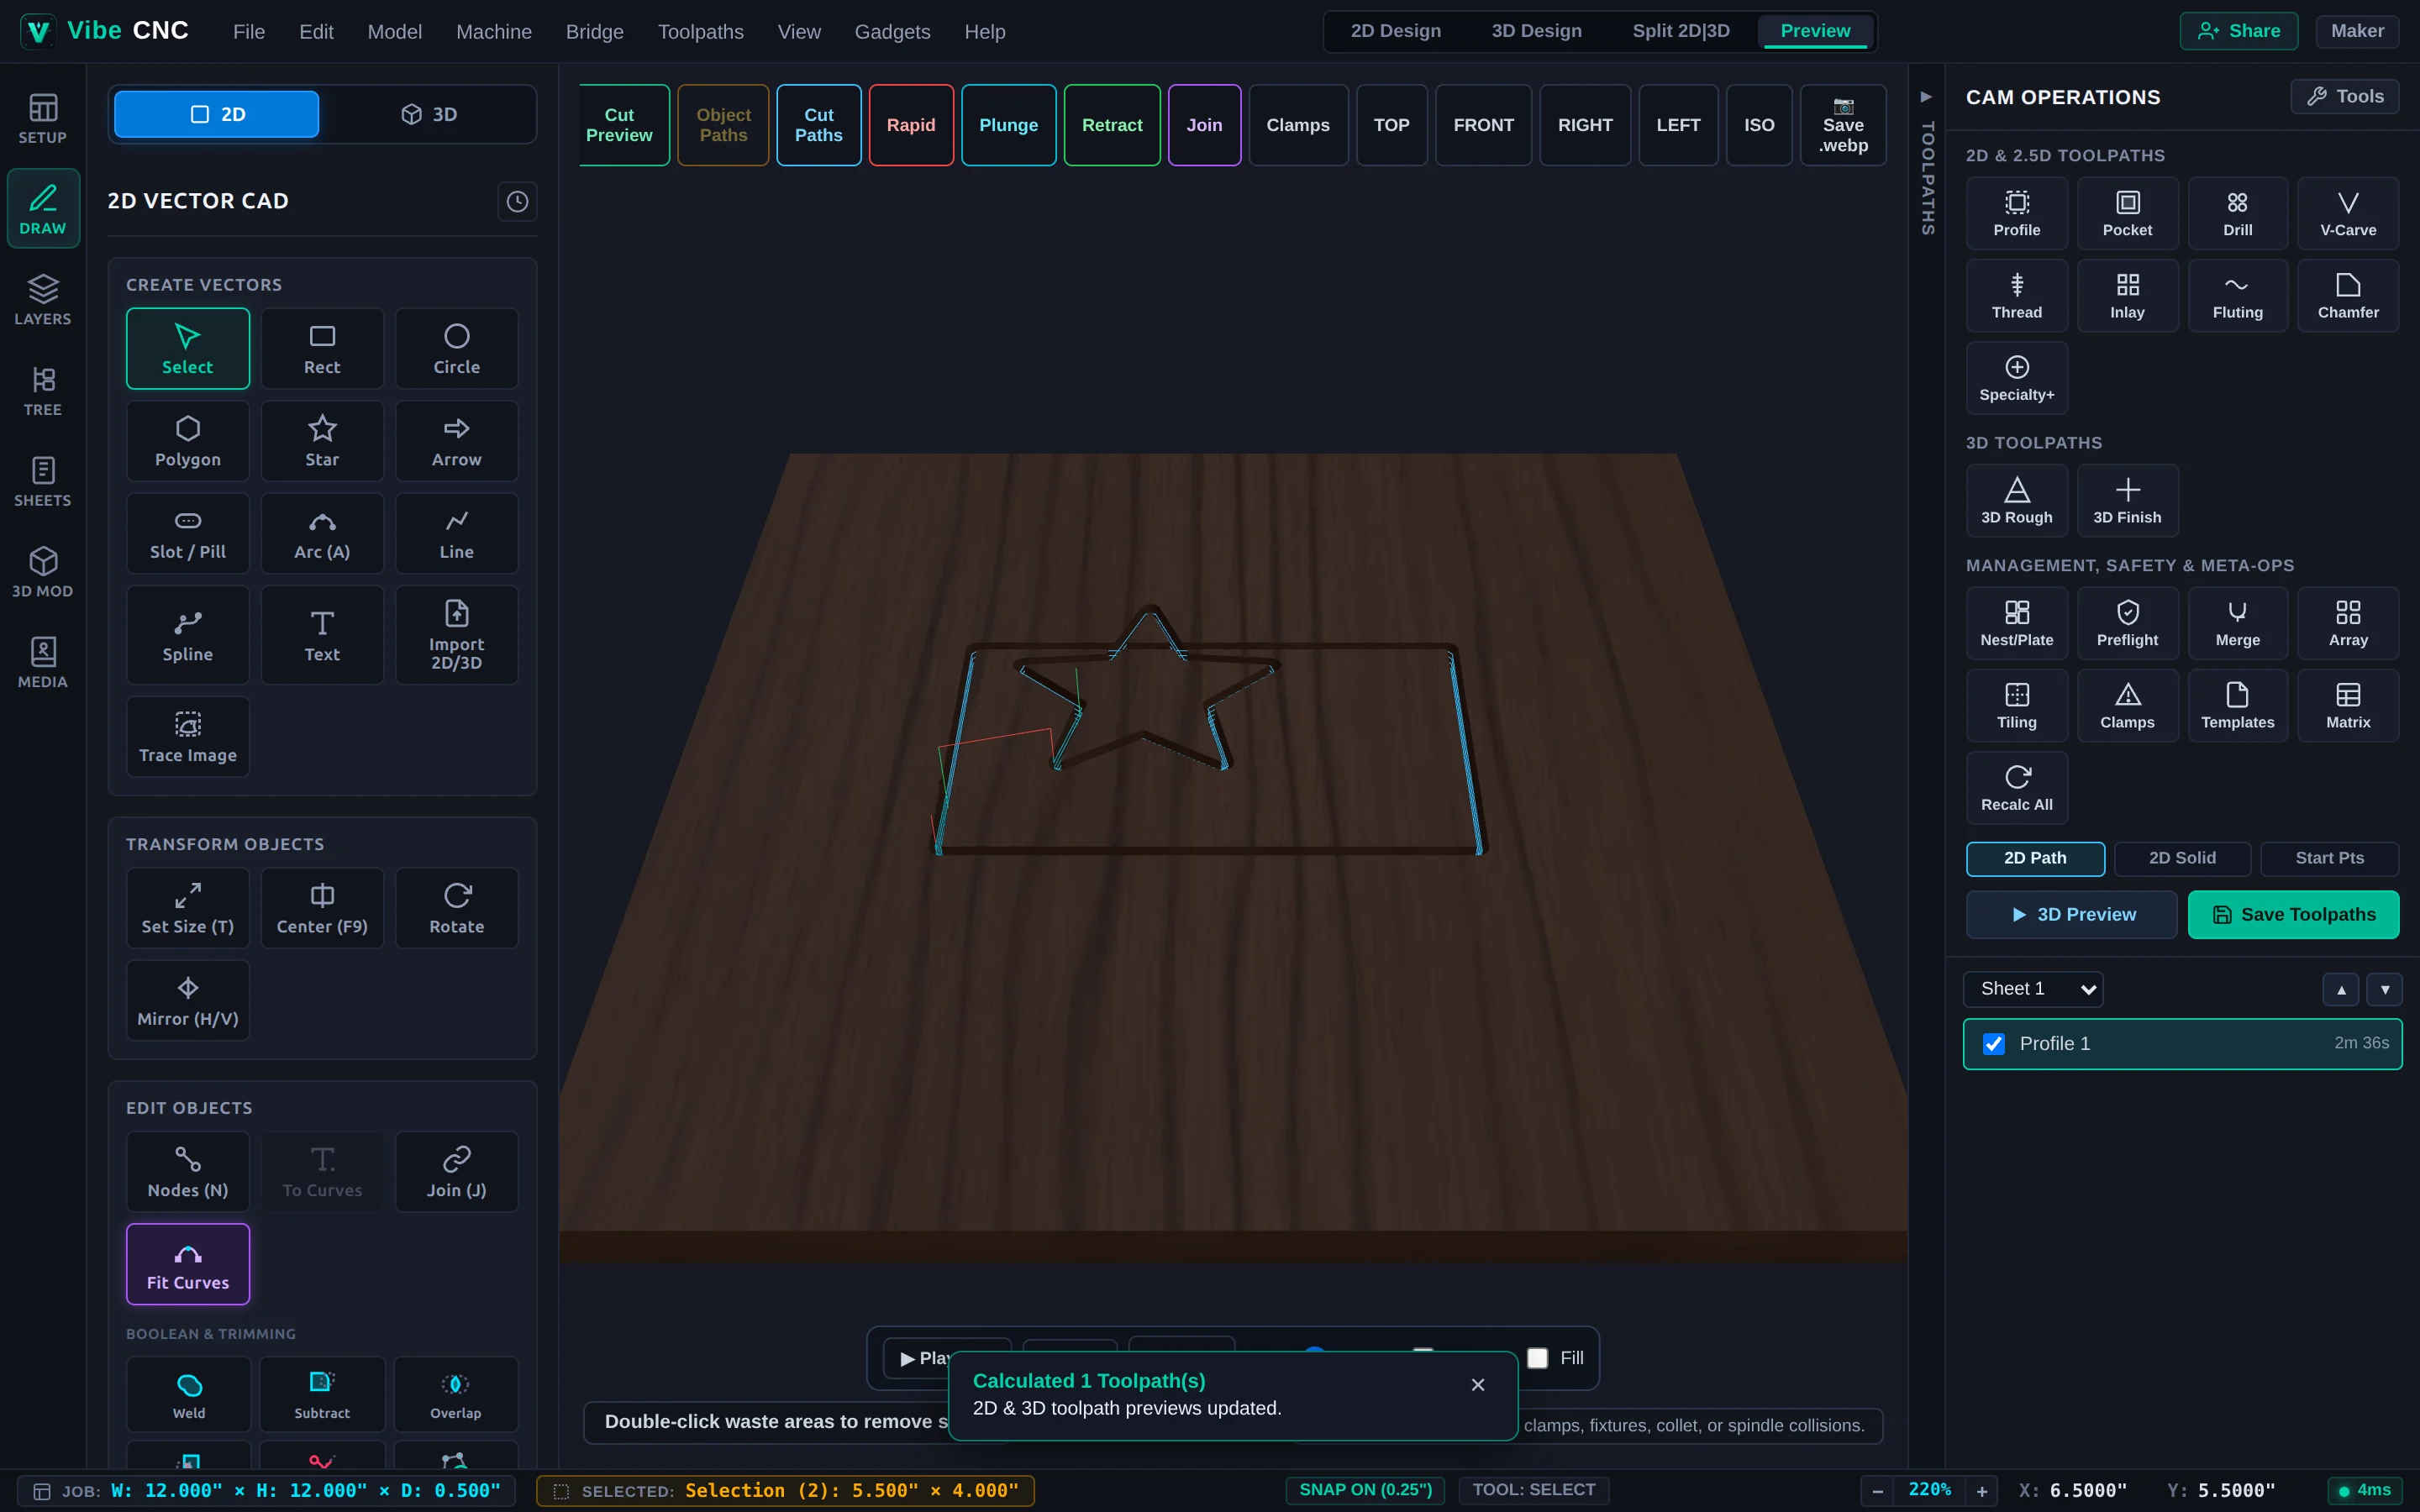
- Click 3D Preview in the Right Drawer and run the simulation. Orbit around the walnut sign to check letter depth, smooth corners, and the four holding tabs.
- Click Save Toolpaths, pick your machine post-processor (such as Onefinity or GRBL), and save each bit as its own numbered file (unless your machine has an ATC).
- Clamp your walnut board down, zero X/Y at the bottom-left corner and Z on the top face, run the V-Carve file first, swap to the 1/4" downcut bit, re-zero Z on the top face, and run the Profile cutout.