Shop Production: Templates, Keep-Out Clamps & Tiling
Streamline repeat shop jobs with layer-associated toolpath templates, Batch Edit, Keep-Out Clamps, Toolpath Tiling, and Multi-Sheet Batch Export.
When you move from one-off weekend projects to repeatable batch work or oversized architectural signs, clicking through every toolpath dialog by hand slows you down and invites mistakes. This walkthrough combines VibeCNC's five production tools into one repeatable shop workflow.
Step 1: Build a Layer-Associated Toolpath Template
- Organize your drawing onto standard shop layers:
Pockets_025,Drills_5mm, andCutout_Thru. - When creating each toolpath, open the Vector Selector, check Associate with toolpath, and bind the toolpath to its matching layer instead of selecting vectors manually.
- Click Templates in the Right Drawer and save all visible toolpaths as
Cabinet_Standard.json. - On your next job, import a new DXF or CSV cut list with the same layer names, load the template, and press Ctrl+Alt+R (Recalc All) to generate every toolpath automatically.
Step 2: Adjust Multiple Operations at Once with Batch Edit
Need to slow feedrates down by 15% when switching from birch plywood to dense hard maple? Hold Shift to select every toolpath in the Toolpath Tree (or click Select All on Sheet). The inline Batch Edit Inspector opens automatically, letting you update feed rate, spindle RPM, or pass depth across all selected operations in one step and click Apply & Recalc.
Step 3: Protect Hold-Down Hardware with Keep-Out Clamps
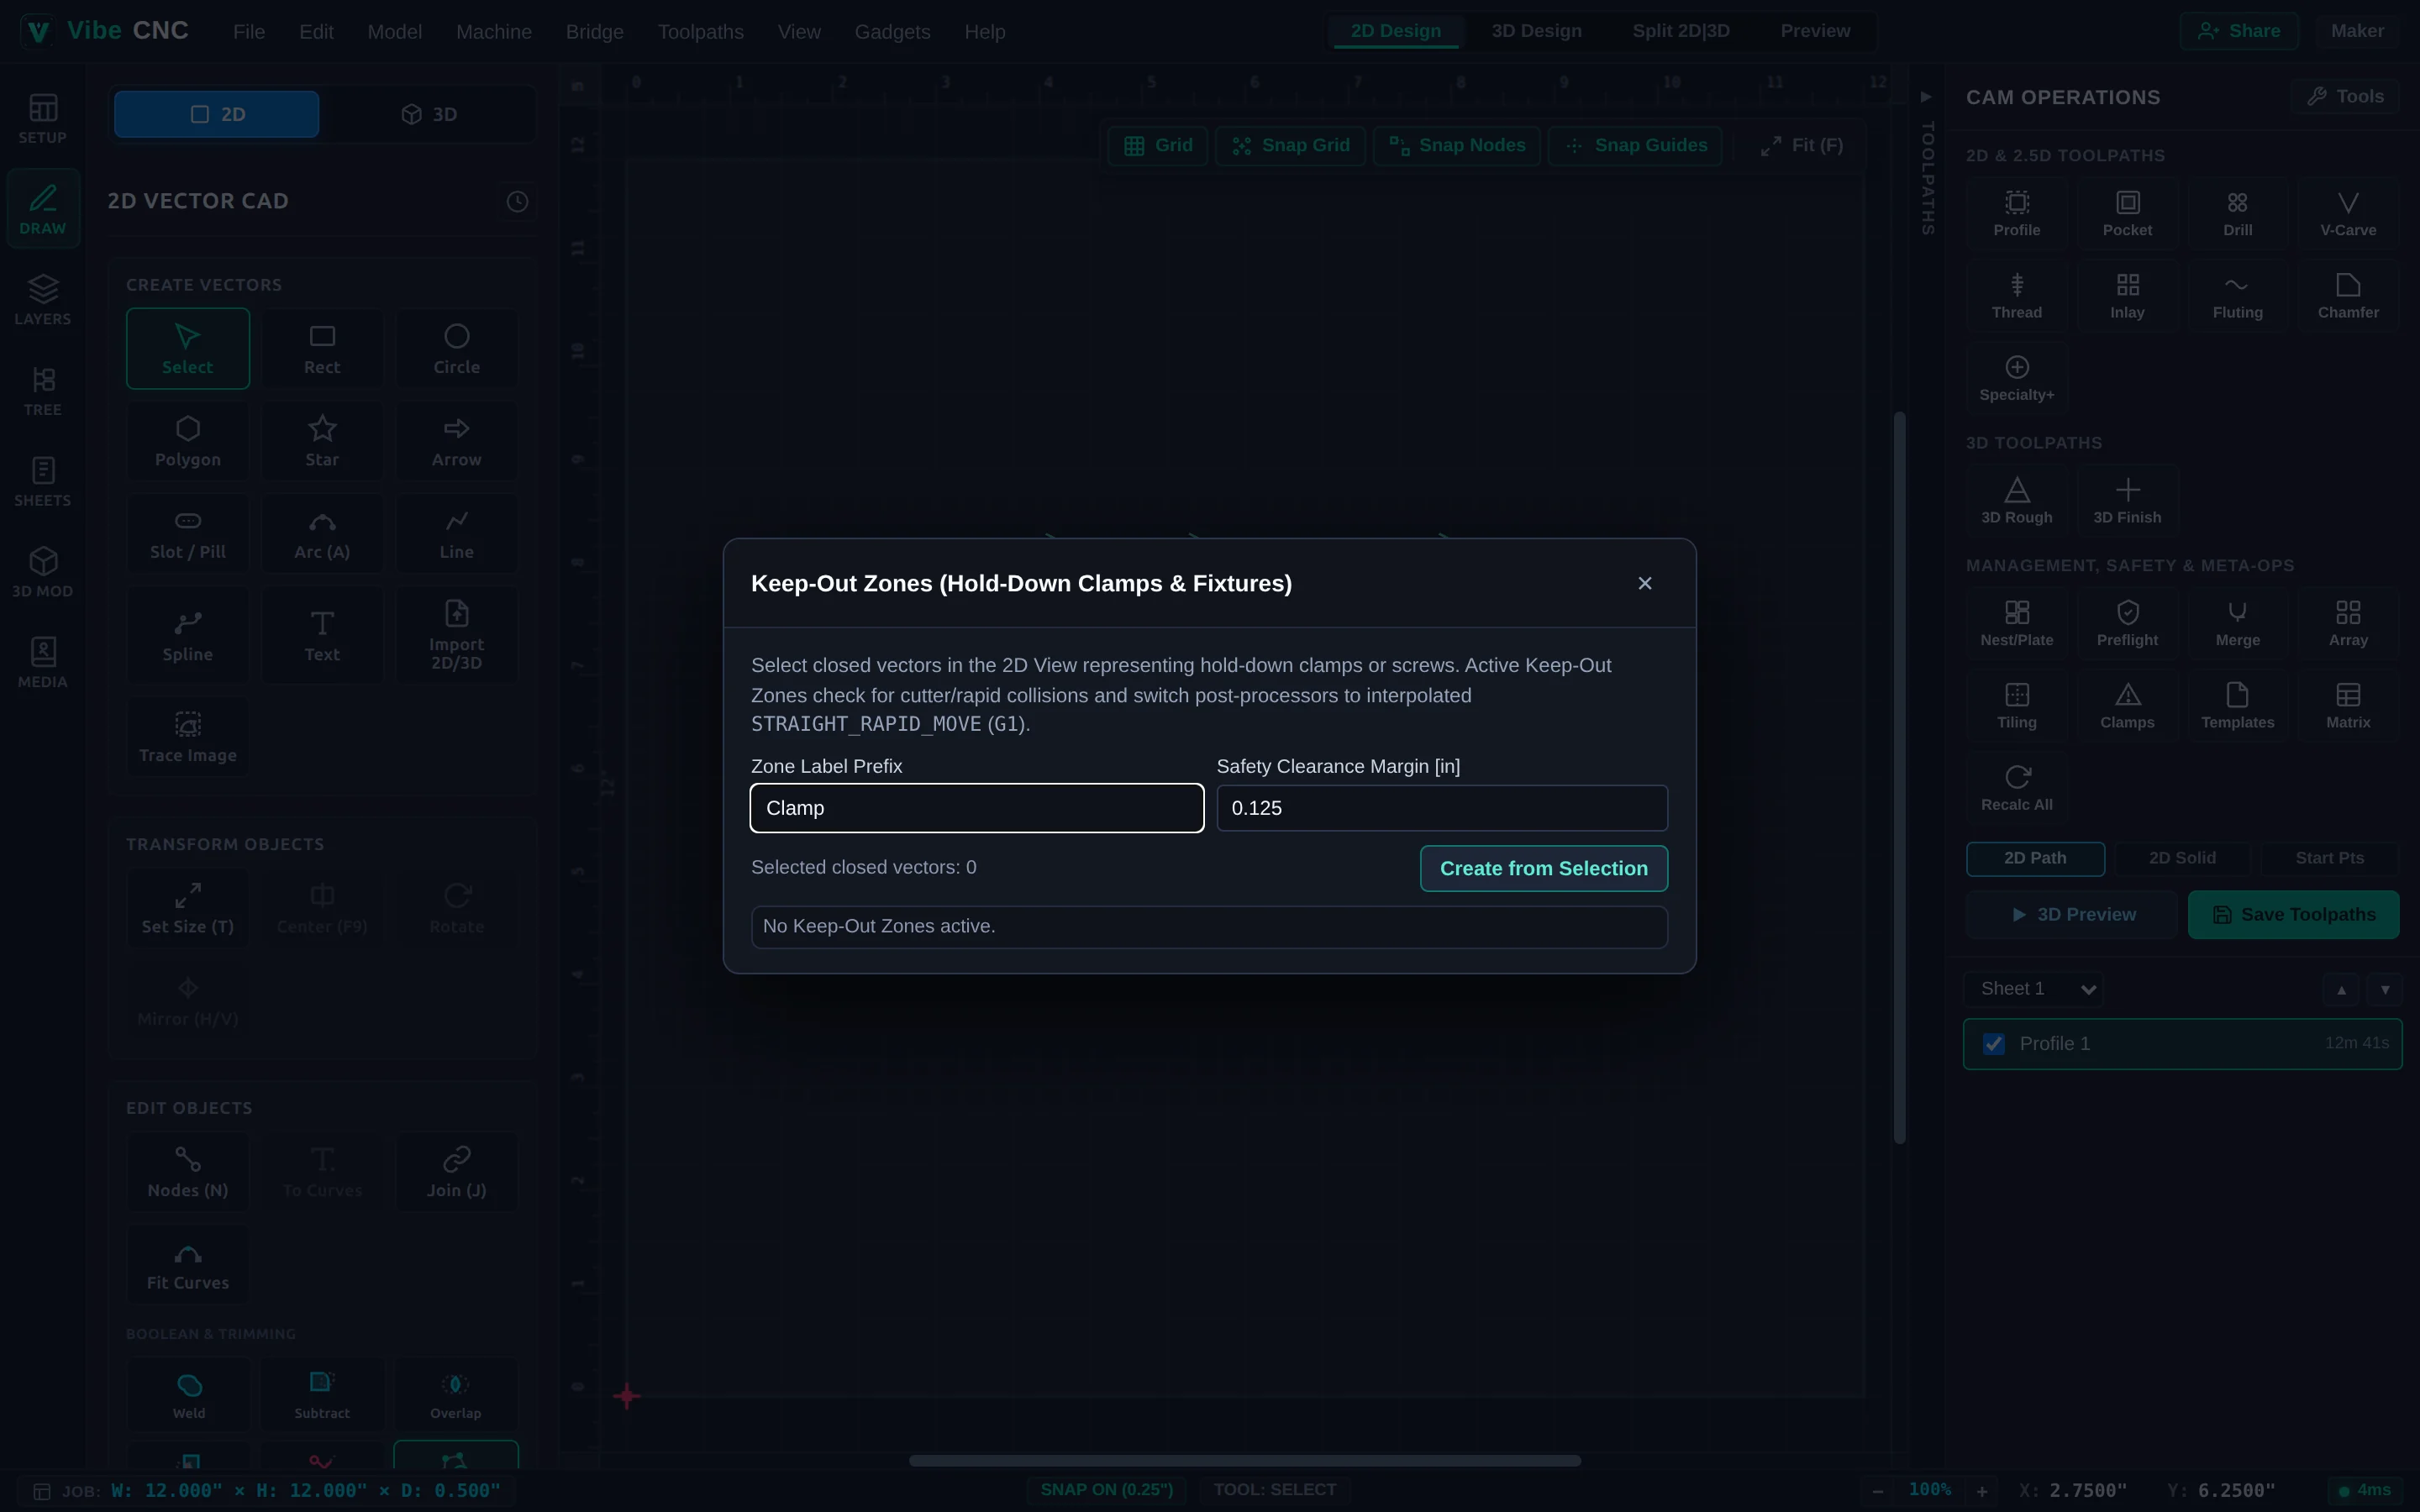
- Click Clamps in the Right Drawer and place clamp rectangles where your physical hold-downs sit along the board edges.
- Run Preflight before exporting. VibeCNC checks every rapid, stay-down link, and cutting move against those clamp zones and forces safe Z1 clearance retracts whenever a transition crosses hardware.
Step 4: Tile Oversized Signs & Batch-Export Multi-Sheet Jobs
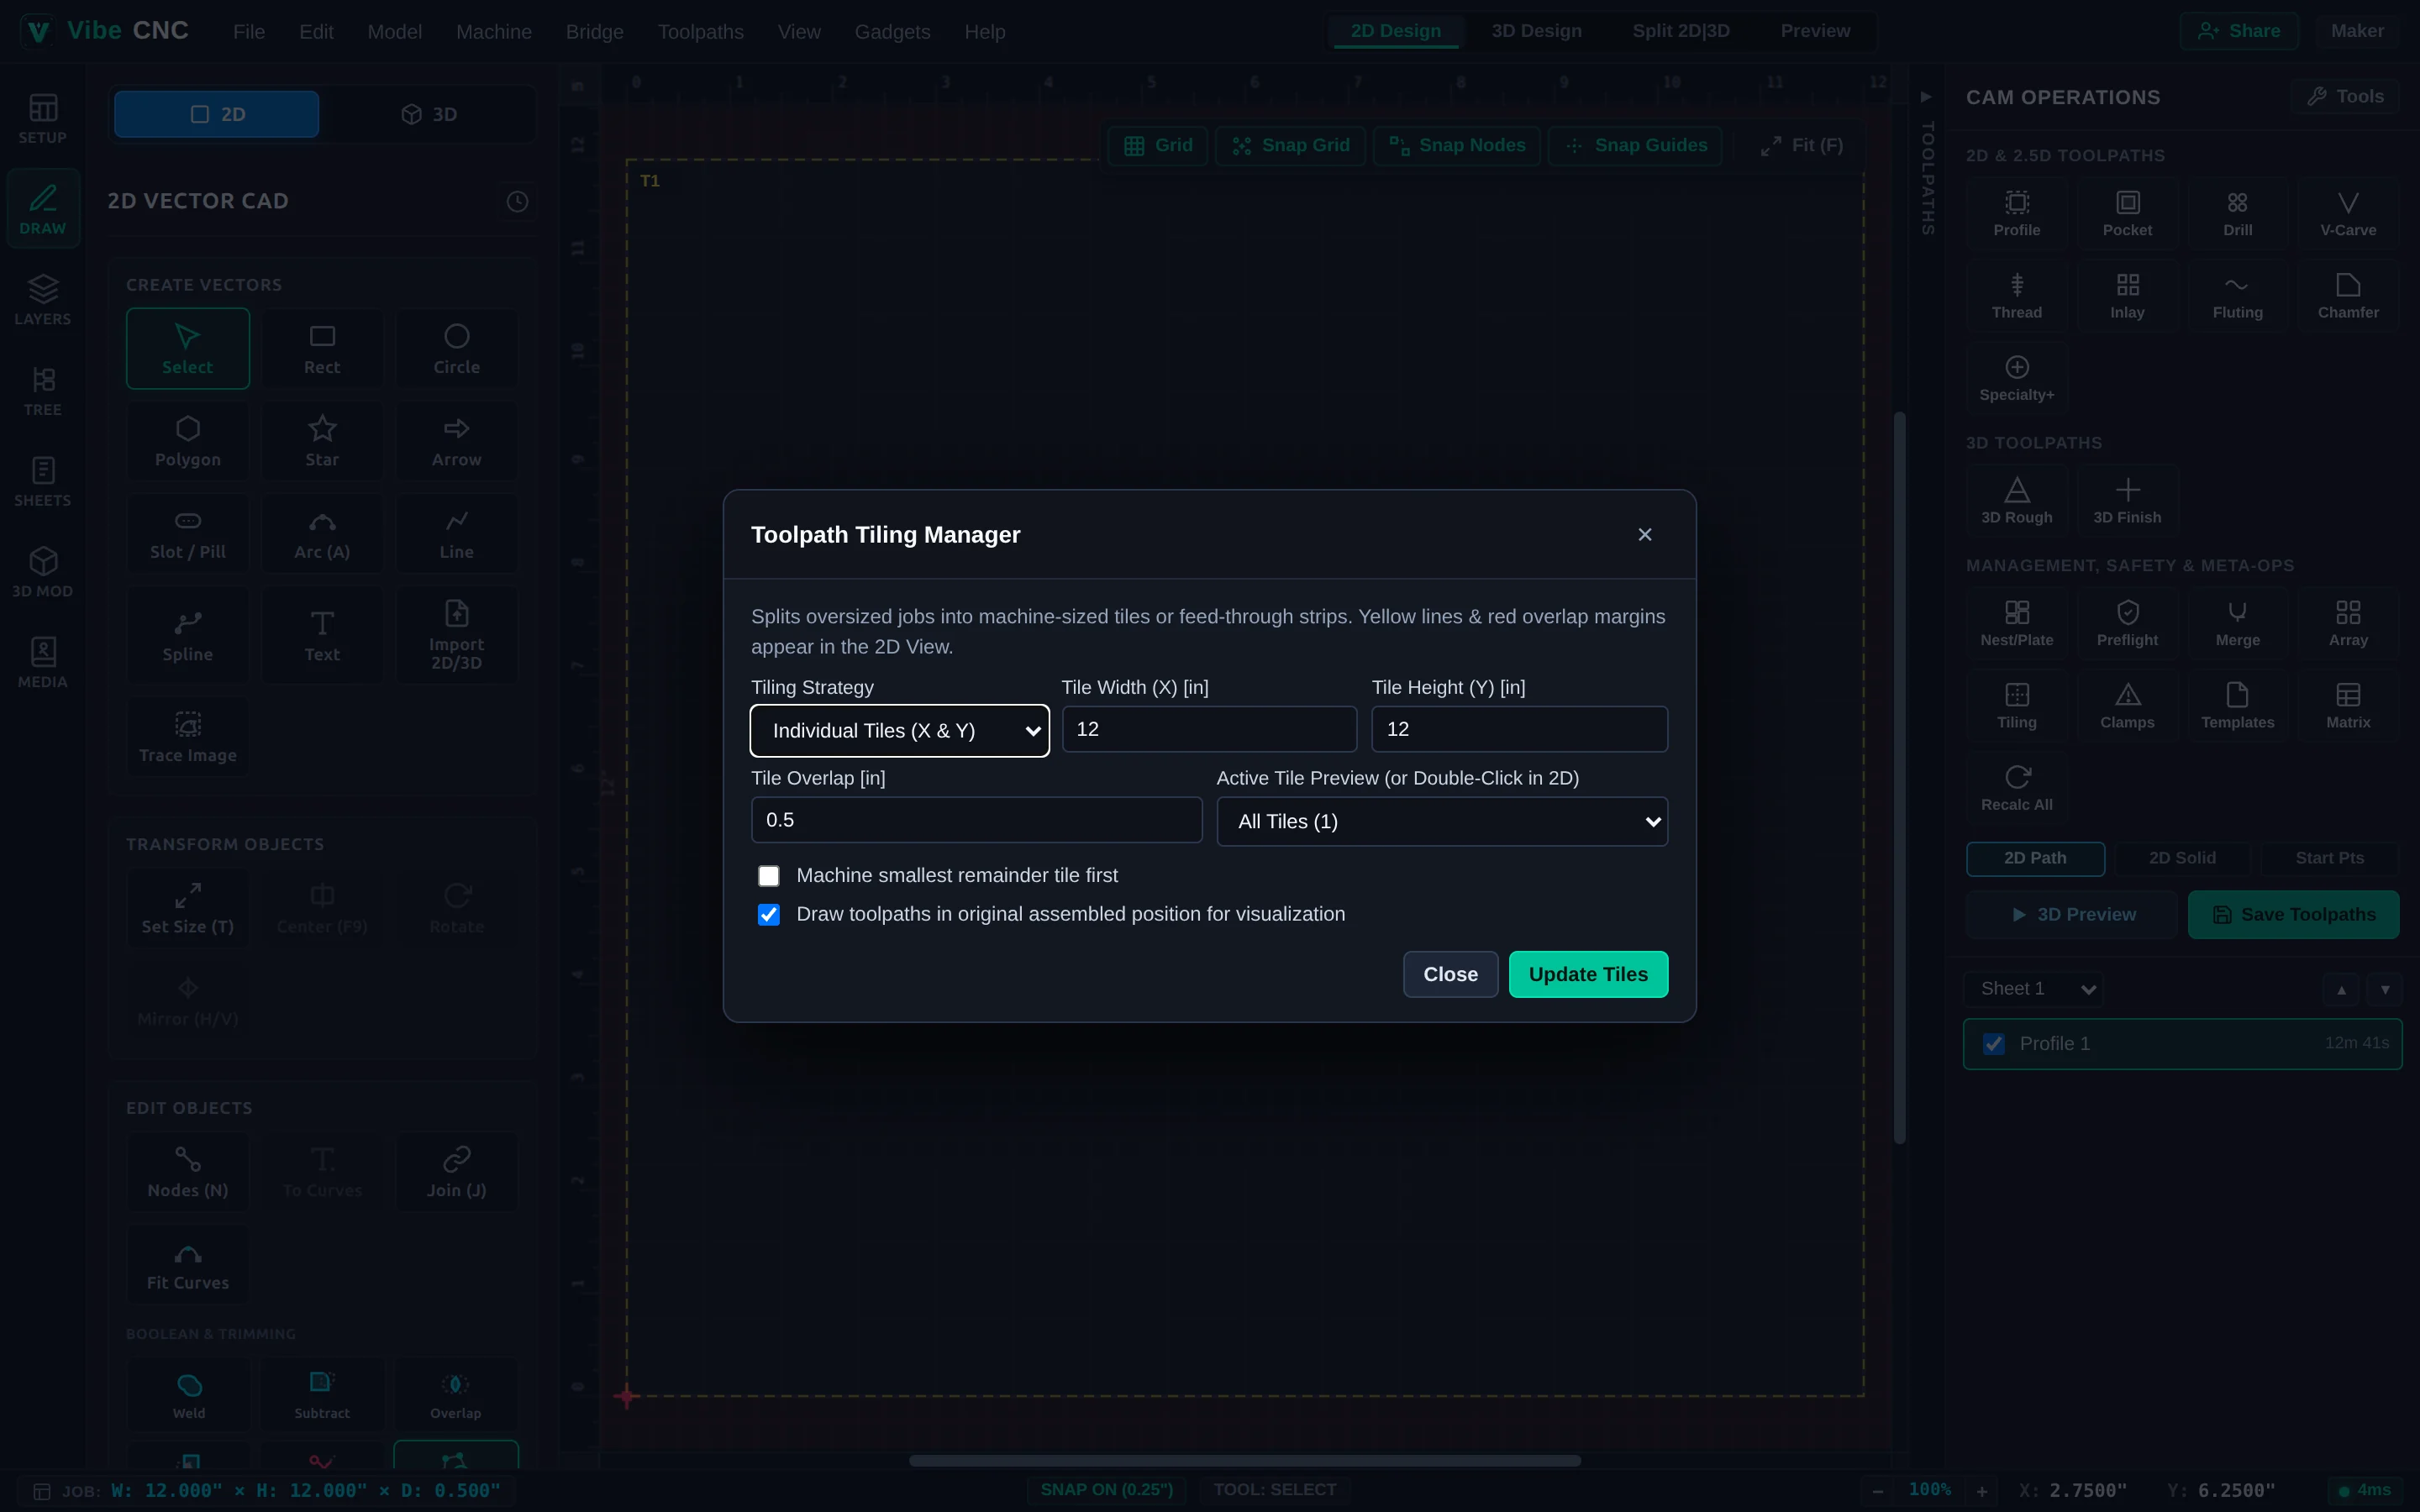
- Oversized Boards: Click Tiling in the Right Drawer, choose Feed Through Y (or X), set your machine's real cutting length (for example,
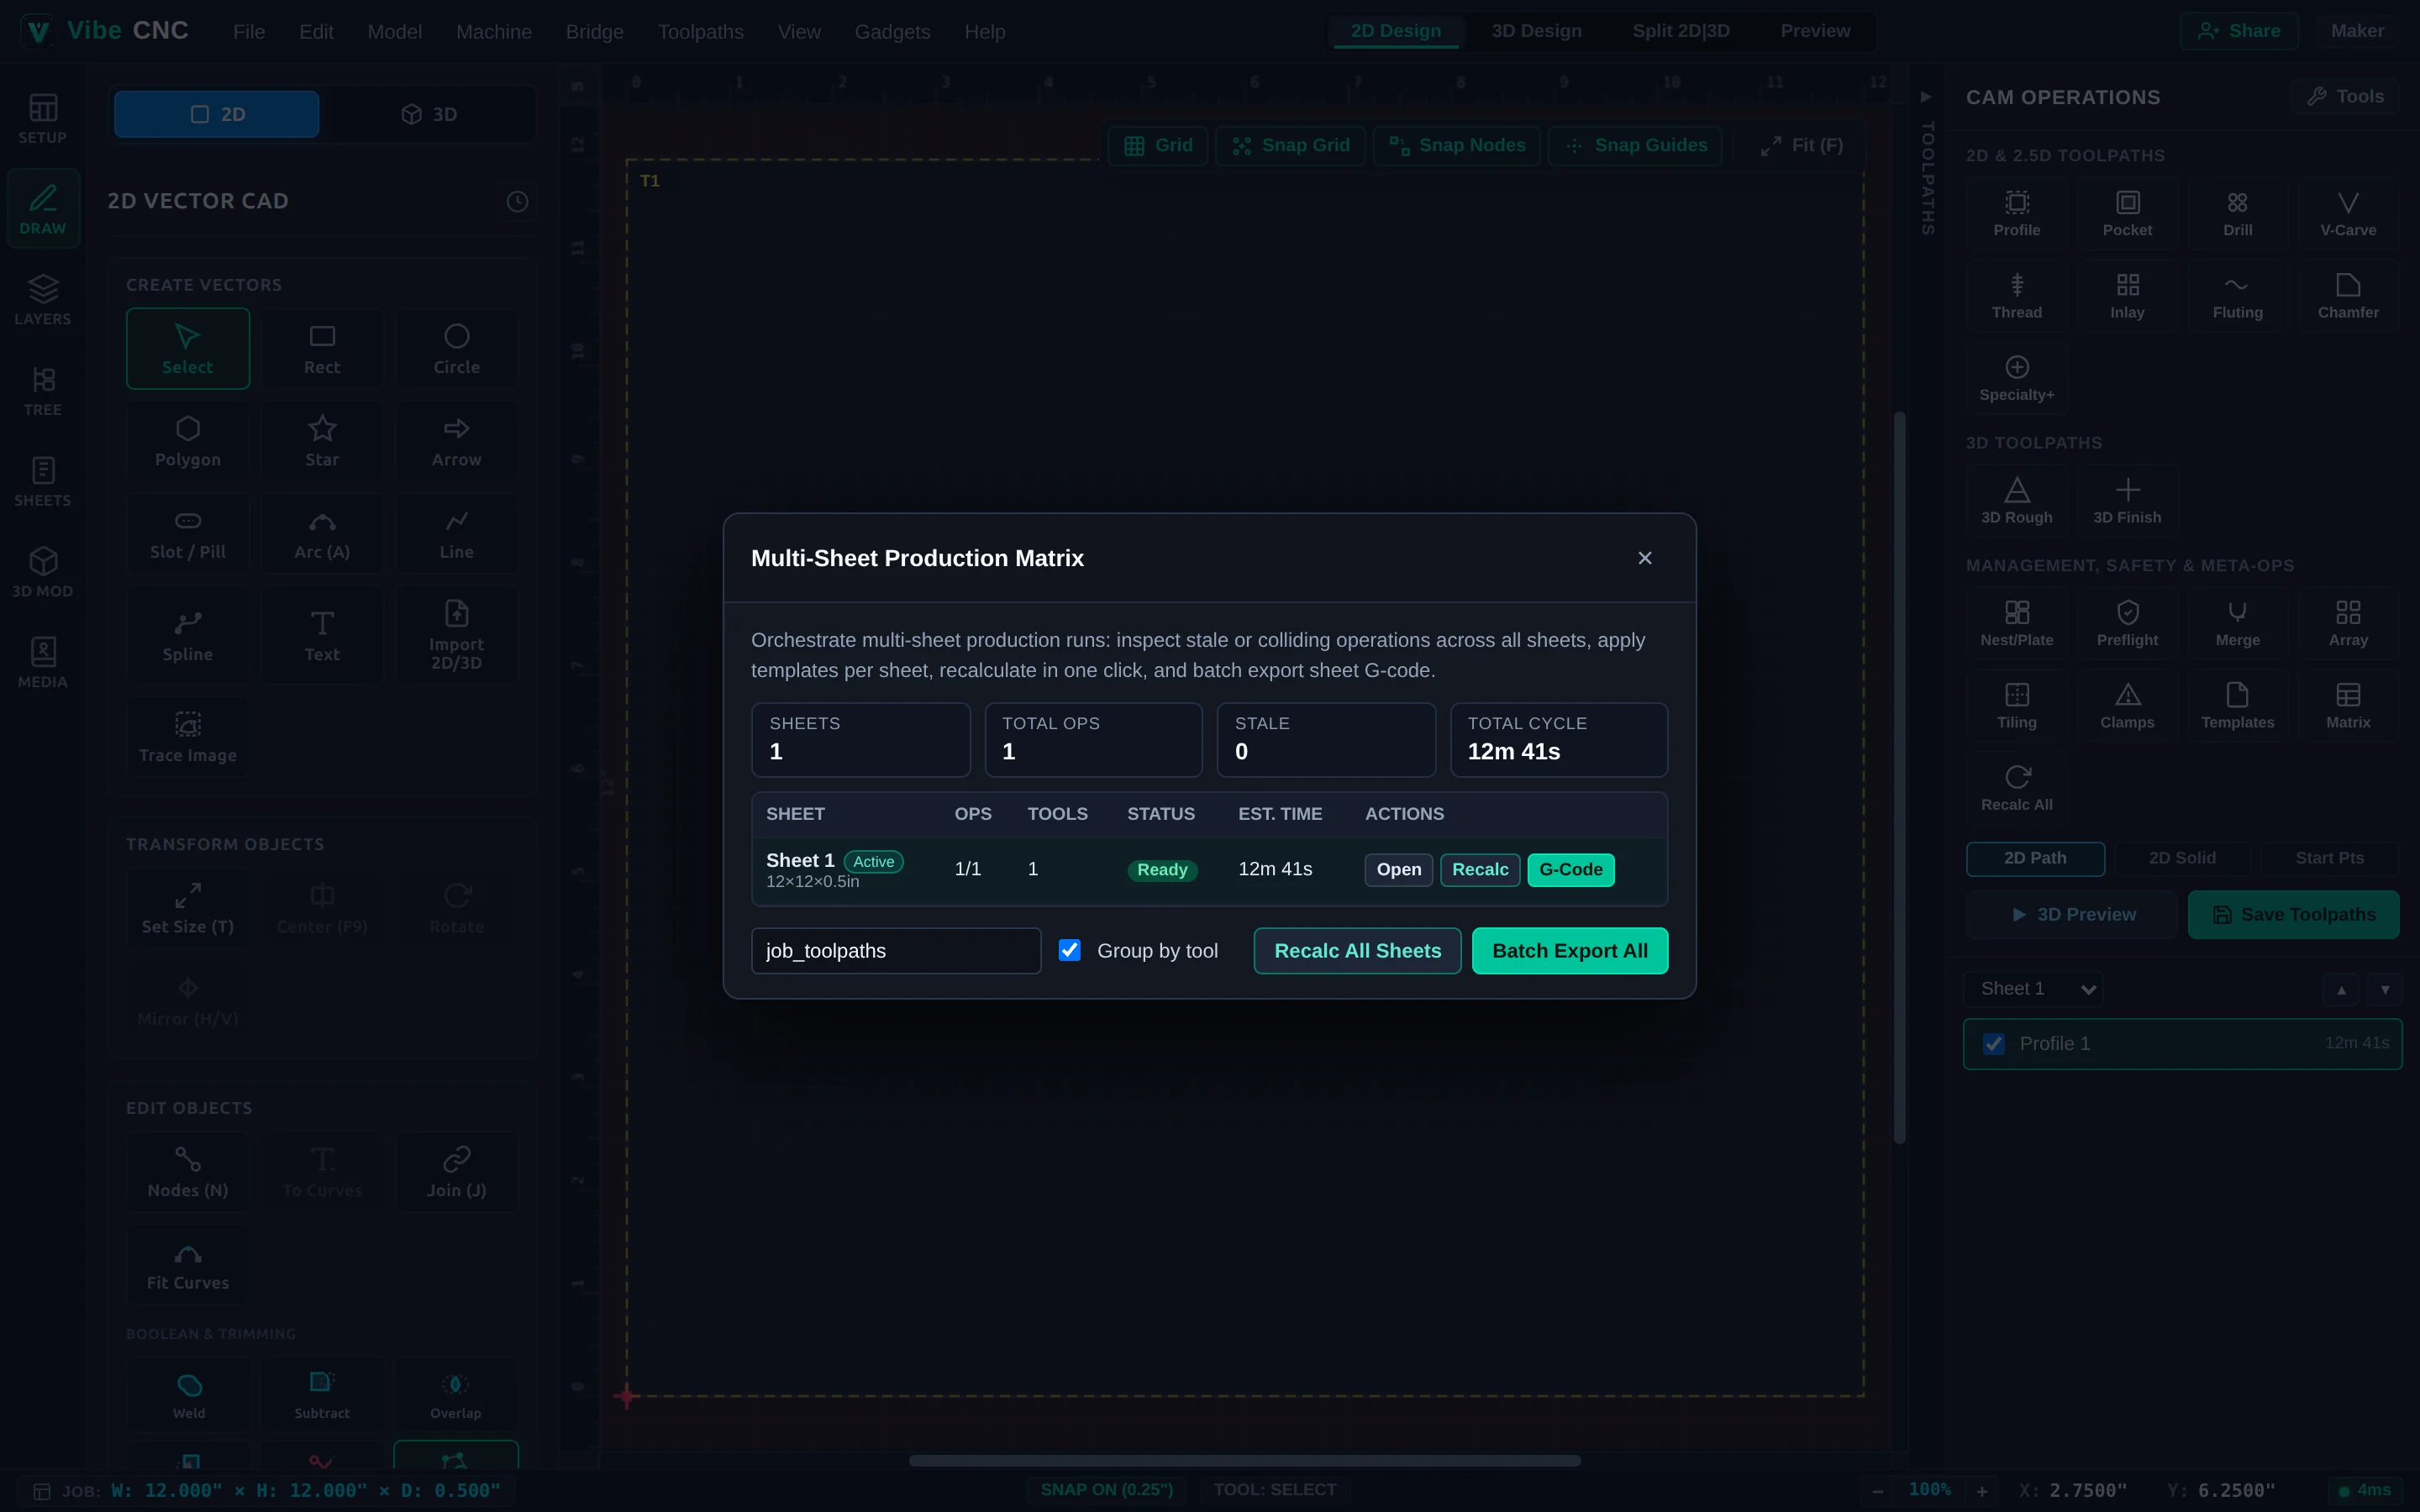
30"), and add a0.25"tile overlap so seams blend cleanly when you slide the board forward between tiles. - Multi-Sheet Cabinets: Click Matrix in the Right Drawer to inspect every sheet's status and cycle time side by side, recalculate all sheets with one button, batch-export G-code, and print a Job Setup Sheet for the shop floor.