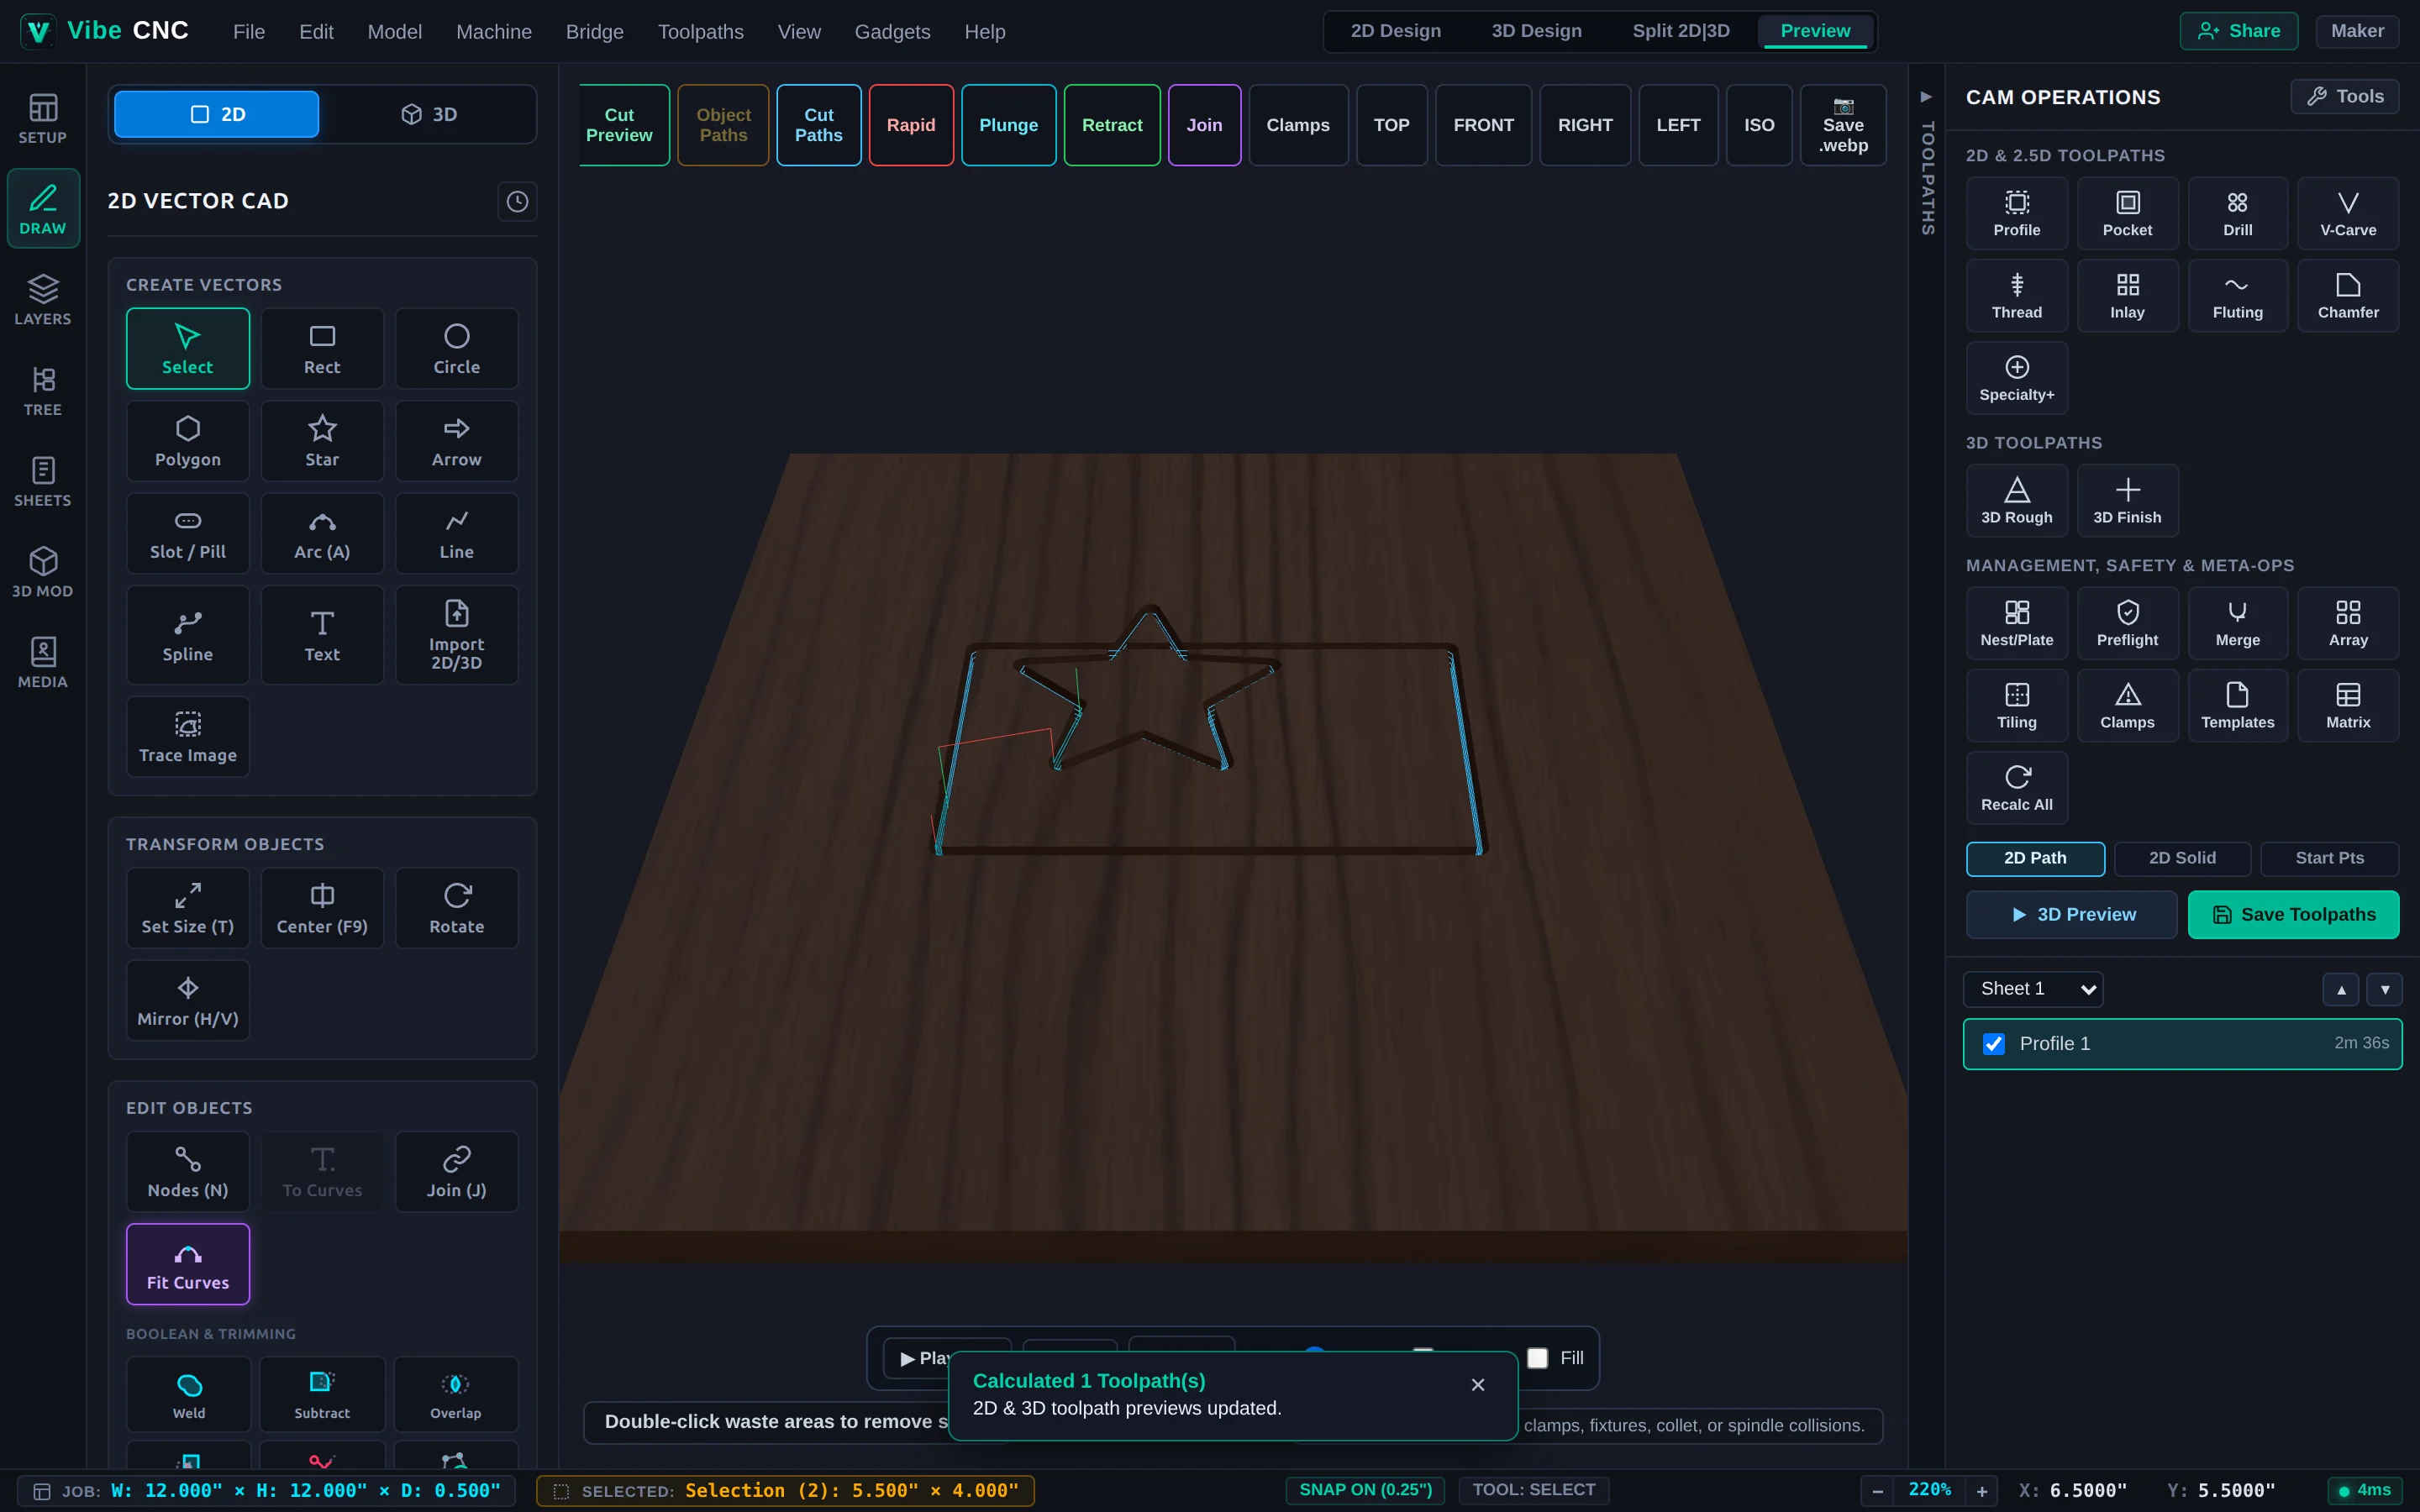
Sculpt & Machine a 3D Relief with VibeCNC Assistant
Build a domed 3D medallion relief from a 2D circle, apply draft angles and smoothing, and generate 3D Roughing and 3D Finishing toolpaths using conversational commands.
Creating a clean 3D relief and pairing it with properly configured 3D Roughing and 3D Finishing toolpaths usually takes several back-and-forth trips between the 3D Modeling tab and the Right CAM Drawer. With VibeCNC Assistant, you can describe the 2D profile, 3D relief height, draft angle, and finishing bits in plain English and inspect the result in 3D right away.
Step 1: Start a Clean Job & Open VibeCNC Assistant
- Open a fresh VibeCNC workspace (
12" x 12" x 0.50"or set your own hardwood blank size in Setup, or simply ask the Assistant:Set job setup to 10 x 10 x 0.75 inches in inches with material surface Z-zero). - Press Ctrl+Shift+K (or click Assistant in the top-right header) to open VibeCNC Assistant.
Step 2: Extrude a 3D Domed Relief & Calculate 3D Toolpaths
- Send this single prompt to build the 2D base vector, sculpt the 3D relief, add draft for clean vertical walls, and calculate both 3D toolpaths:
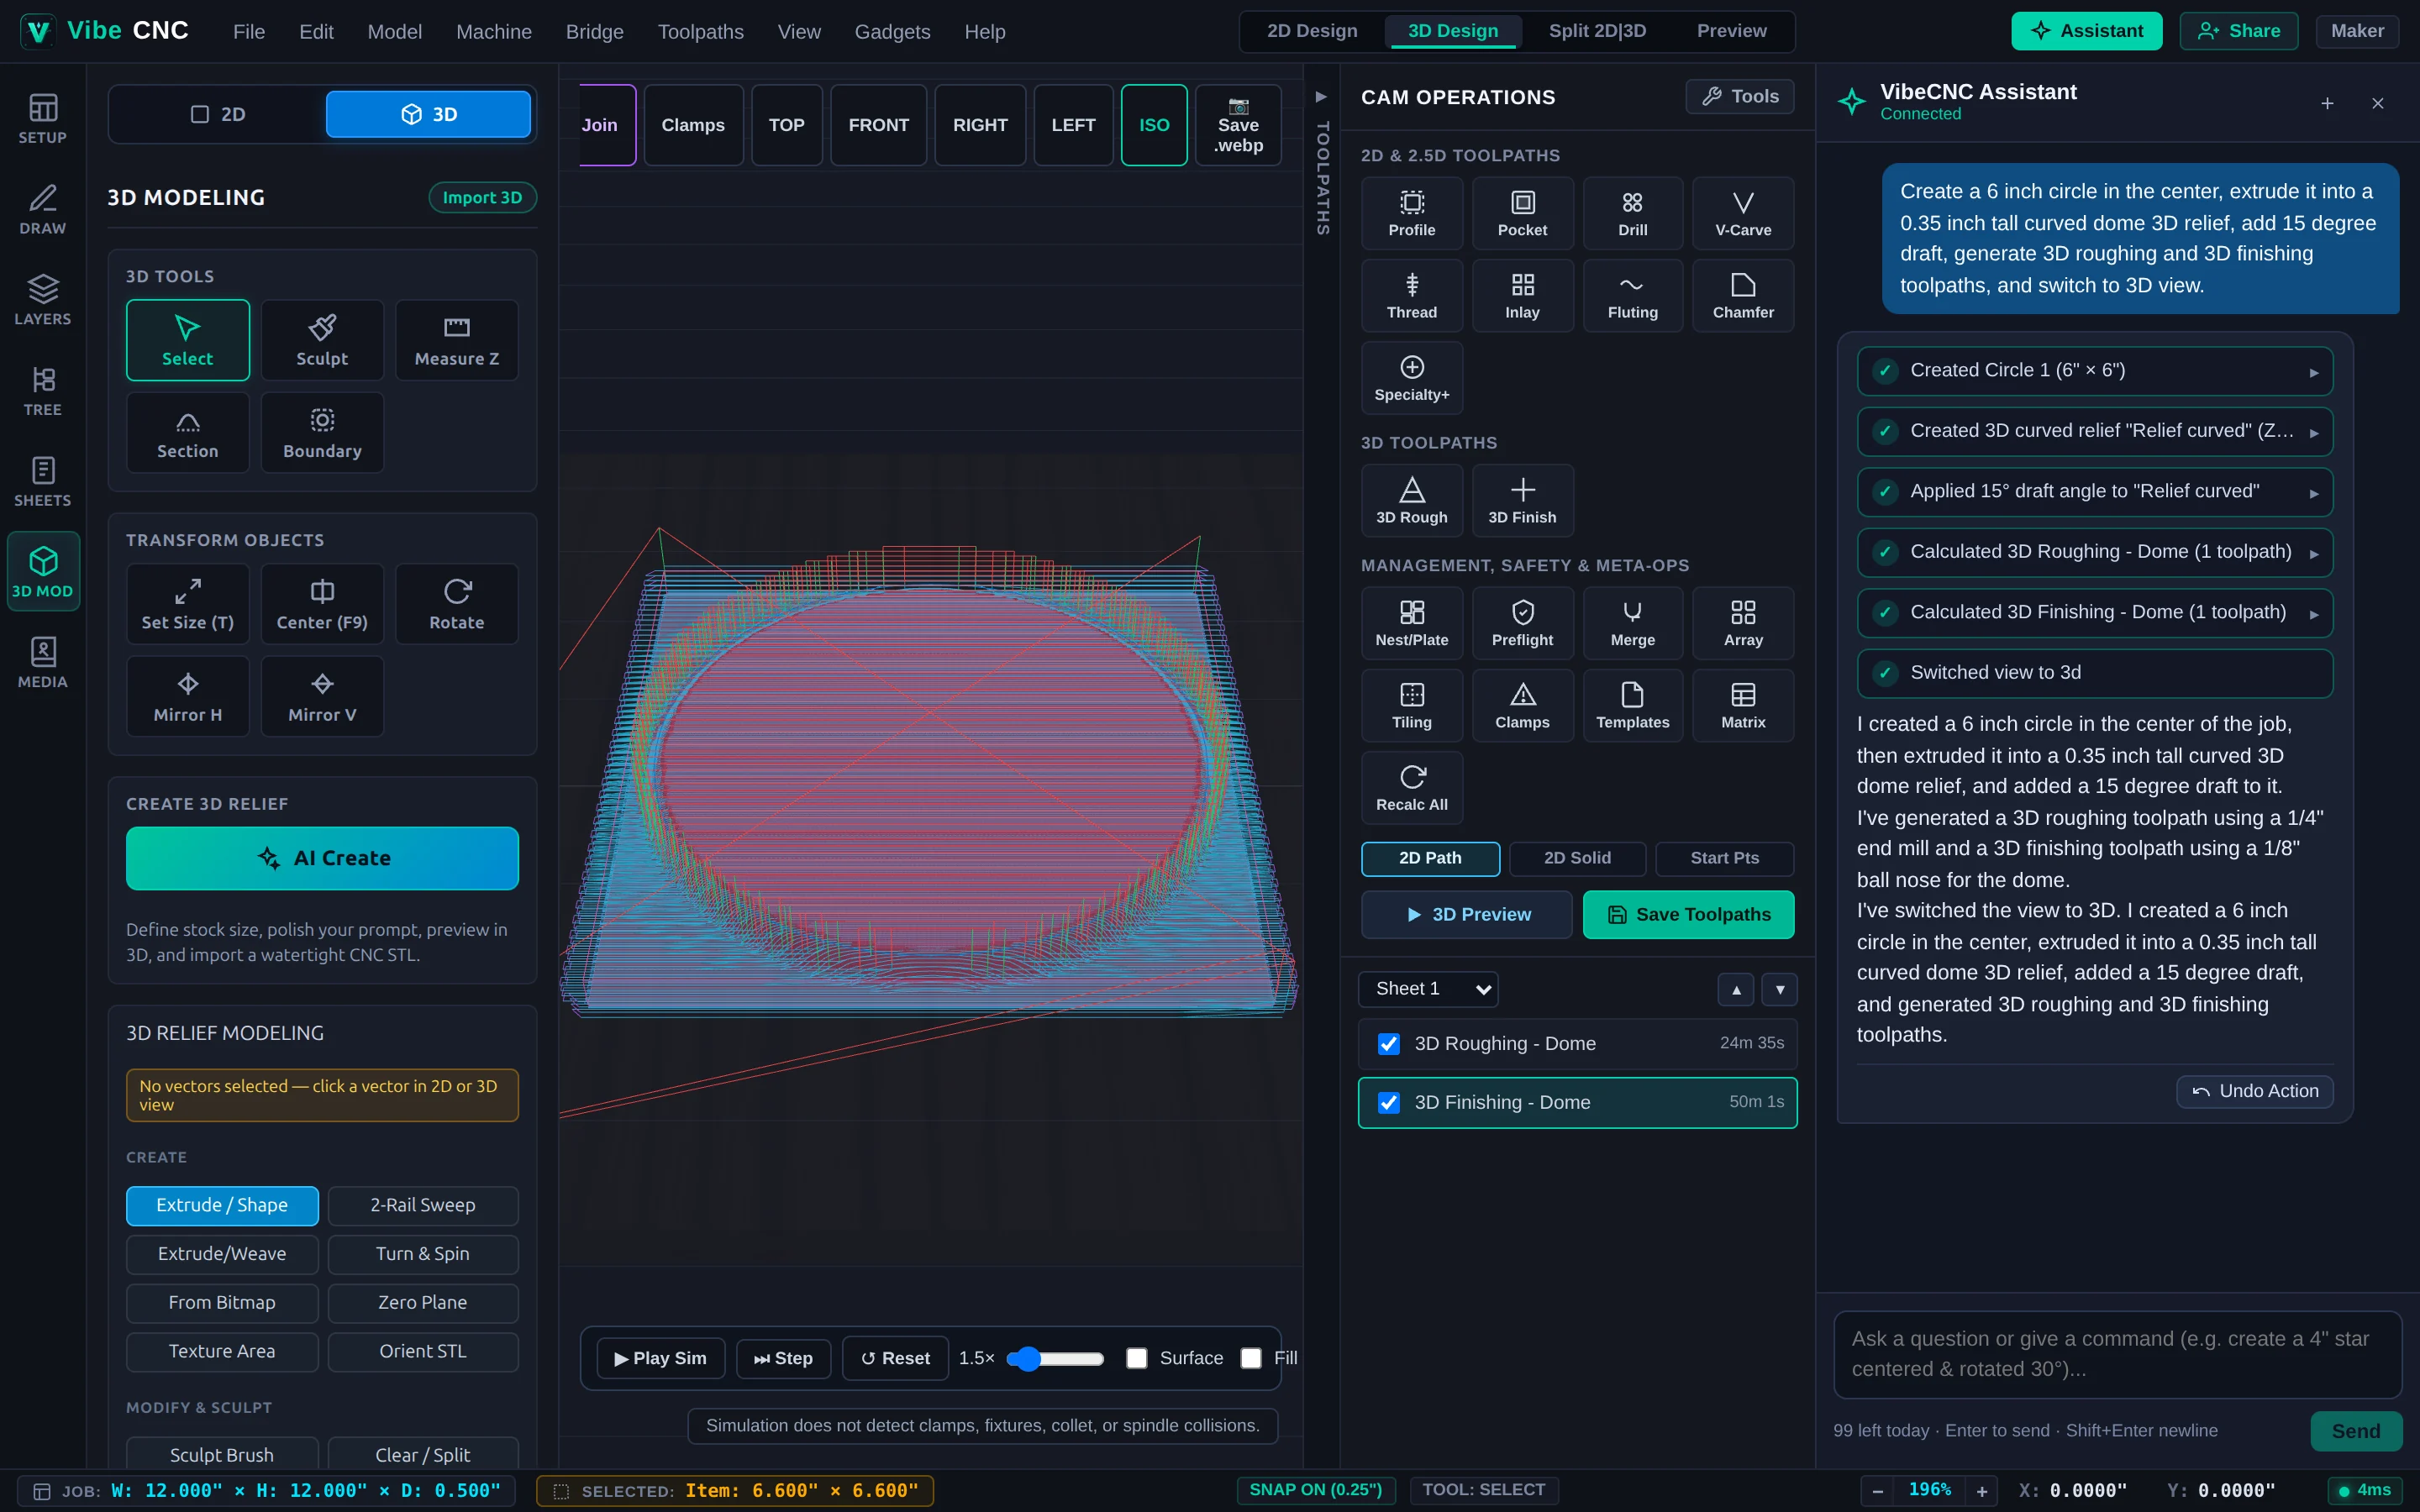
Create a 6 inch circle in the center, extrude it into a 0.35 inch tall curved dome 3D relief, add 15 degree draft, generate 3D roughing and 3D finishing toolpaths, and switch to 3D view. - VibeCNC Assistant runs each operation automatically:
- Creates the centered
6"circle on the 2D canvas. - Extrudes a
0.35"tall curved dome 3D relief component. - Applies a
15-degreedraft angle so the cutter clears the outer rim without rubbing. - Calculates a 3D Roughing toolpath with a
1/4"downcut end mill (leaving a finishing machining allowance) and a 3D Finishing toolpath with a tapered ball nose bit. - Switches the viewport straight to 3D Design so you can orbit around the dome and inspect both toolpaths.
- Creates the centered
Step 3: Refine Height, Smoothness & Procedural Textures
Once the base relief is on screen, you can iterate conversationally without rebuilding from scratch. Try any of these follow-up prompts:
- Soften transitions:
Smooth the active 3D relief with 2 iterations at 0.5 strength. - Adjust exact Z height:
Scale the 3D relief exact Z height to 0.30 inches and recalculate all toolpaths. - Add a background Zero Plane:
Add a zero plane so the outer rim machines cleanly without ragged edges. - Add decorative texture: Select a border vector and ask:
Create a 3D scallop texture area 0.08 inches deep inside the selected vector.
Adding a 10-degree to 15-degree draft angle keeps ball-nose and tapered ball-nose flutes from rubbing along steep vertical walls, while a Zero Plane gives the 3D Finishing pass a clean reference surface around the base of your medallion.
Step 4: Simulate in 3D Preview & Save G-Code
- Ask the Assistant
Switch to preview view(or click Preview in the top header) and click Play Sim to watch the 1/4" roughing pass clear bulk stock followed by the fine ball-nose finishing pass. - Check the estimated cycle times in the Right Drawer Toolpath Tree. If you want a smoother finish, ask the Assistant to tighten the finishing stepover to
8%or10%and recalculate. - Click Save Toolpaths to export your roughing and finishing G-code files for your CNC controller.