
Pocketing & Dog-Bone Joinery: Slotted Desk Organizer
Build a modern plywood desk organizer with recessed catchall trays, snug tab-and-slot dividers using Dog-Bone fillets, and multi-tool pocket clearing.
Flat-pack plywood joinery is where CNC routers shine, provided you account for two realities of round router bits: inside corners are always rounded, and plywood thickness varies slightly from sheet to sheet. In this walkthrough you will use Document Variables, Live Dog-Bone Fillets, and Multi-Tool Pocketing to build a tight-fitting desk organizer.
Step 1: Measure Stock & Create a Thickness Variable
- Measure your 1/2" Baltic birch plywood with digital calipers. Suppose it measures
0.472". - In Setup, set a
16" x 12"sheet with Thickness (Z):0.472and Z-Zero: Machine Bed (Spoilboard) so every through-cut stops right at the bed. - Open Edit > Document Variables... and add
SlotWidth = T + 0.008(adding 0.008" of glue/slip clearance so dividers seat cleanly without hammering).
Step 2: Lay Out the Base, Trays & Divider Slots
- Draw the organizer base rectangle (
10" x 6"with0.375"corner radius) and place two interior rounded tray rectangles inside it for pens and small tools. - Draw two rectangular divider mortise slots sized
{SlotWidth}wide by3.0"long where the vertical upright dividers will lock in. - Draw the upright divider panels beside the base on the same sheet, with matching
3.0"tenon tabs along their bottom edges.
Step 3: Add Dog-Bone Fillets to Every Interior Slot Corner
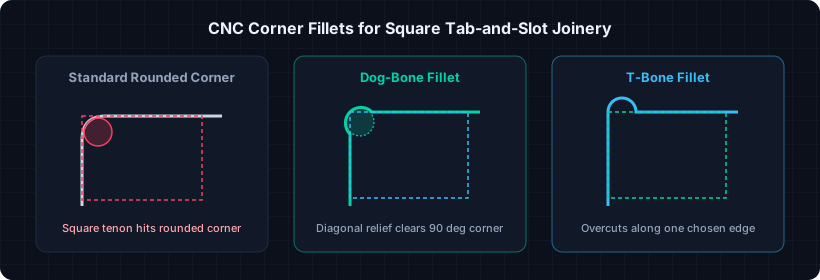
Because you will cut the slots with a 1/8" end mill (radius 0.0625"), square tenons will hit the rounded slot corners unless you add corner reliefs.
- Click Fillets in the Left Drawer and select Dog-Bone Fillet (or T-Bone Fillet if you want to hide the overcut along the hidden wall of the divider).
- Enter Fillet Radius
0.068"(slightly larger than the 0.0625" bit radius so the toolpath does not stall in the corner). - Click all four interior corners of each mortise slot.
Step 4: Multi-Tool Pocket Clearing & Tabbed Cutout
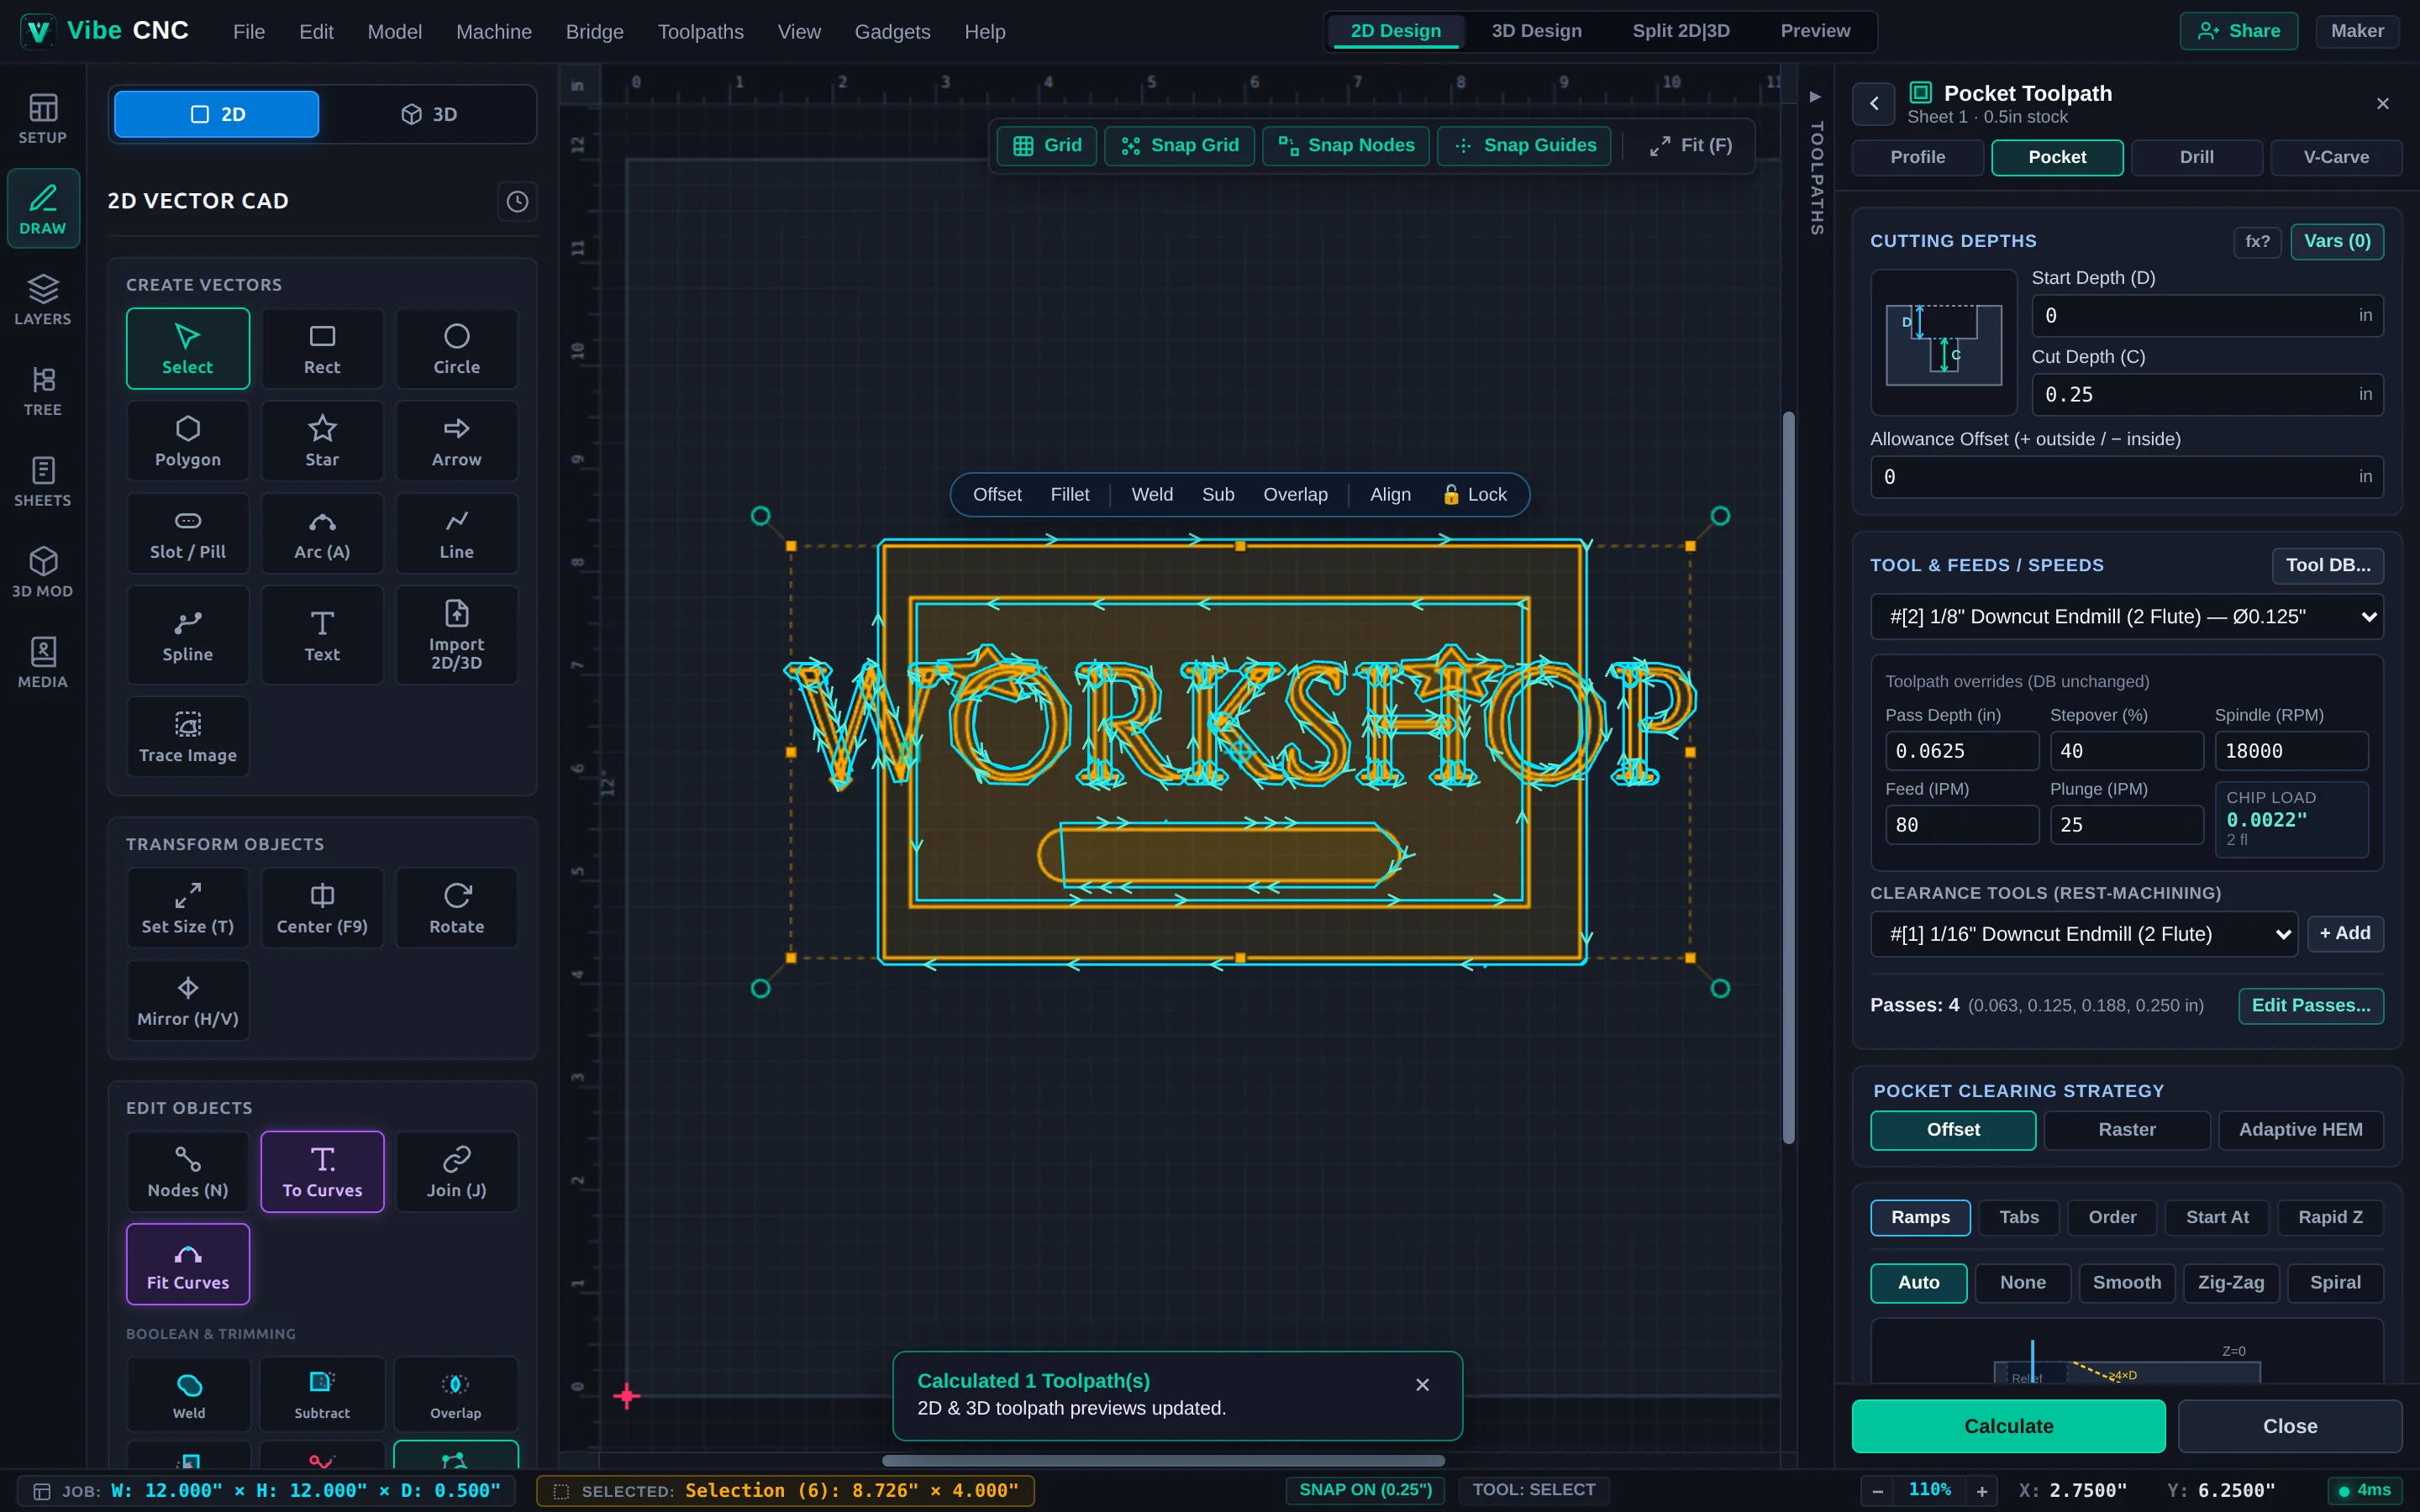
- Select the two pen-tray rectangles and open Pocket in the Right Drawer. Set Cut Depth to
0.30". - Add both a 1/4" Downcut End Mill (fast bulk clearing) and a 1/8" Downcut End Mill (tight corner rest machining). Choose Offset clearing and click Calculate.
- Select the mortise slots and create an Inside Profile cut at depth
0.35"using the 1/8" Downcut End Mill. - Finally, select the outer perimeters of the base and upright dividers and create an Outside Profile cut all the way through (
T) with the 1/4" Downcut End Mill and 3D holding tabs.
Before running a full sheet of plywood, cut one quick 2-inch test slot and tab on scrap. If the joint feels tight, bump {SlotWidth} up by 0.005" in Document Variables and click Recalc All.