
Project Walkthrough
Tracing Artwork & Vector Cleanup for Engraving
Turn a client PNG or JPG logo into smooth, chatter-free CNC vectors using Trace Image, Vector Doctor, and Fit Curves.
Clients rarely send clean CAD files. Usually you receive a low-resolution PNG or JPG logo pulled off a website. Tracing it blindly creates ragged nodes that make your CNC stutter and ruin V-carved corners. Here is the clean three-step workflow to turn any raster logo into crisp shop-ready vectors.
Step 1: Trace the Image
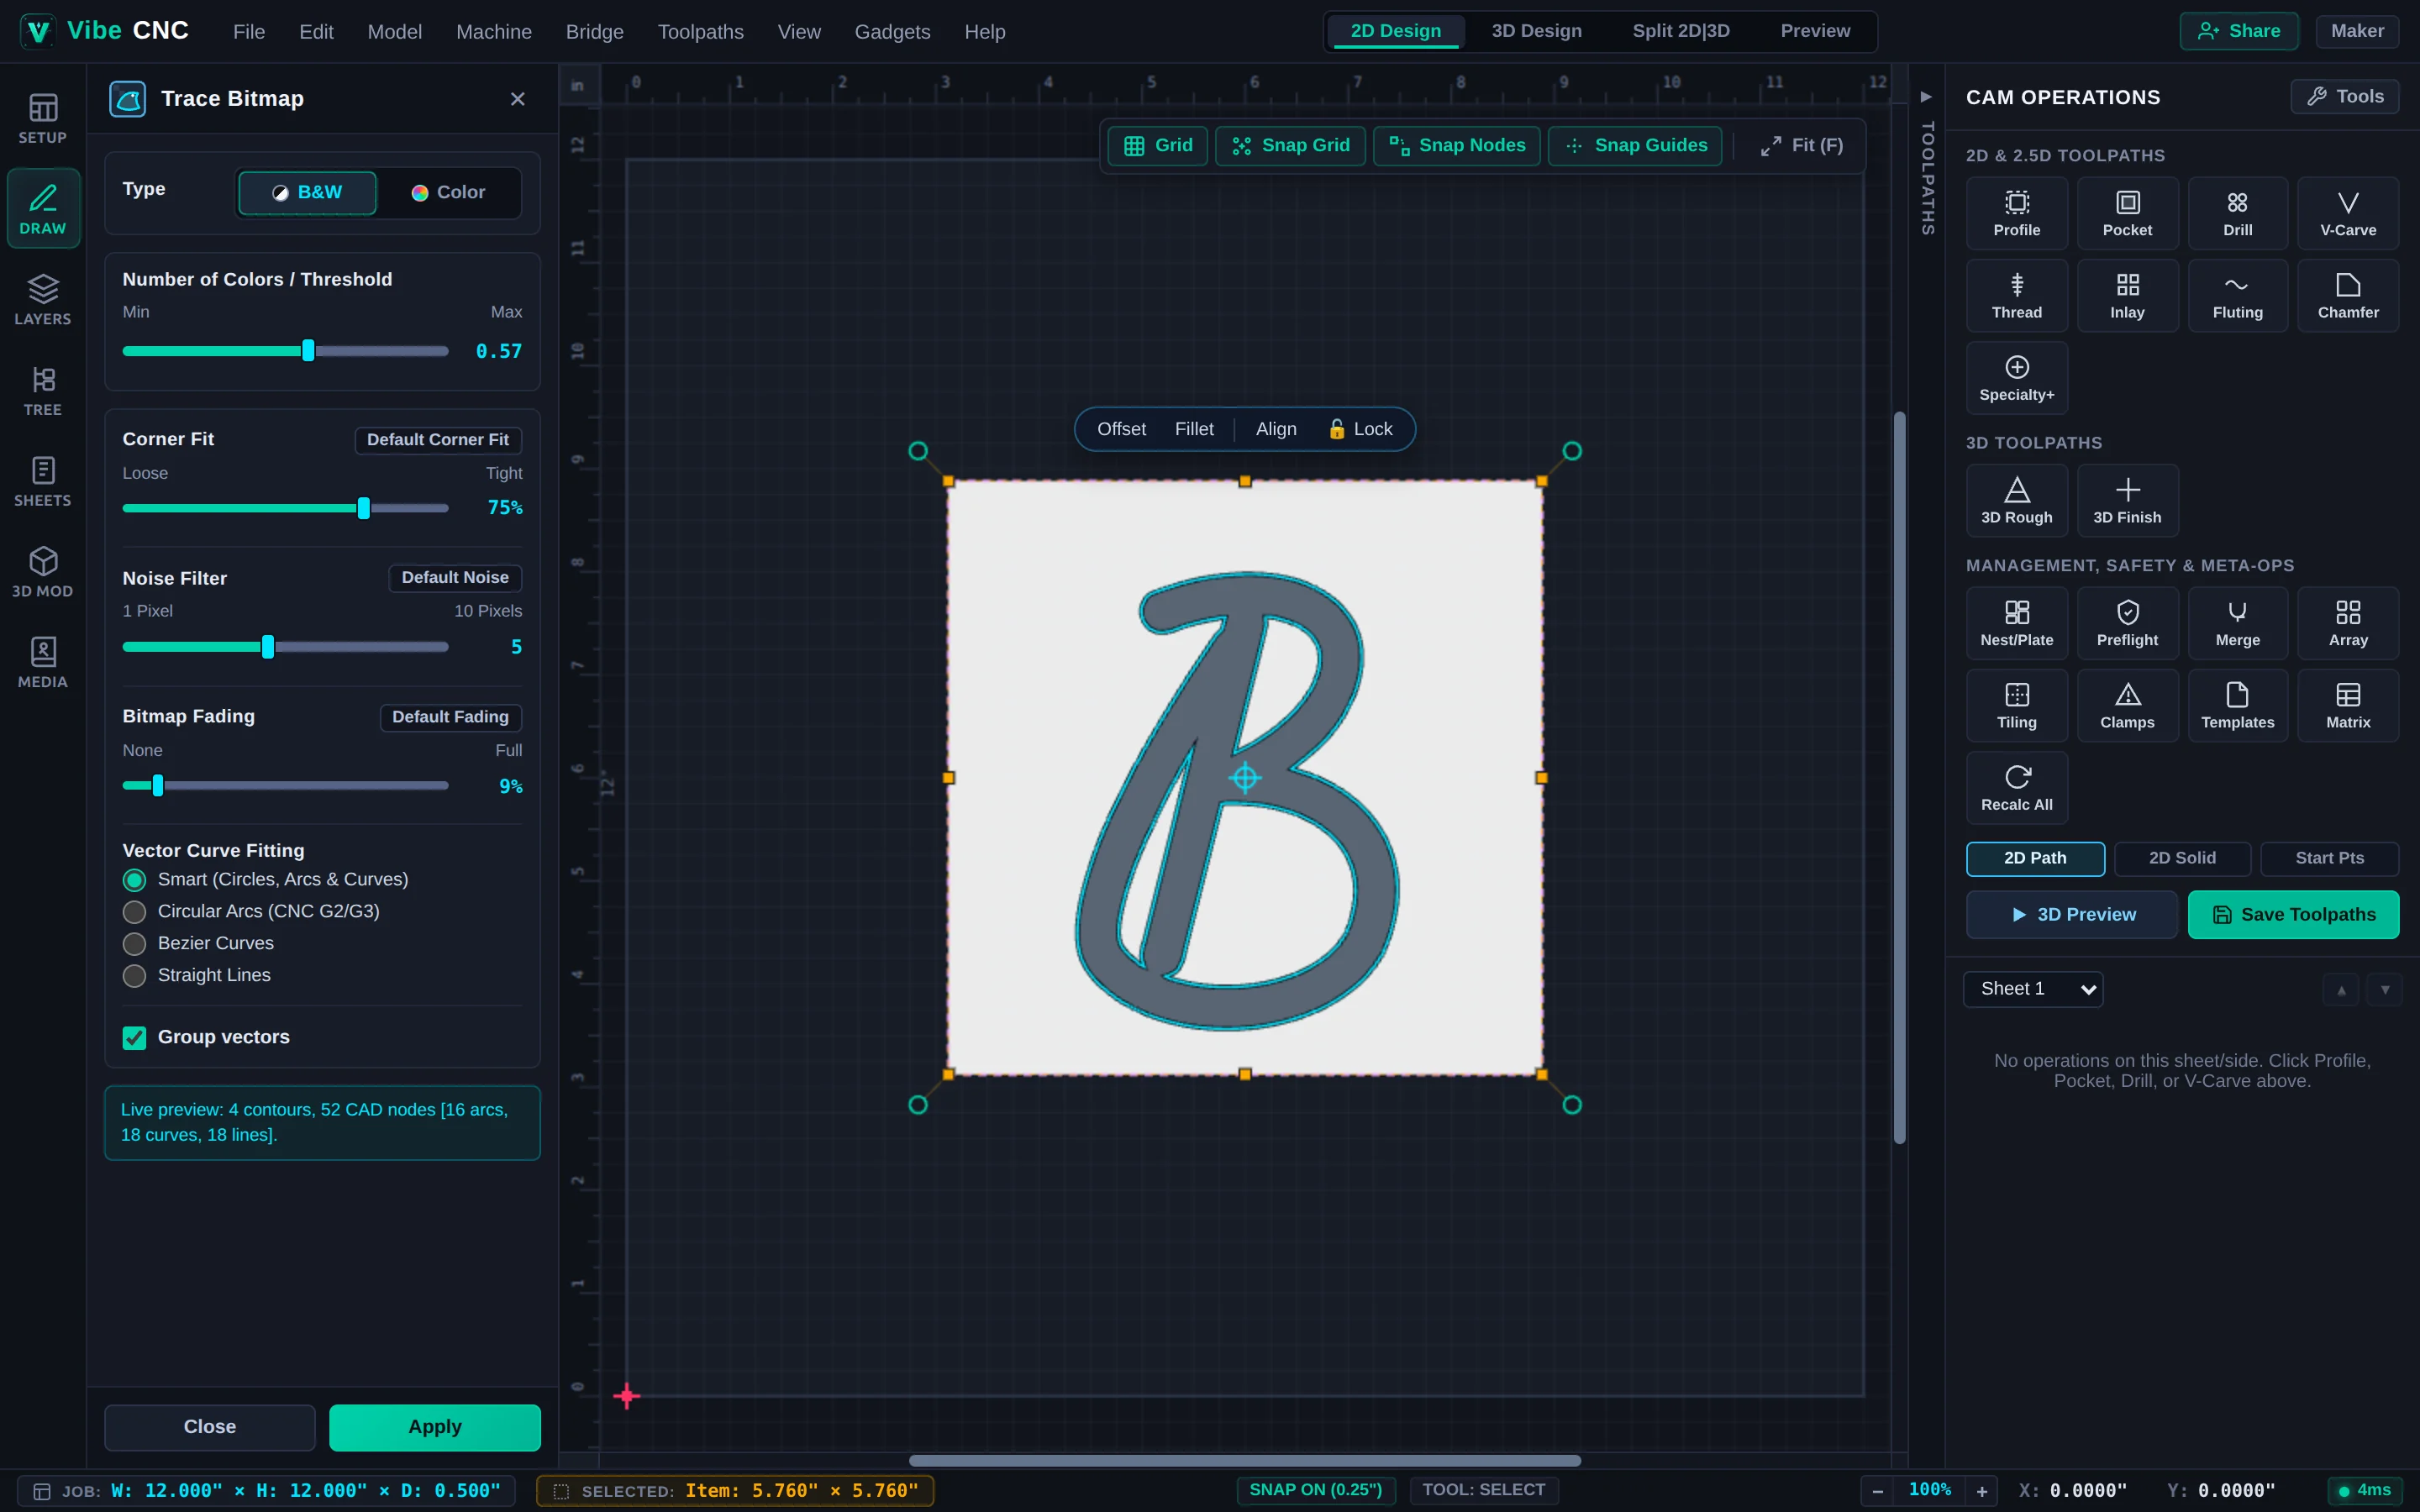
- Click Trace Image in the Left Drawer and load your PNG, JPG, or WebP artwork.
- Adjust the Black & White Threshold slider until the cyan preview tightly hugs the clean silhouette without bleeding into JPEG compression artifacts.
- Bump up the Noise Filter slightly so tiny stray dust pixels are ignored automatically.
- Click Apply to place the traced vectors onto your canvas, then hide or delete the source bitmap layer.
Step 2: Run Vector Doctor
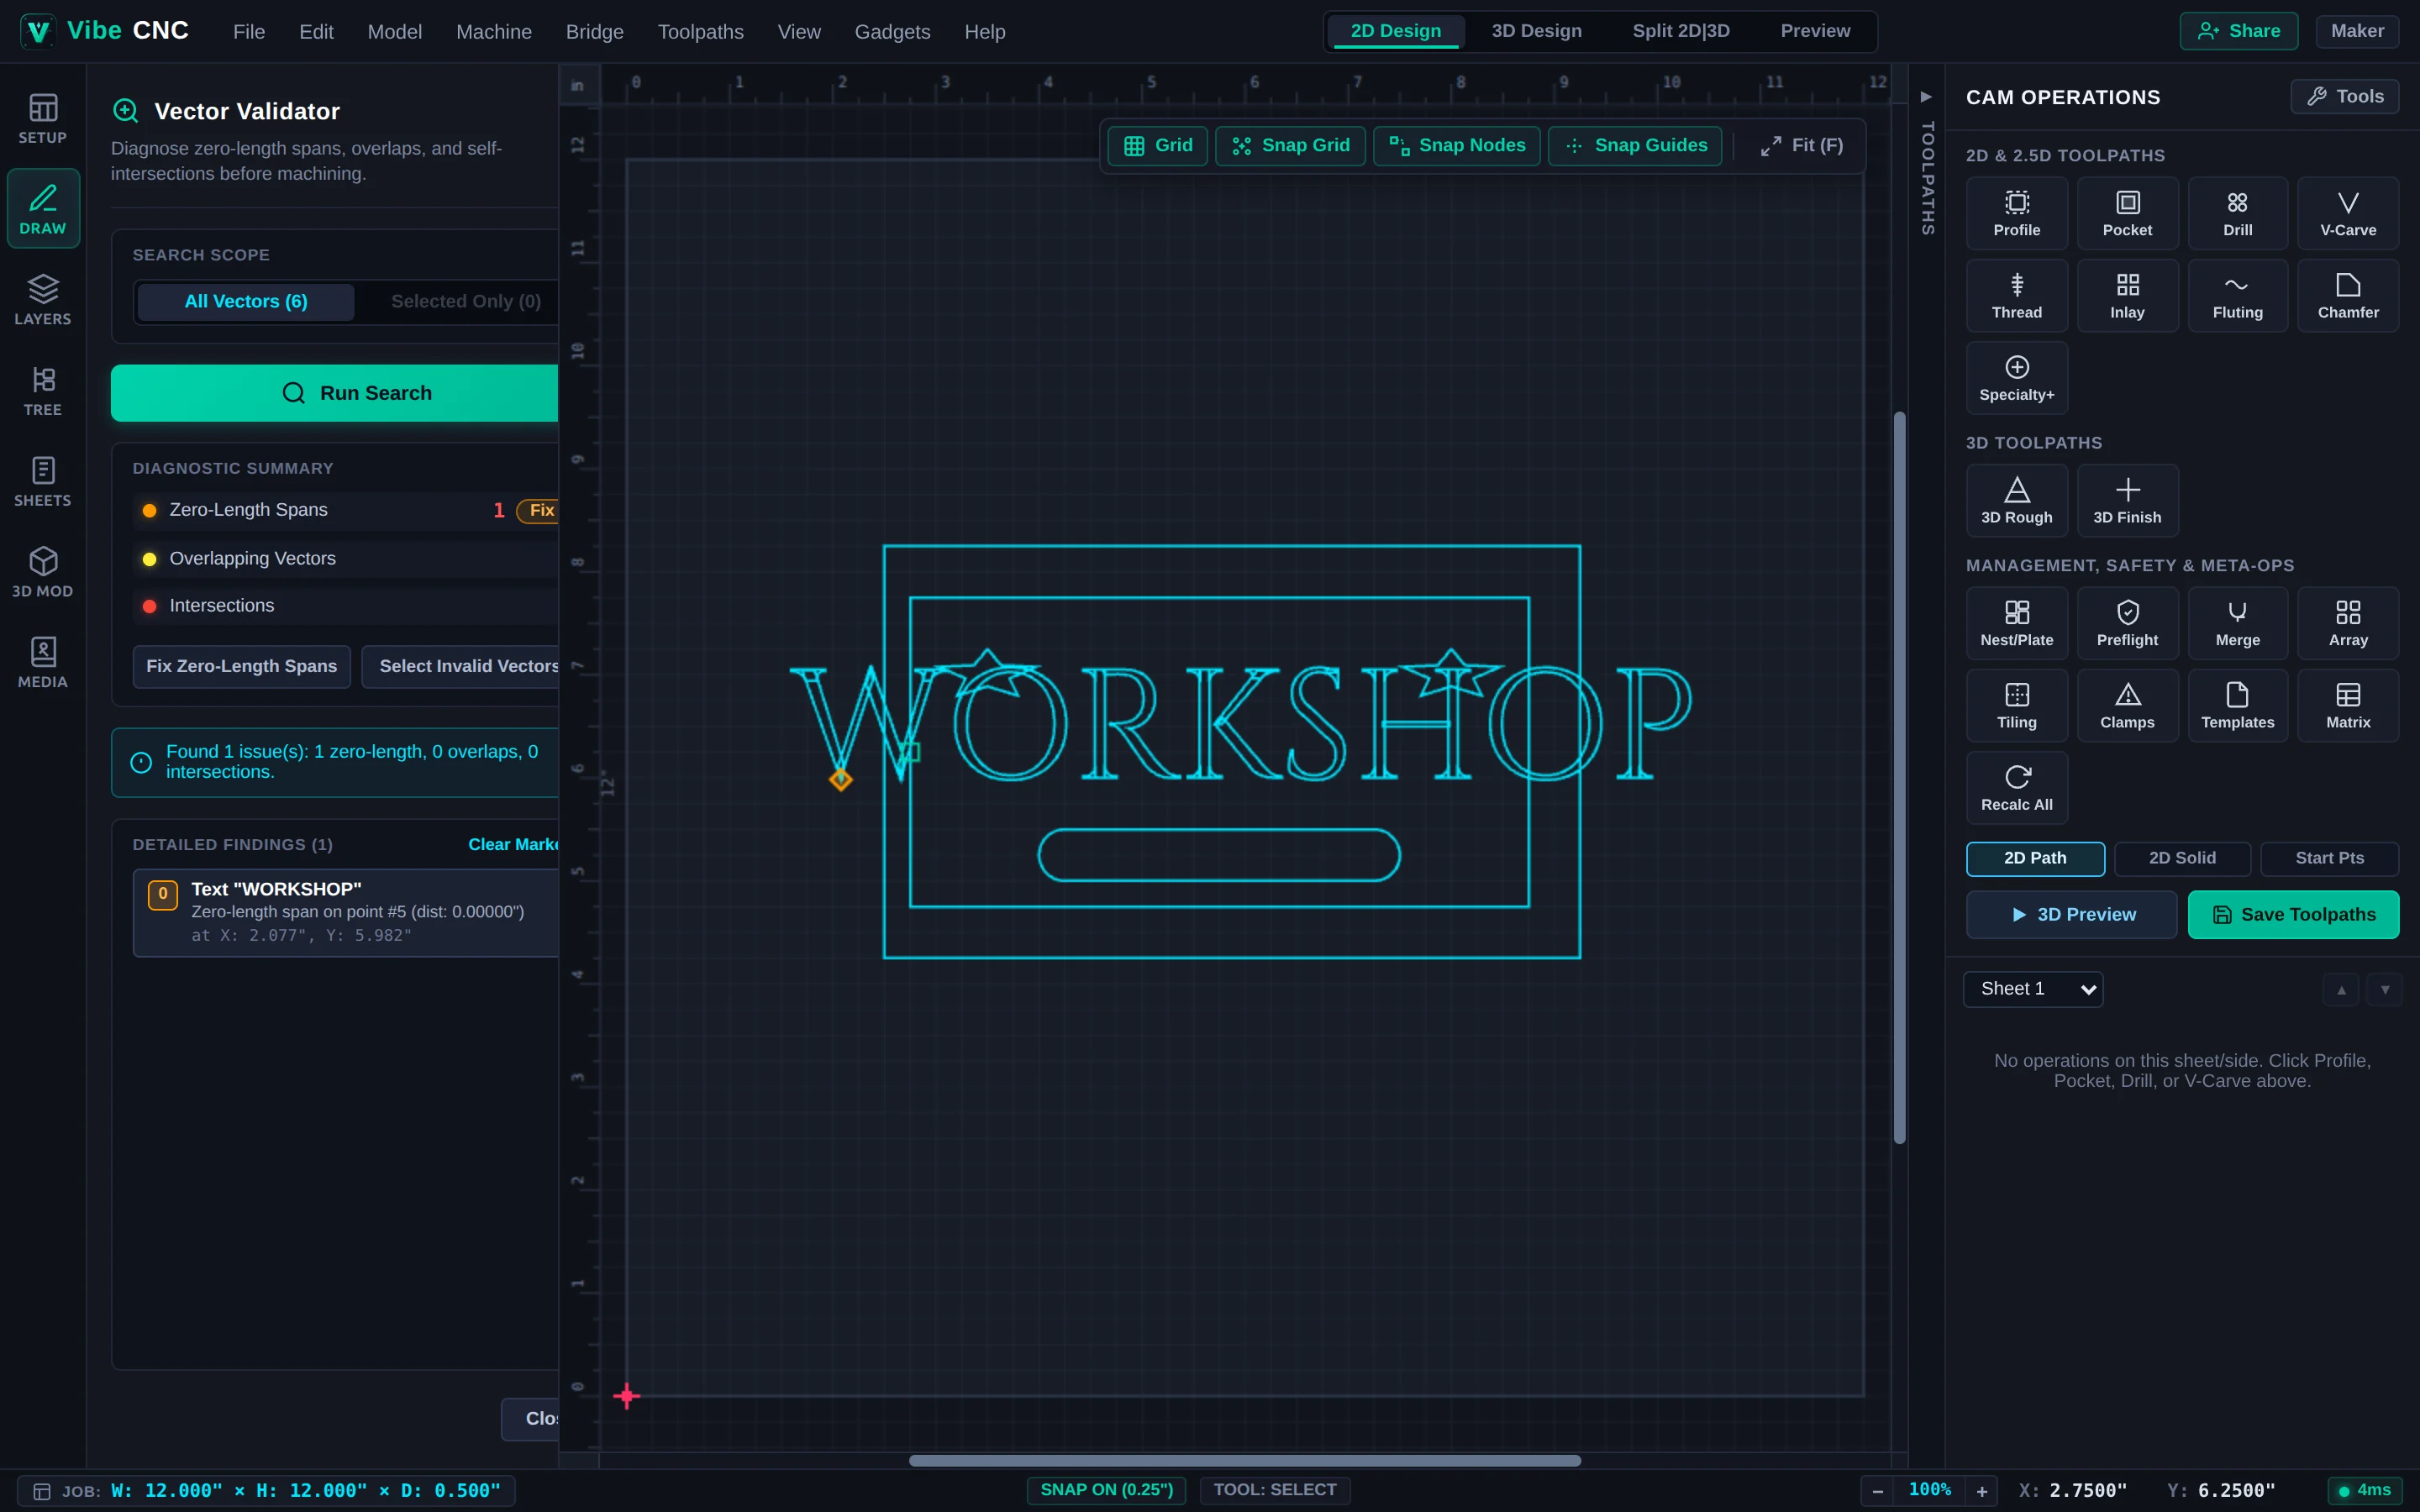
- Select the traced logo and click the Vector Doctor icon in the Left Drawer.
- Inspect the diagnostic counters for Zero-Length Spans, Overlaps, and Self-Intersections.
- Click Fix Zero-Length Spans to clean duplicate vertices automatically. If any red crosshair marks a self-intersection, zoom in, press N (Node Edit), and drag or delete the crossed vertex until Vector Doctor reports zero issues.
Step 3: Smooth Jagged Spans with Fit Curves
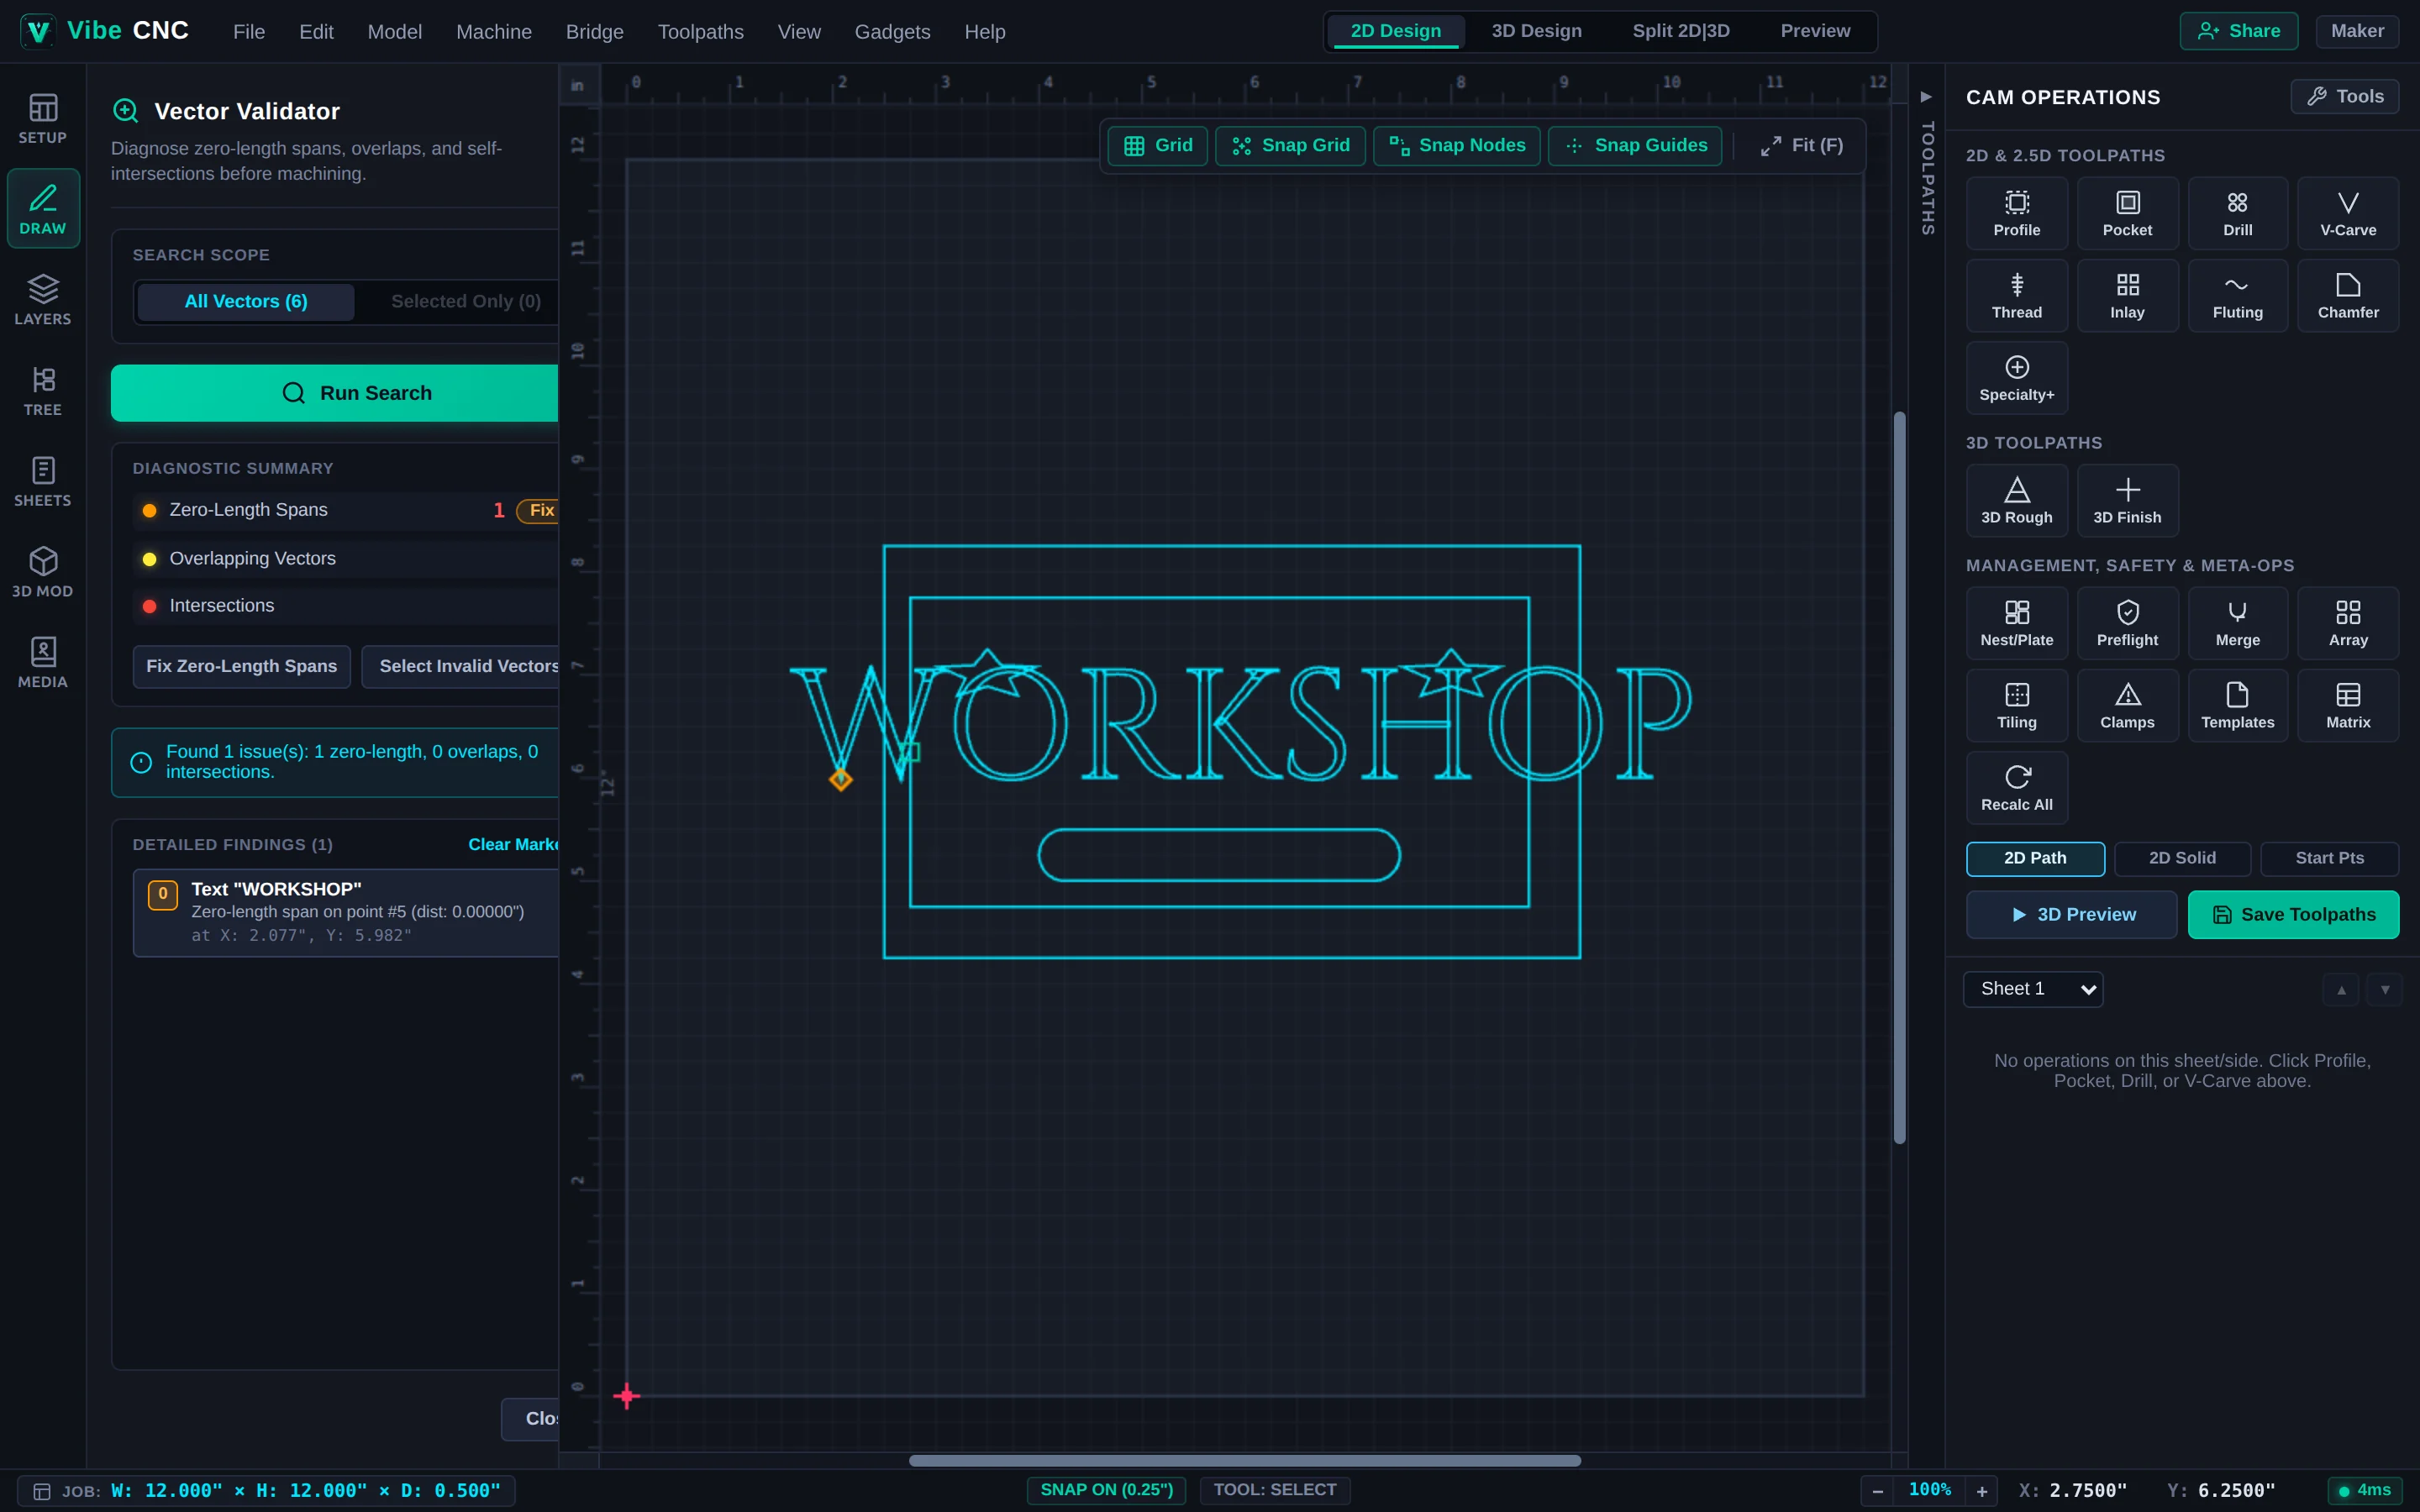
- Keep the logo selected and click Fit Curves in the Left Drawer.
- Choose Circular Arcs (for native
G02/G03smooth arcs) or Cubic Beziers with a tight tolerance such as0.004"(0.1 mm), and keep Keep Sharp Corners checked so pointed stars and corners stay crisp. - Watch the before/after node count drop dramatically in the live preview, then click Apply.
Step 4: Assign V-Carve or Quick Engrave
Resize the cleaned logo with T (Set Size), center it with F9, and assign a V-Carve toolpath for wood signs or a Quick Engrave toolpath (under Specialty+) for anodized aluminum and acrylic plaques.