
Project Walkthrough
3D Relief Carving from Start to Finish
Position a 3D relief model inside hardwood stock, add a tight vector boundary, hog out waste with 3D Roughing, and finish with a fine tapered ball nose.
Carving a dimensional 3D relief looks intimidating until you see how simple the two-toolpath formula is: a 3D Rough pass removes the heavy wood fast, and a 3D Finish pass paints the final detail with a tiny stepover.
Step 1: Import or Sculpt Your 3D Relief
- Set up a
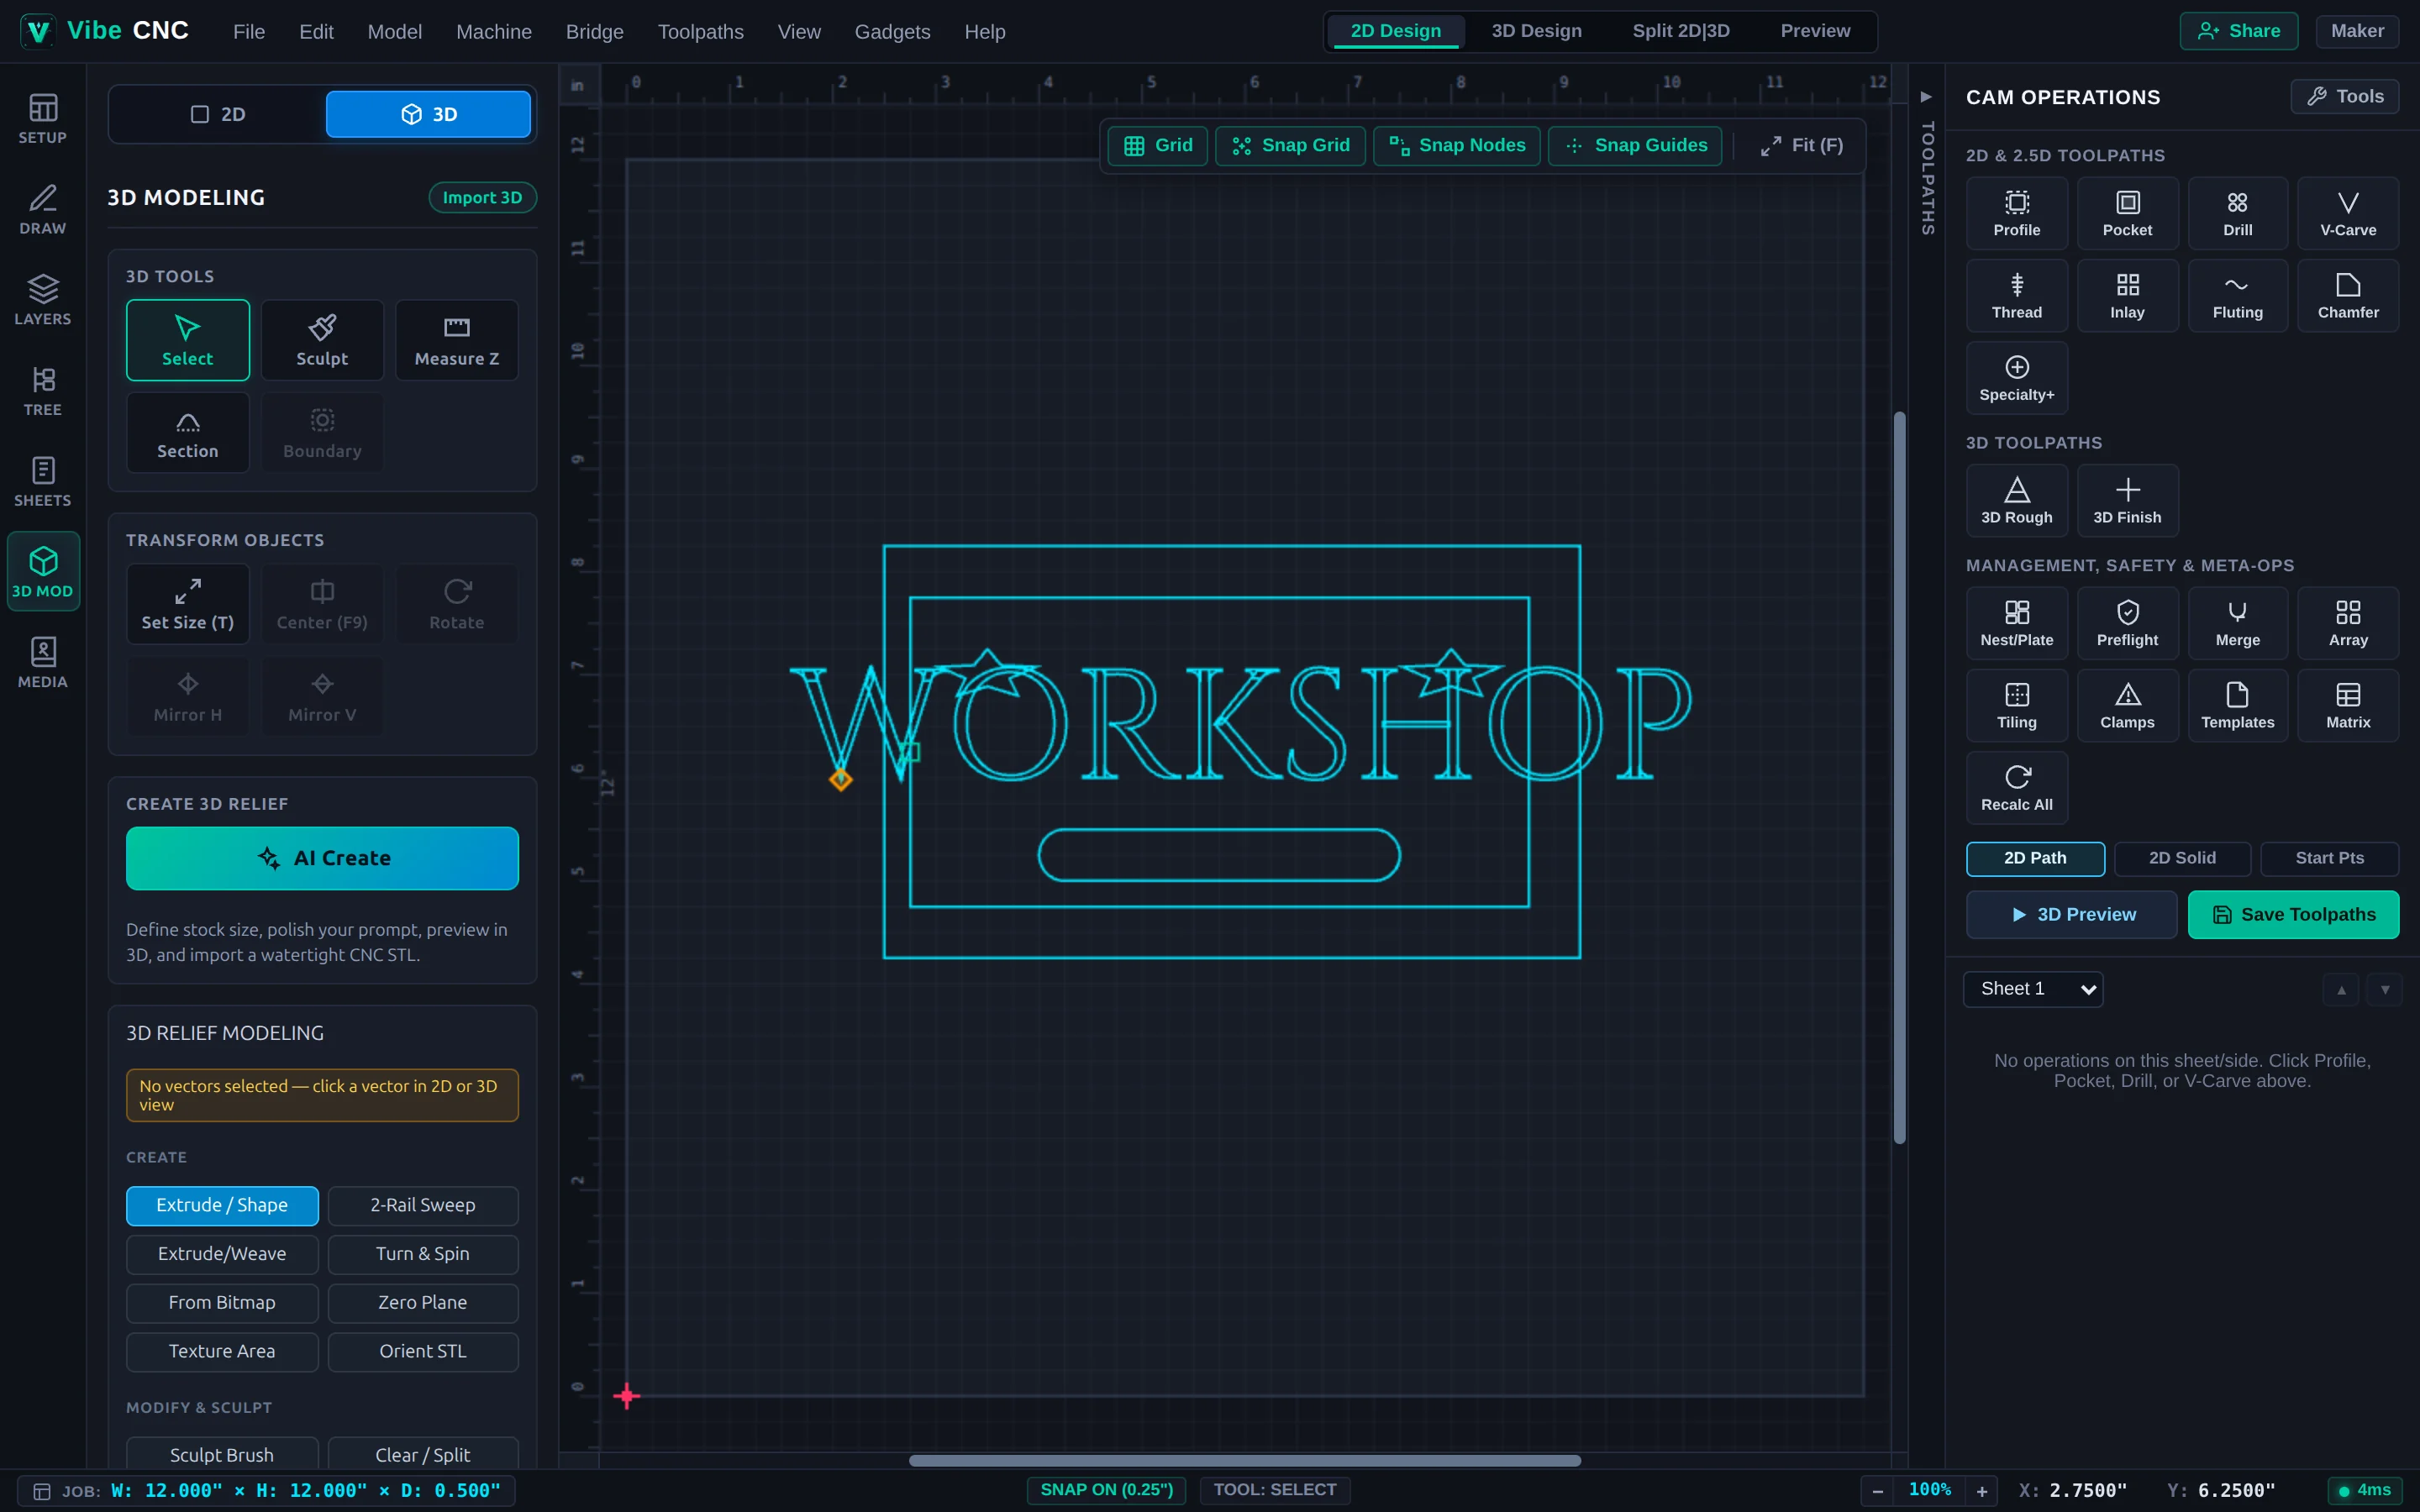
12" x 12" x 1.0"cherry or walnut blank in Setup with Z-Zero on the Material Surface. - Switch to Split 2D|3D mode in the top header and open the 3D Mod tab on the left rail.
- Import an
.stlrelief, insert one from the Media tab, or build a custom domed medallion using Create Shape and Two-Rail Sweep. - Set the component height to
0.55"and position it0.05"below the top surface so the finishing bit cleans up any slight surface warp in your board.
Step 2: Create a Vector Boundary & Zero Plane
- Select your 3D component and click Create Vector Boundary in the 3D Modeling panel. This draws a tight 2D silhouette around the carving.
- Optional: offset that boundary outward by half your finishing bit diameter (for example,
0.065") so the ball nose can roll cleanly down the outer wall of the relief. - Add a Zero Plane if your relief is recessed inside a dish so the top rim stays crisp and tear-out free.
Step 3: 3D Roughing Toolpath
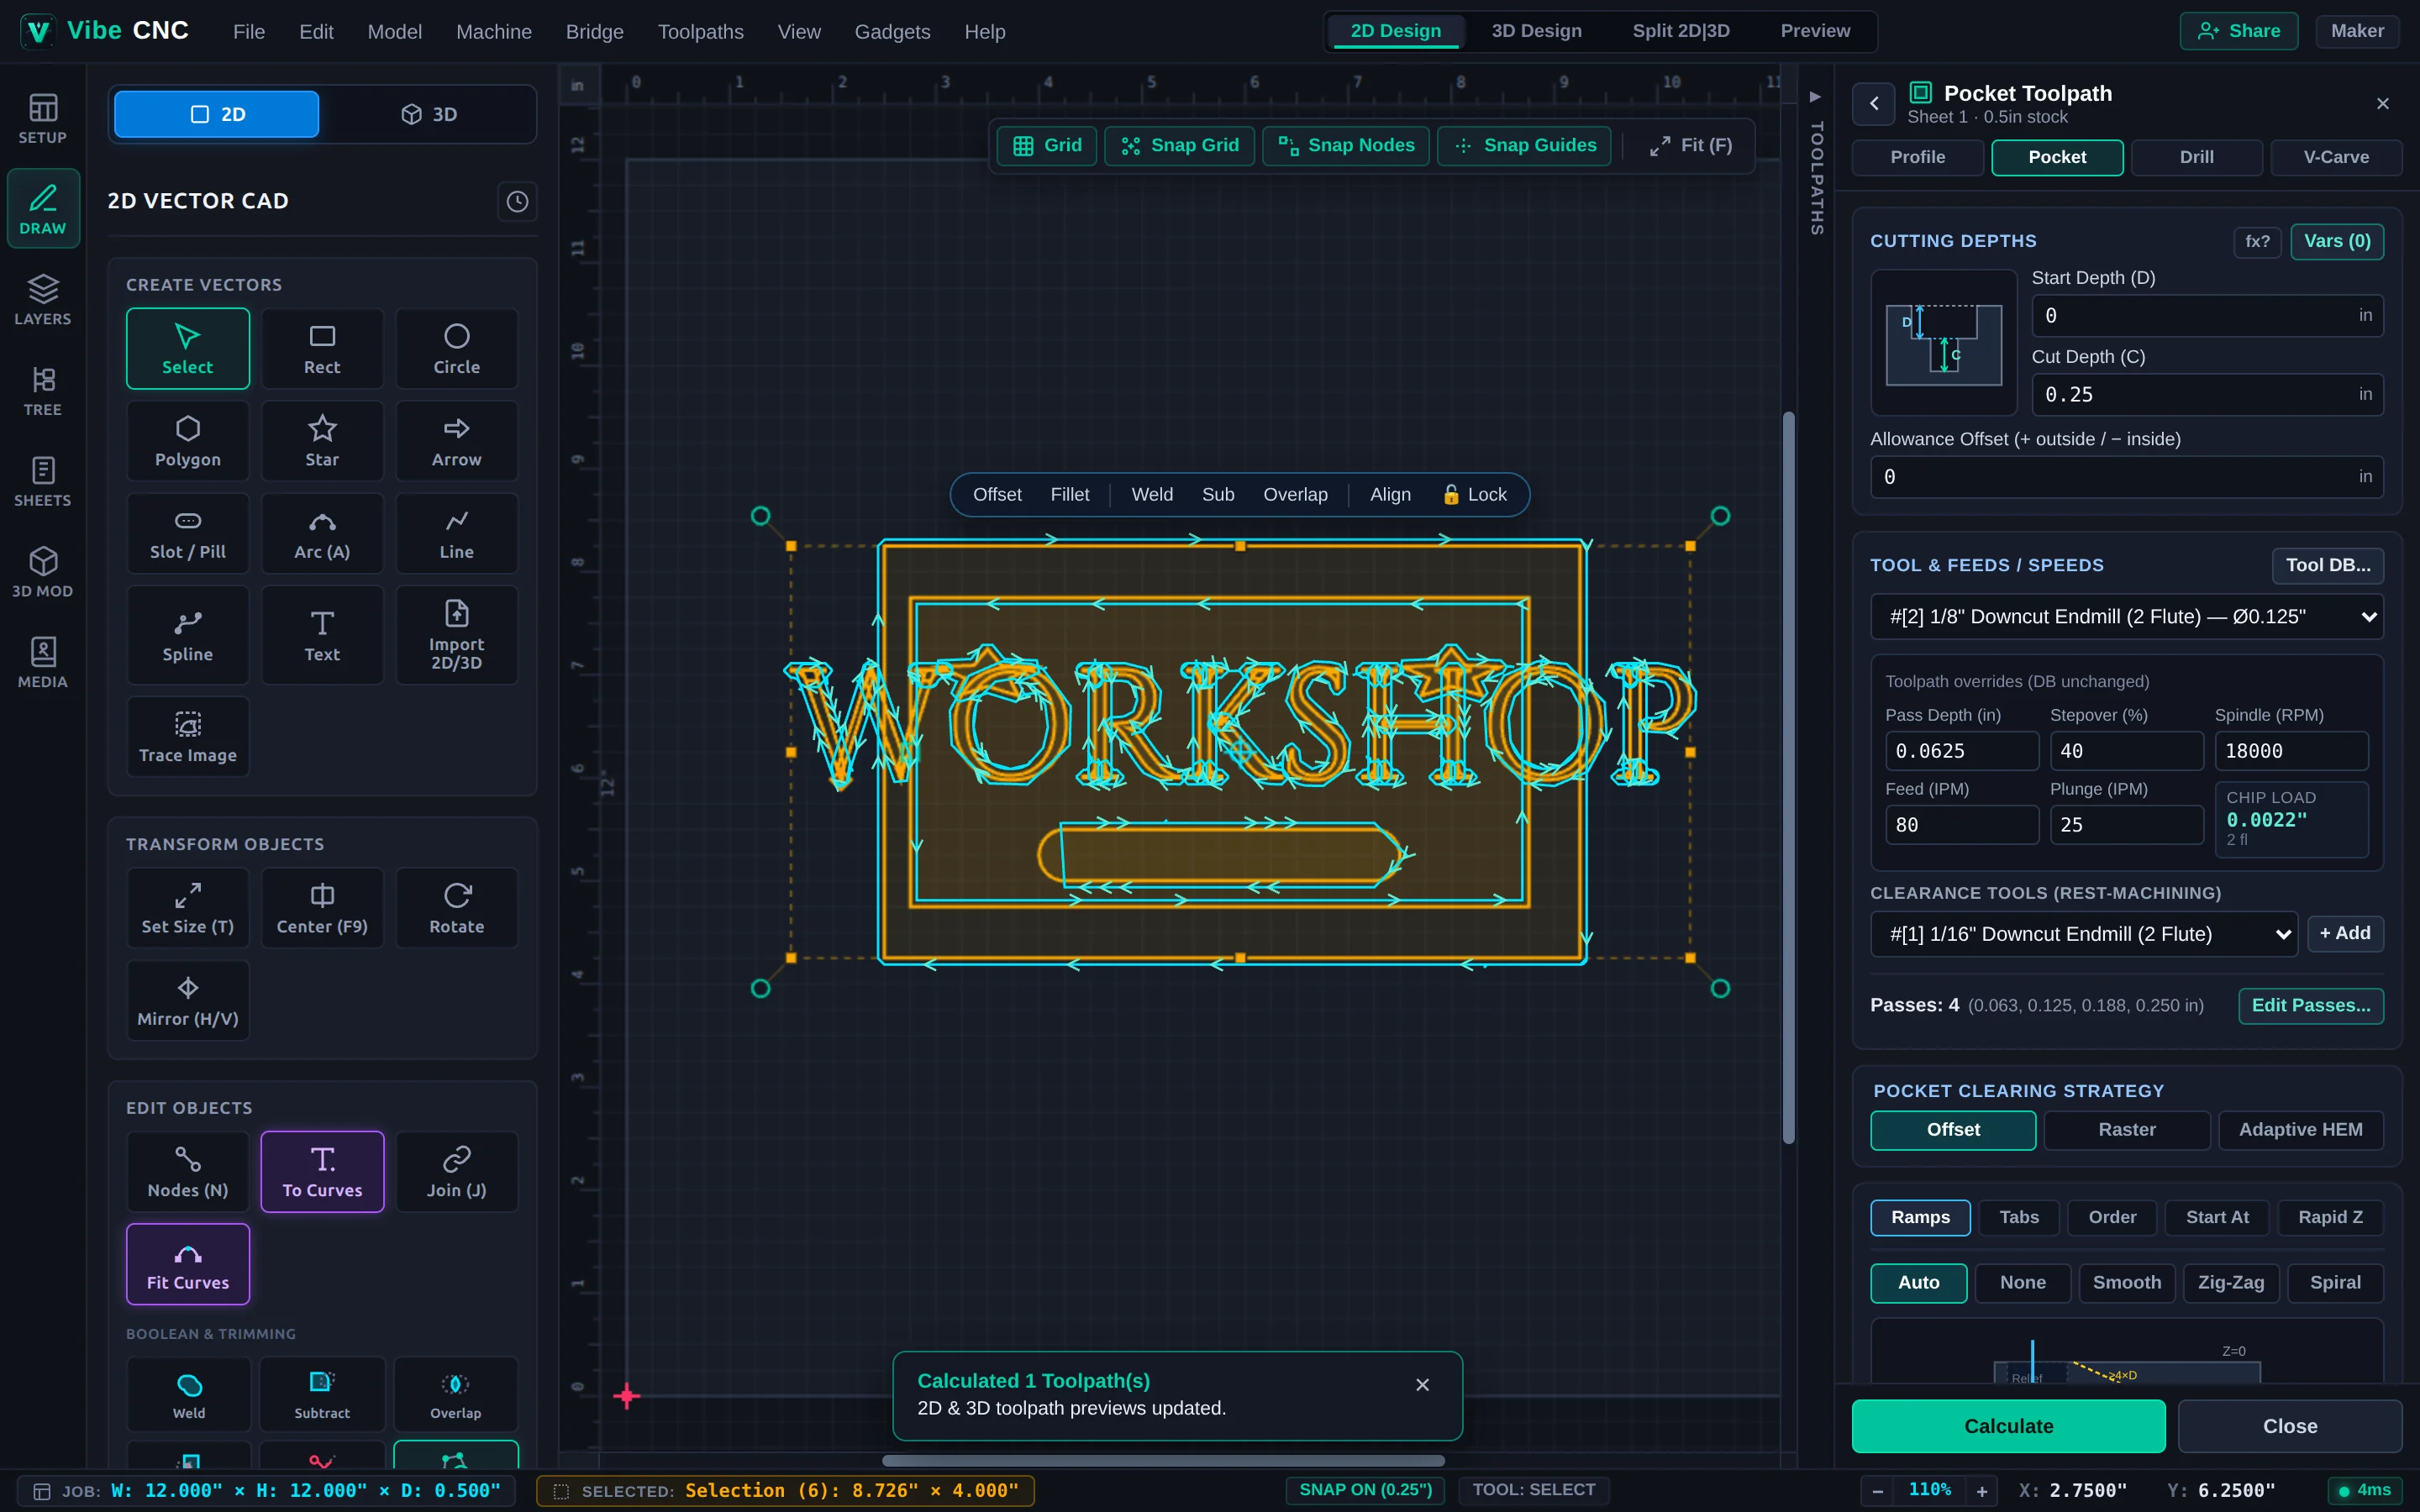
- Select the boundary vector and click 3D Rough in the Right Drawer.
- Choose a 1/4" Flat End Mill, set Machining Limit Boundary to Selected Vector(s), and set Machining Allowance to
0.04". - Pick Z-Level roughing and click Calculate.
Step 4: 3D Finishing Toolpath & Stepover Check
- With the same boundary vector selected, click 3D Finish in the Right Drawer.
- Select a 1/16" Tapered Ball Nose (or 1/8" ball nose for broader reliefs) and set its stepover to 9%.
- Choose Raster aligned with the wood grain (0 or 90 degrees) or Offset for round medallions, then click Calculate.
- Run 3D Preview and zoom in tightly on the finest ridges. If you still see subtle scallop lines, tighten the stepover from 9% to 7% and recalculate.