
Design & Cut a 2D Sign with VibeCNC Assistant
Use natural language in VibeCNC Assistant to ask feeds-and-speeds questions, draw a framed 2D plaque with a rotated star emblem, and calculate a tabbed Profile toolpath.
You do not have to click through half a dozen CAD and CAM dialogs just to lay out a clean plaque or test an idea. In this ten-minute walkthrough, you will use VibeCNC Assistant to look up walnut feeds and speeds from your Tool Database, build a framed 2D plaque with a rotated star centerpiece, calculate a tabbed outside cutout toolpath, and verify VibeCNC's built-in undo and safety guardrails.
Step 1: Open VibeCNC Assistant & Ask a Shop Question
- Start a new project in VibeCNC (the default
12" x 12" x 0.50"job works great for this walkthrough). - Click the Assistant button in the top-right header or press Ctrl+Shift+K to dock the chat panel on the right side of the studio.
- Confirm the status line under the title reads Connected.
- Click the walnut starter chip or type:
What feeds and speeds work best for a 1/4" downcut bit in walnut?and press Enter.
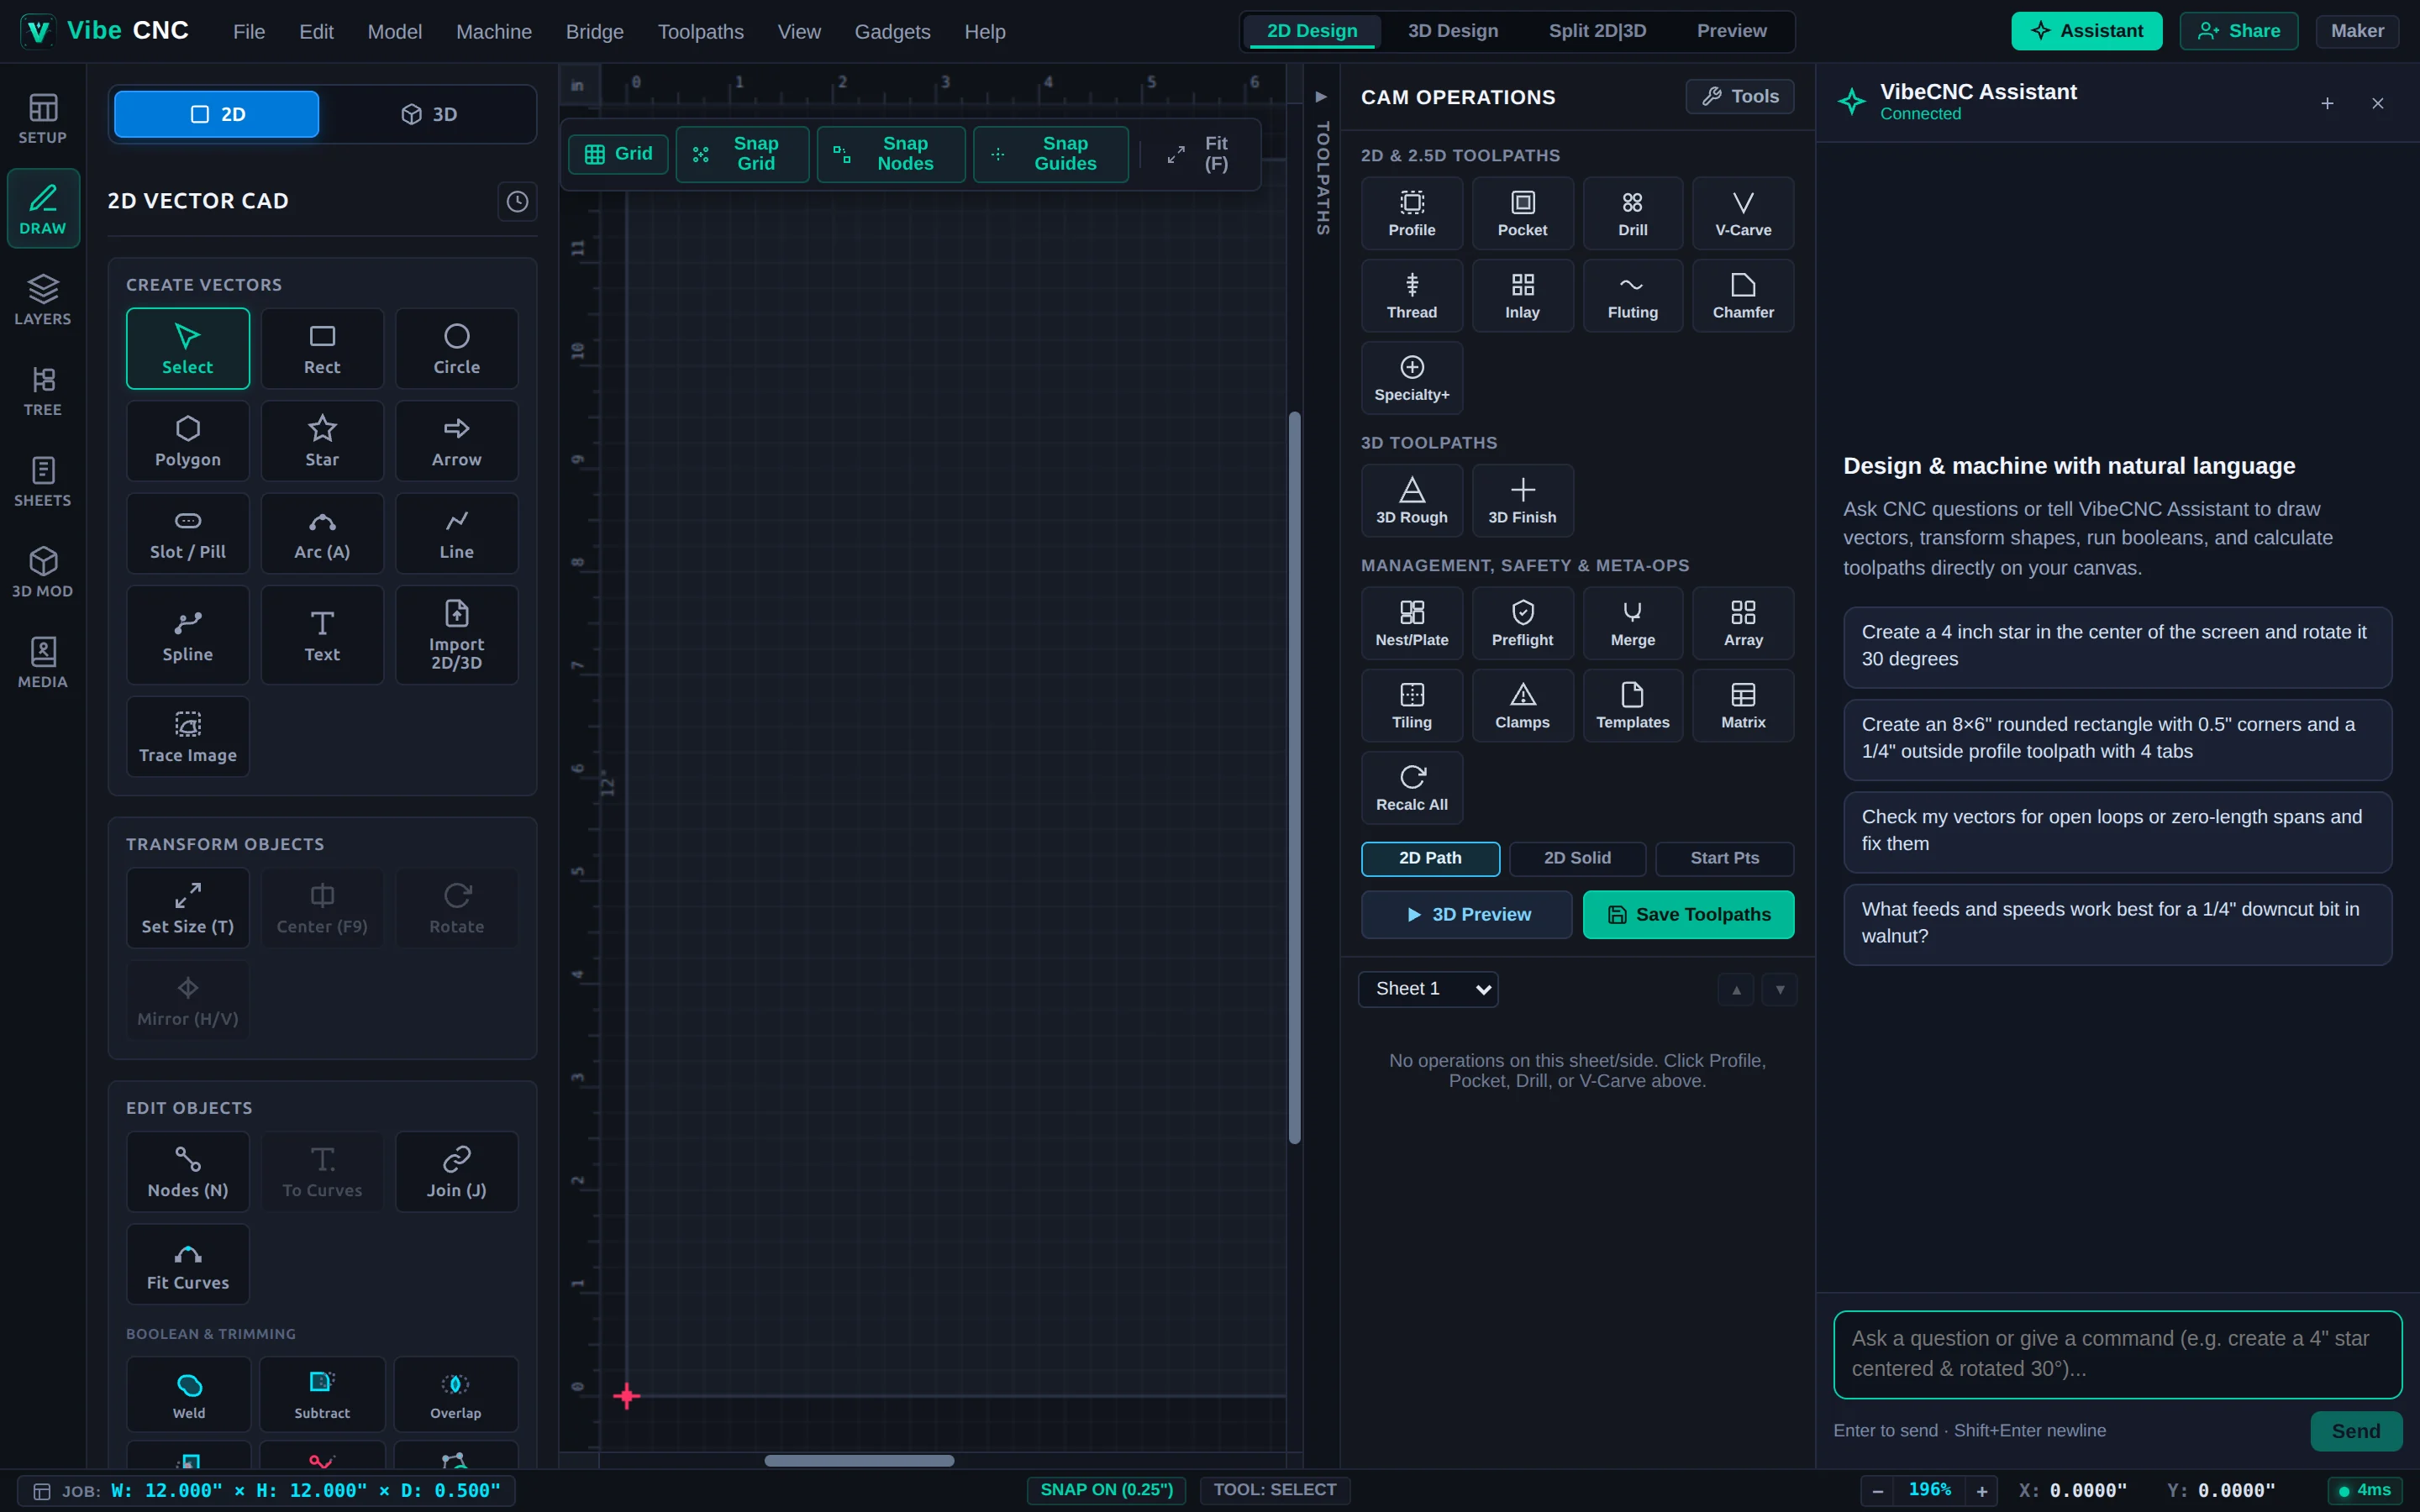
VibeCNC Assistant inspects your active Tool Database and Material Database, displays a green tool chip (for example, Found 11 tool(s)), and gives you calibrated RPM, feed rate, plunge rate, pass depth, stepover, and chip load numbers.
Step 2: Build the 2D Plaque & Profile Toolpath in One Prompt
- Click the + (New conversation) icon in the Assistant header if you want a clean chat thread.
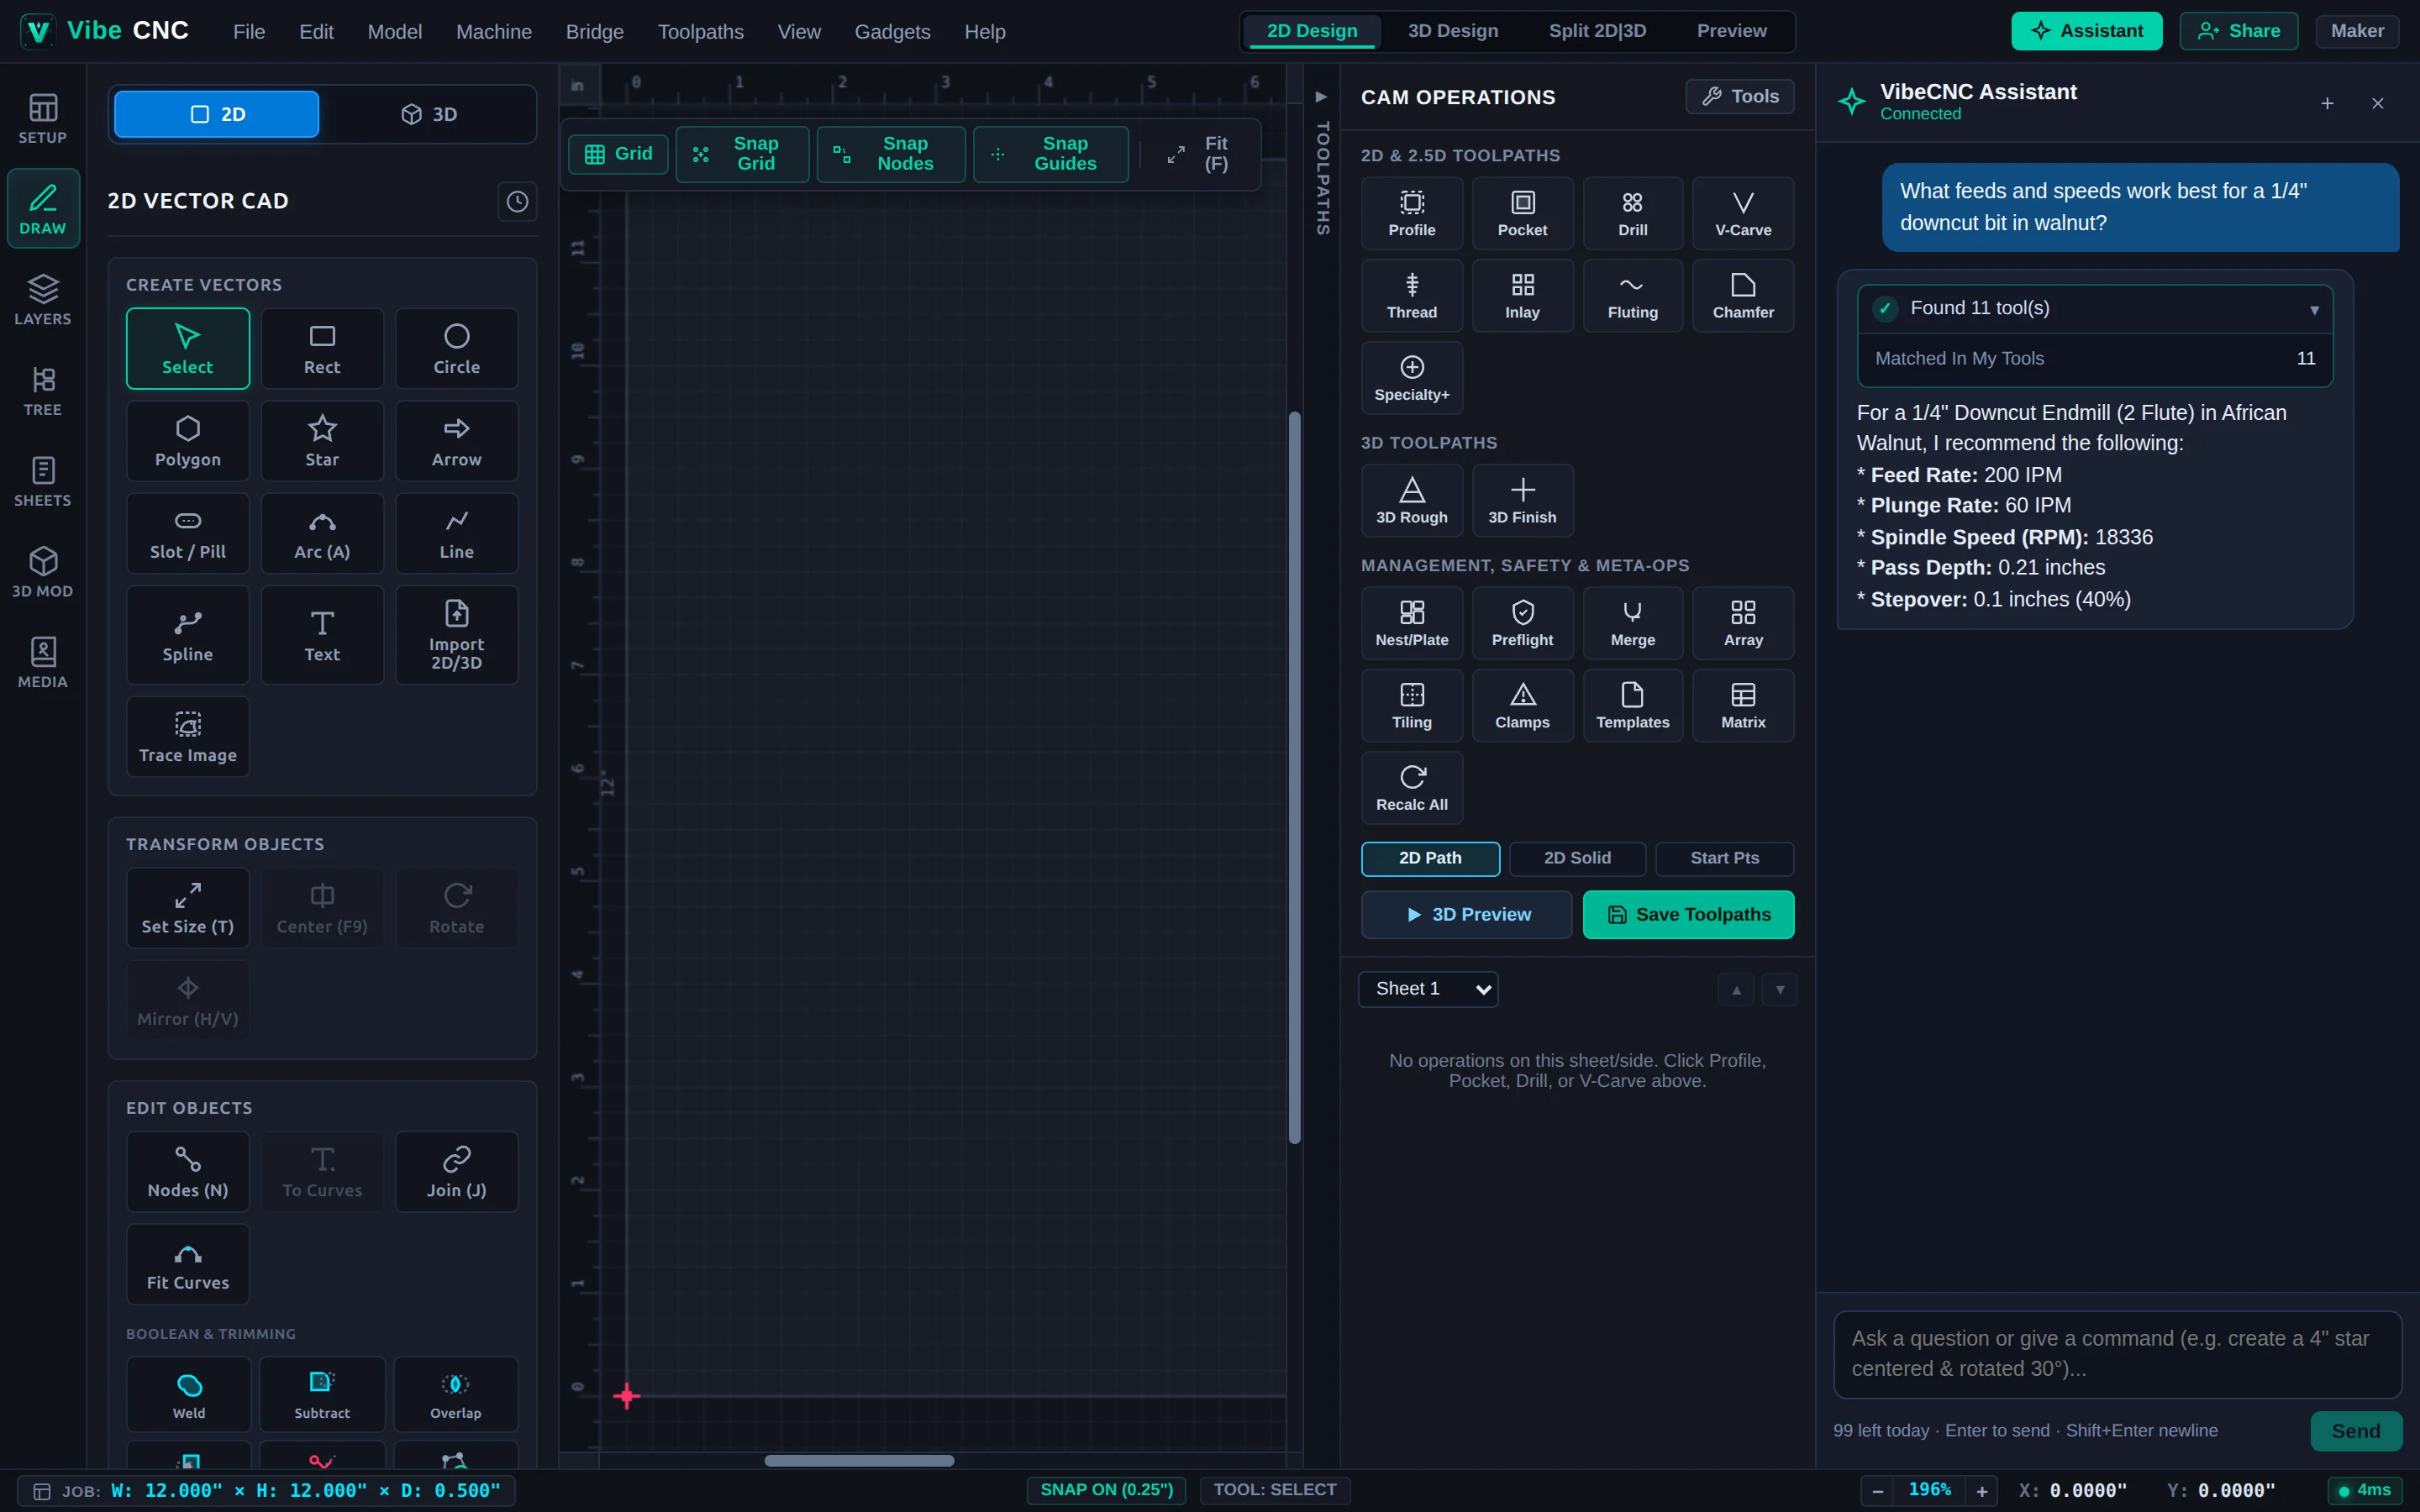
- Type the following multi-step command and press Enter:
Create an 8x6 inch rounded rectangle with 0.5 inch corners in the center, place a 3 inch 5-point star in the center rotated 18 degrees, and create a 1/4 inch outside profile toolpath on the rectangle with 4 holding tabs. - Watch the tool chips complete in sequence: VibeCNC draws the centered
8" x 6"rounded border, creates the centered3"star rotated 18 degrees, and runs the WASM CAM engine to calculate an outside Profile cut with Smart Ramp Entry and 4 holding tabs.
Step 3: Inspect Tool Chips, Add V-Carving & Refine
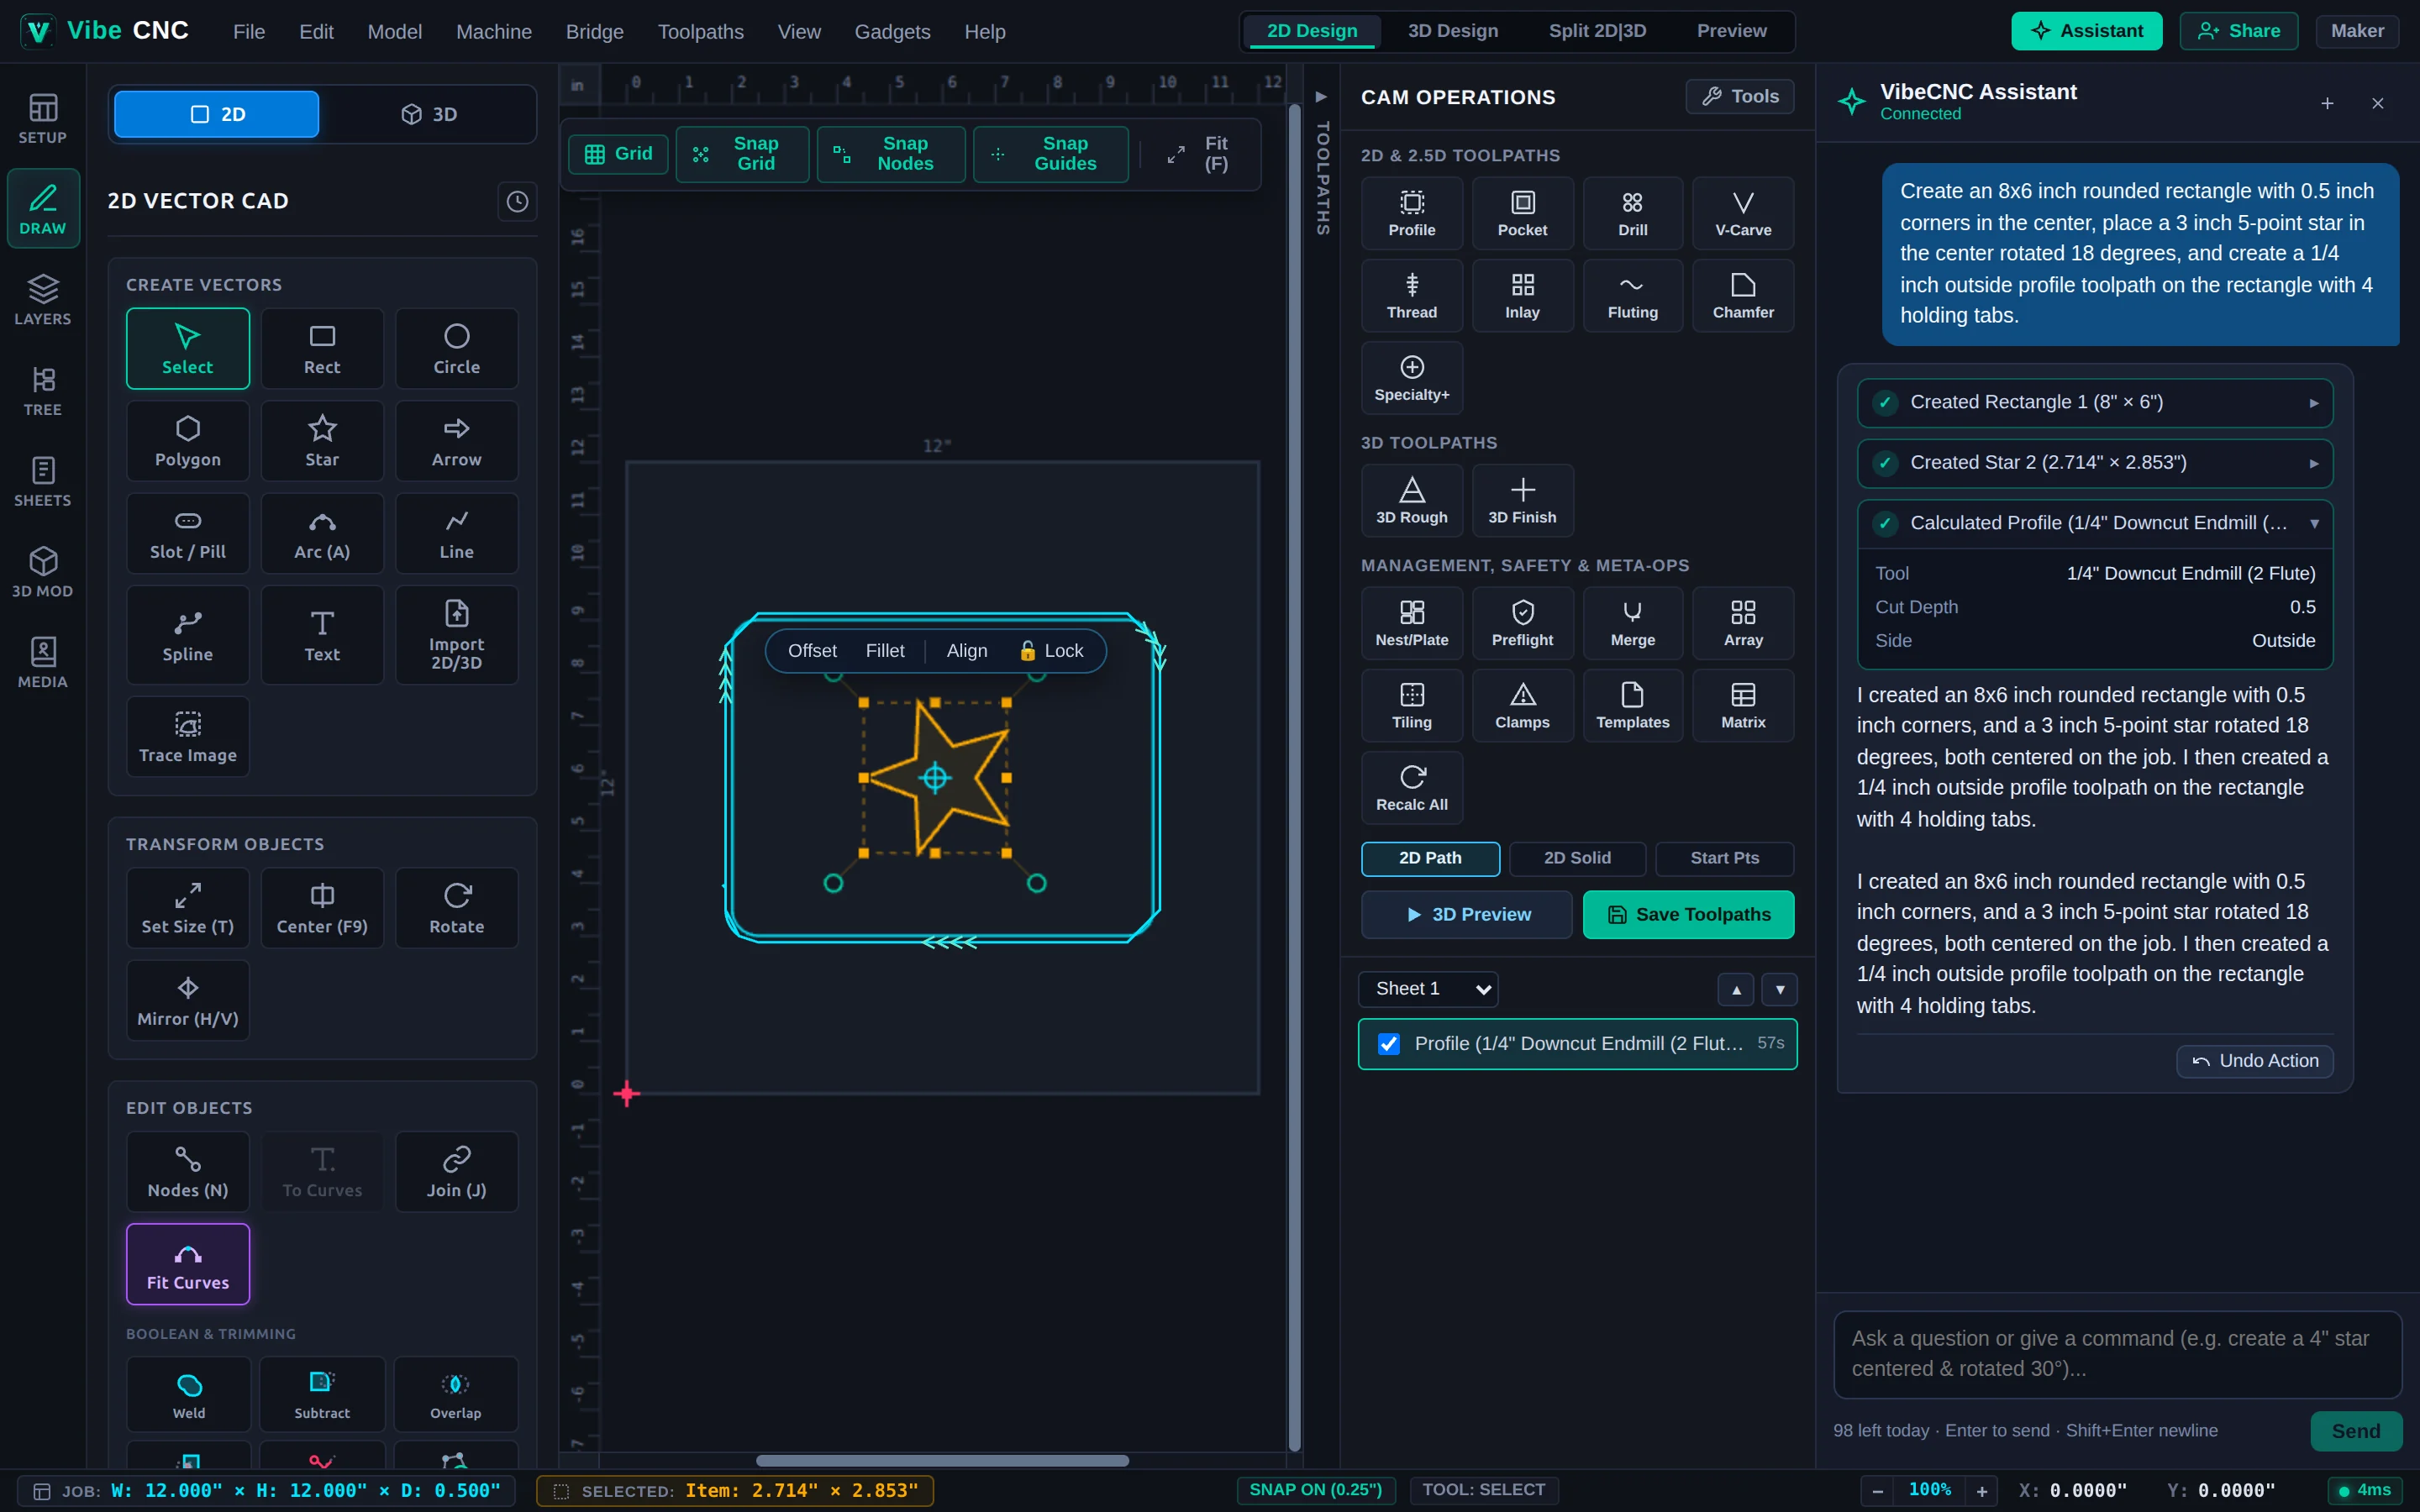
- Click the expandable Calculated Profile chip inside the chat bubble to verify the exact tool name, cut depth (
0.5"), and side (Outside). - Follow up with a short conversational refinement to carve the star centerpiece:
Create a 60-degree V-Carve toolpath on the star with a 0.15 inch flat depth, and switch to 3D Preview. - Not happy with an edit? Click the inline Undo Action button at the bottom of the Assistant's reply (or press Ctrl+Z) to roll back the change immediately.
Step 4: Understand Confirmation Gates Before Destructive Actions
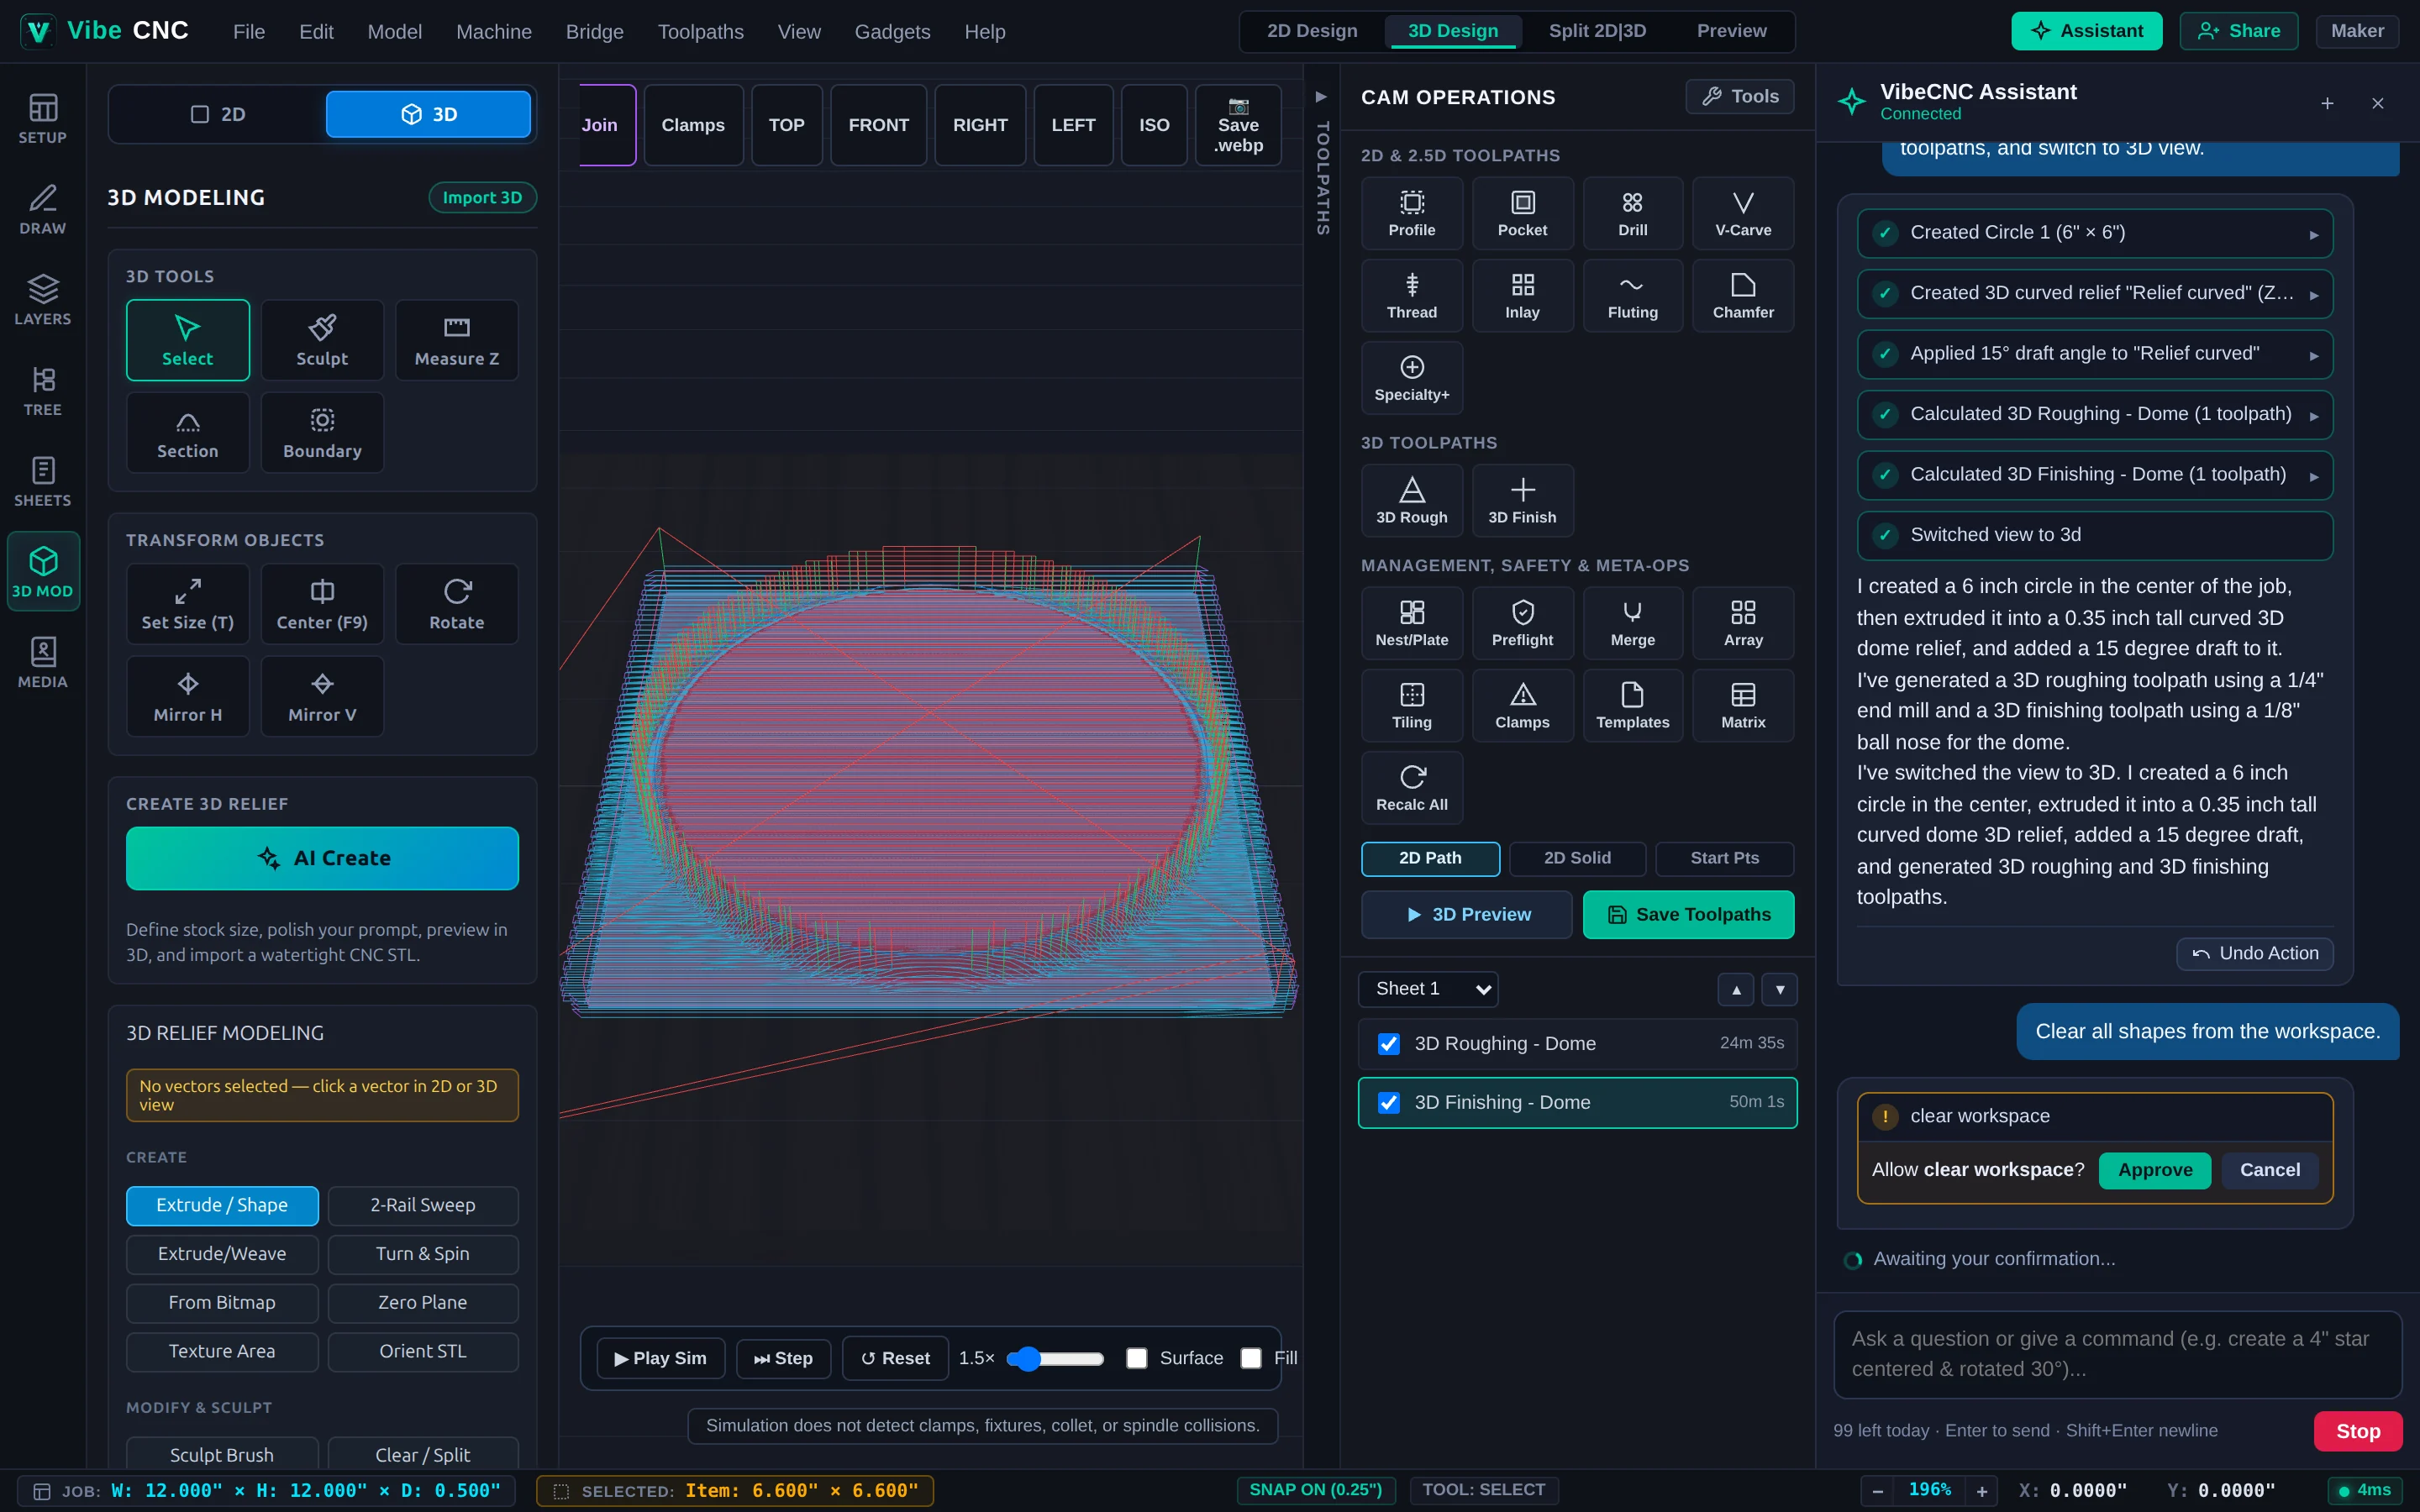
If you ask VibeCNC Assistant to perform a destructive action such as Clear all shapes from the workspace, it pauses and shows an amber Approve / Cancel confirmation bar before deleting anything. Click Cancel whenever you want to keep your design intact.
Ready to build domed 3D reliefs and ball-nose toolpaths with natural language? Continue to Sculpt & Machine a 3D Relief with VibeCNC Assistant or read the full VibeCNC Assistant Reference.